Latest


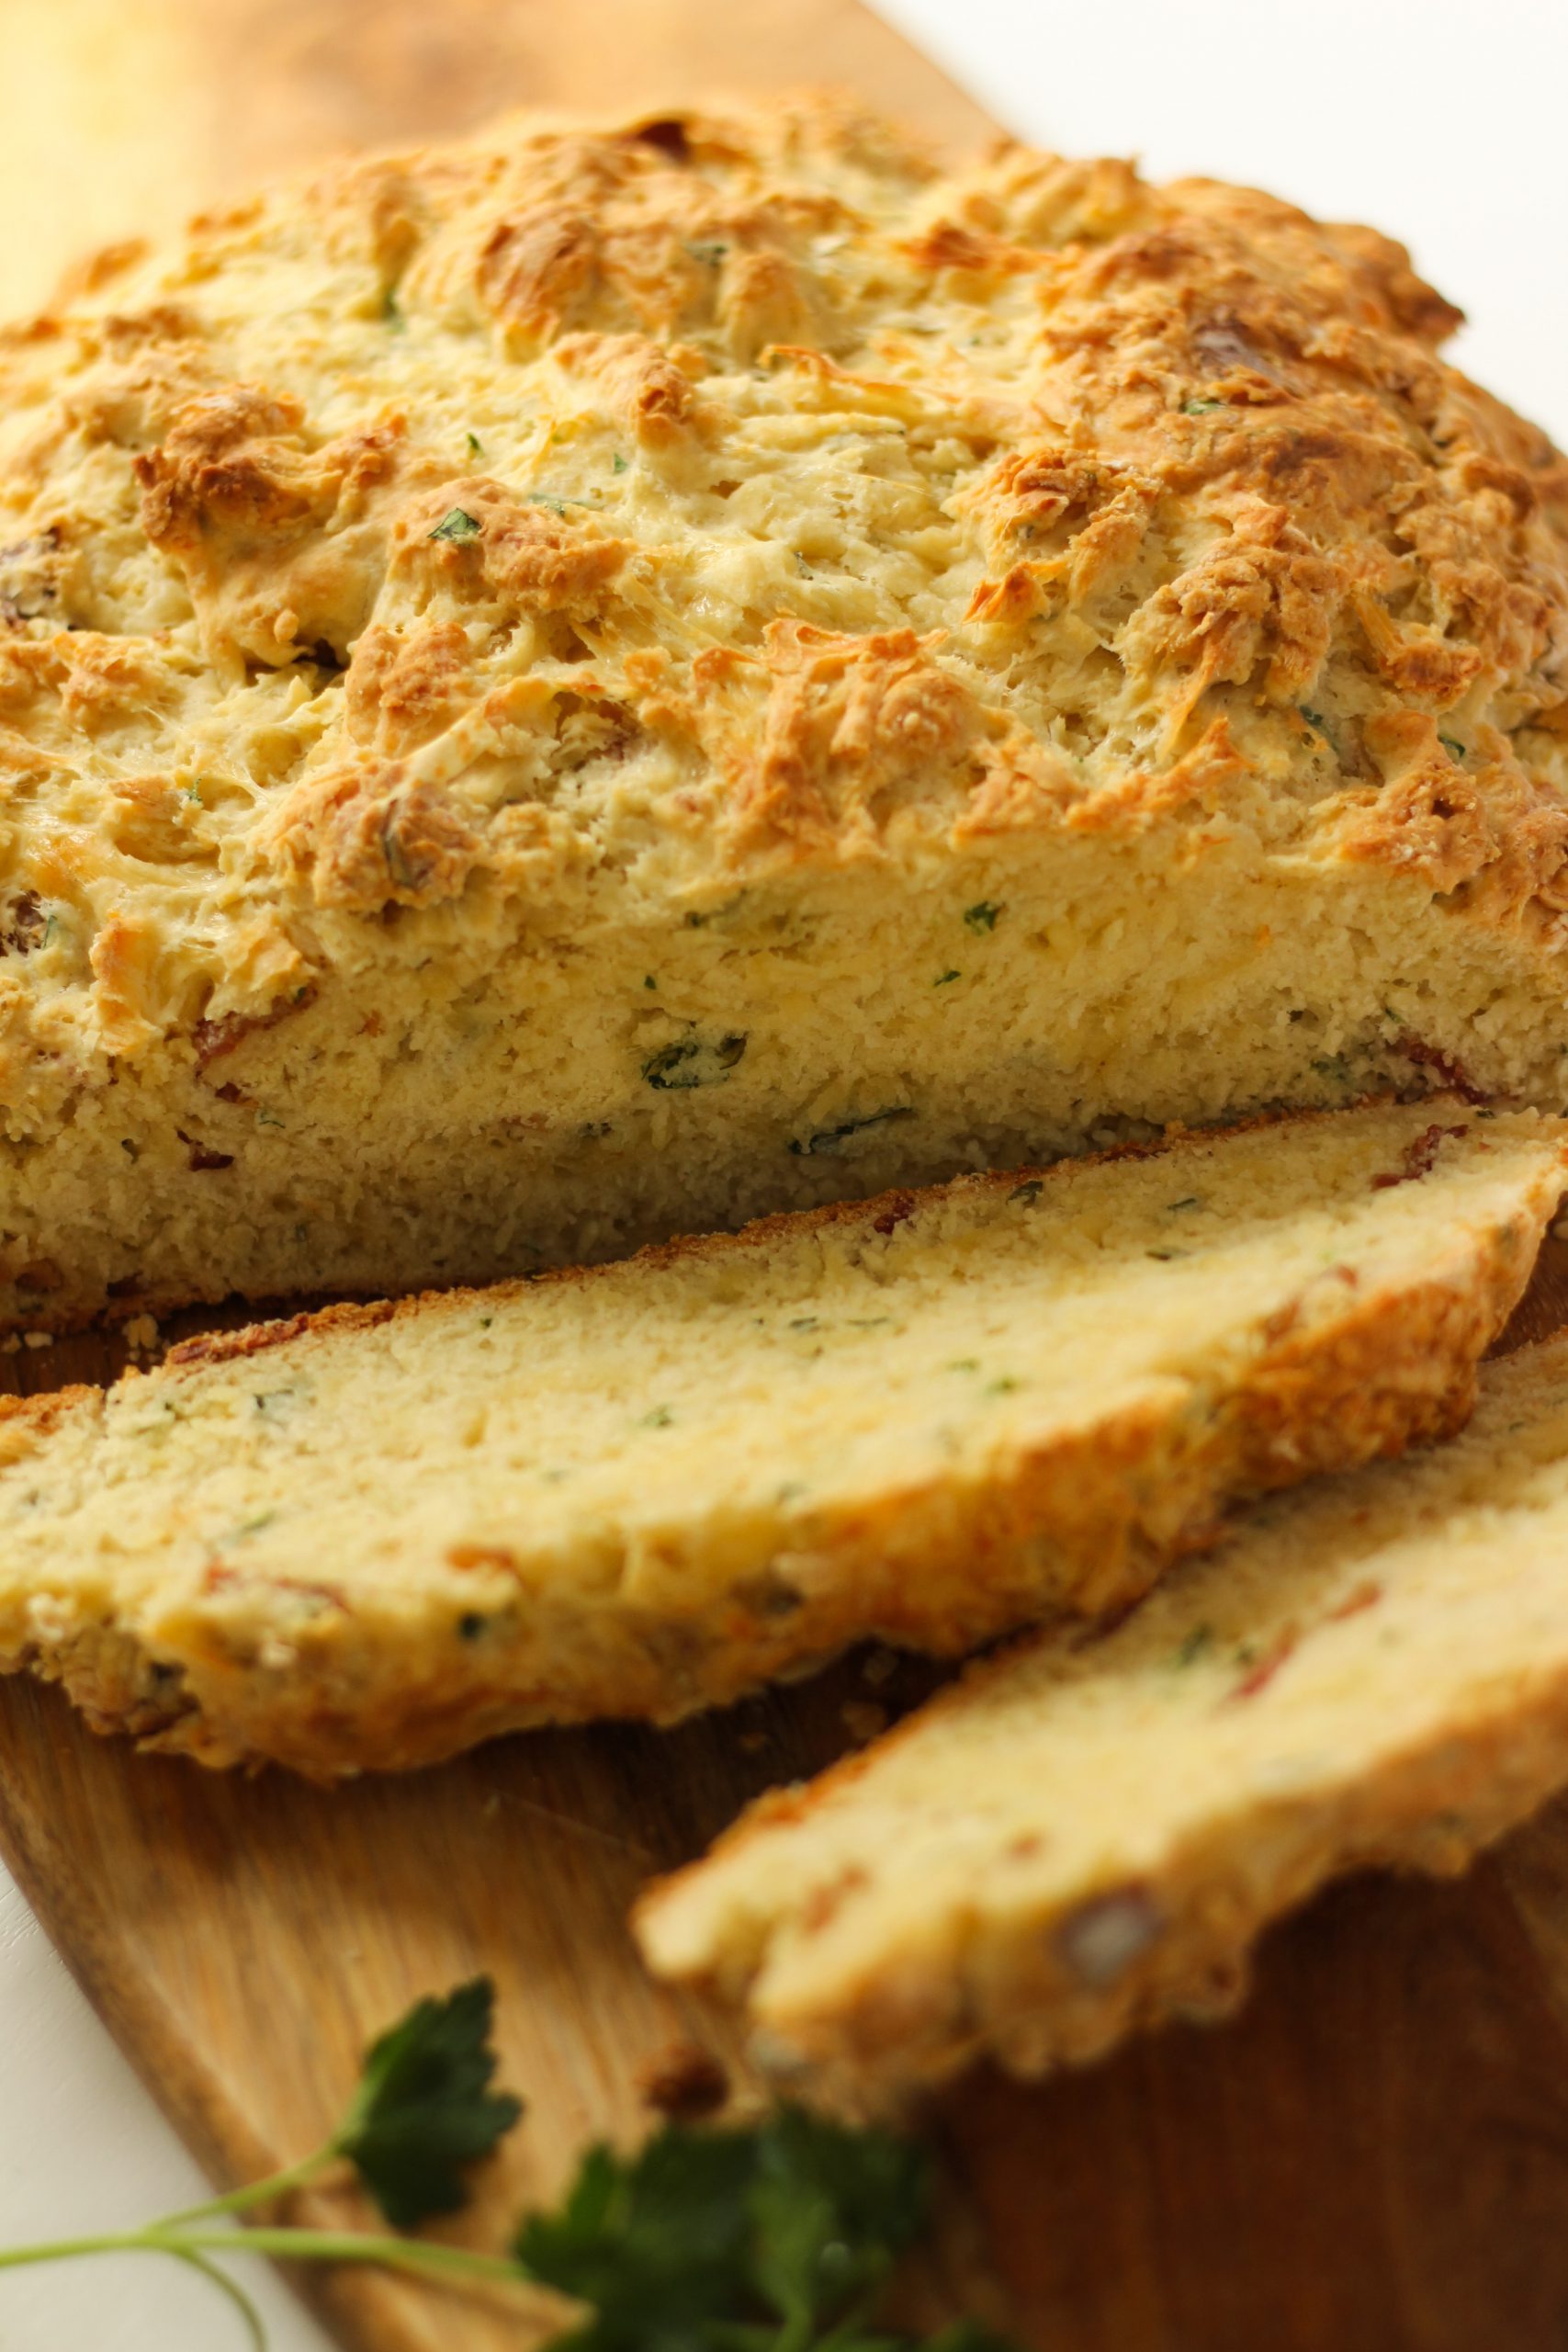
Baking bread is my favorite thing to do. You can never have too much bread or too many varieties. I normally don’t bake soda bread because they tend to be dense. I wanted to give it a go and try to make it a little less dense. The flavors of cheese, bacon and fresh herbs came quick to me as additions I wanted to add. I started to wonder about what additions might make it less dense? Besides a little more liquid from the buttermilk, I felt it needed an egg. The end result didn’t disappoint at all. My whole family loved it! By the end of the day, more than half the loaf was gone. 

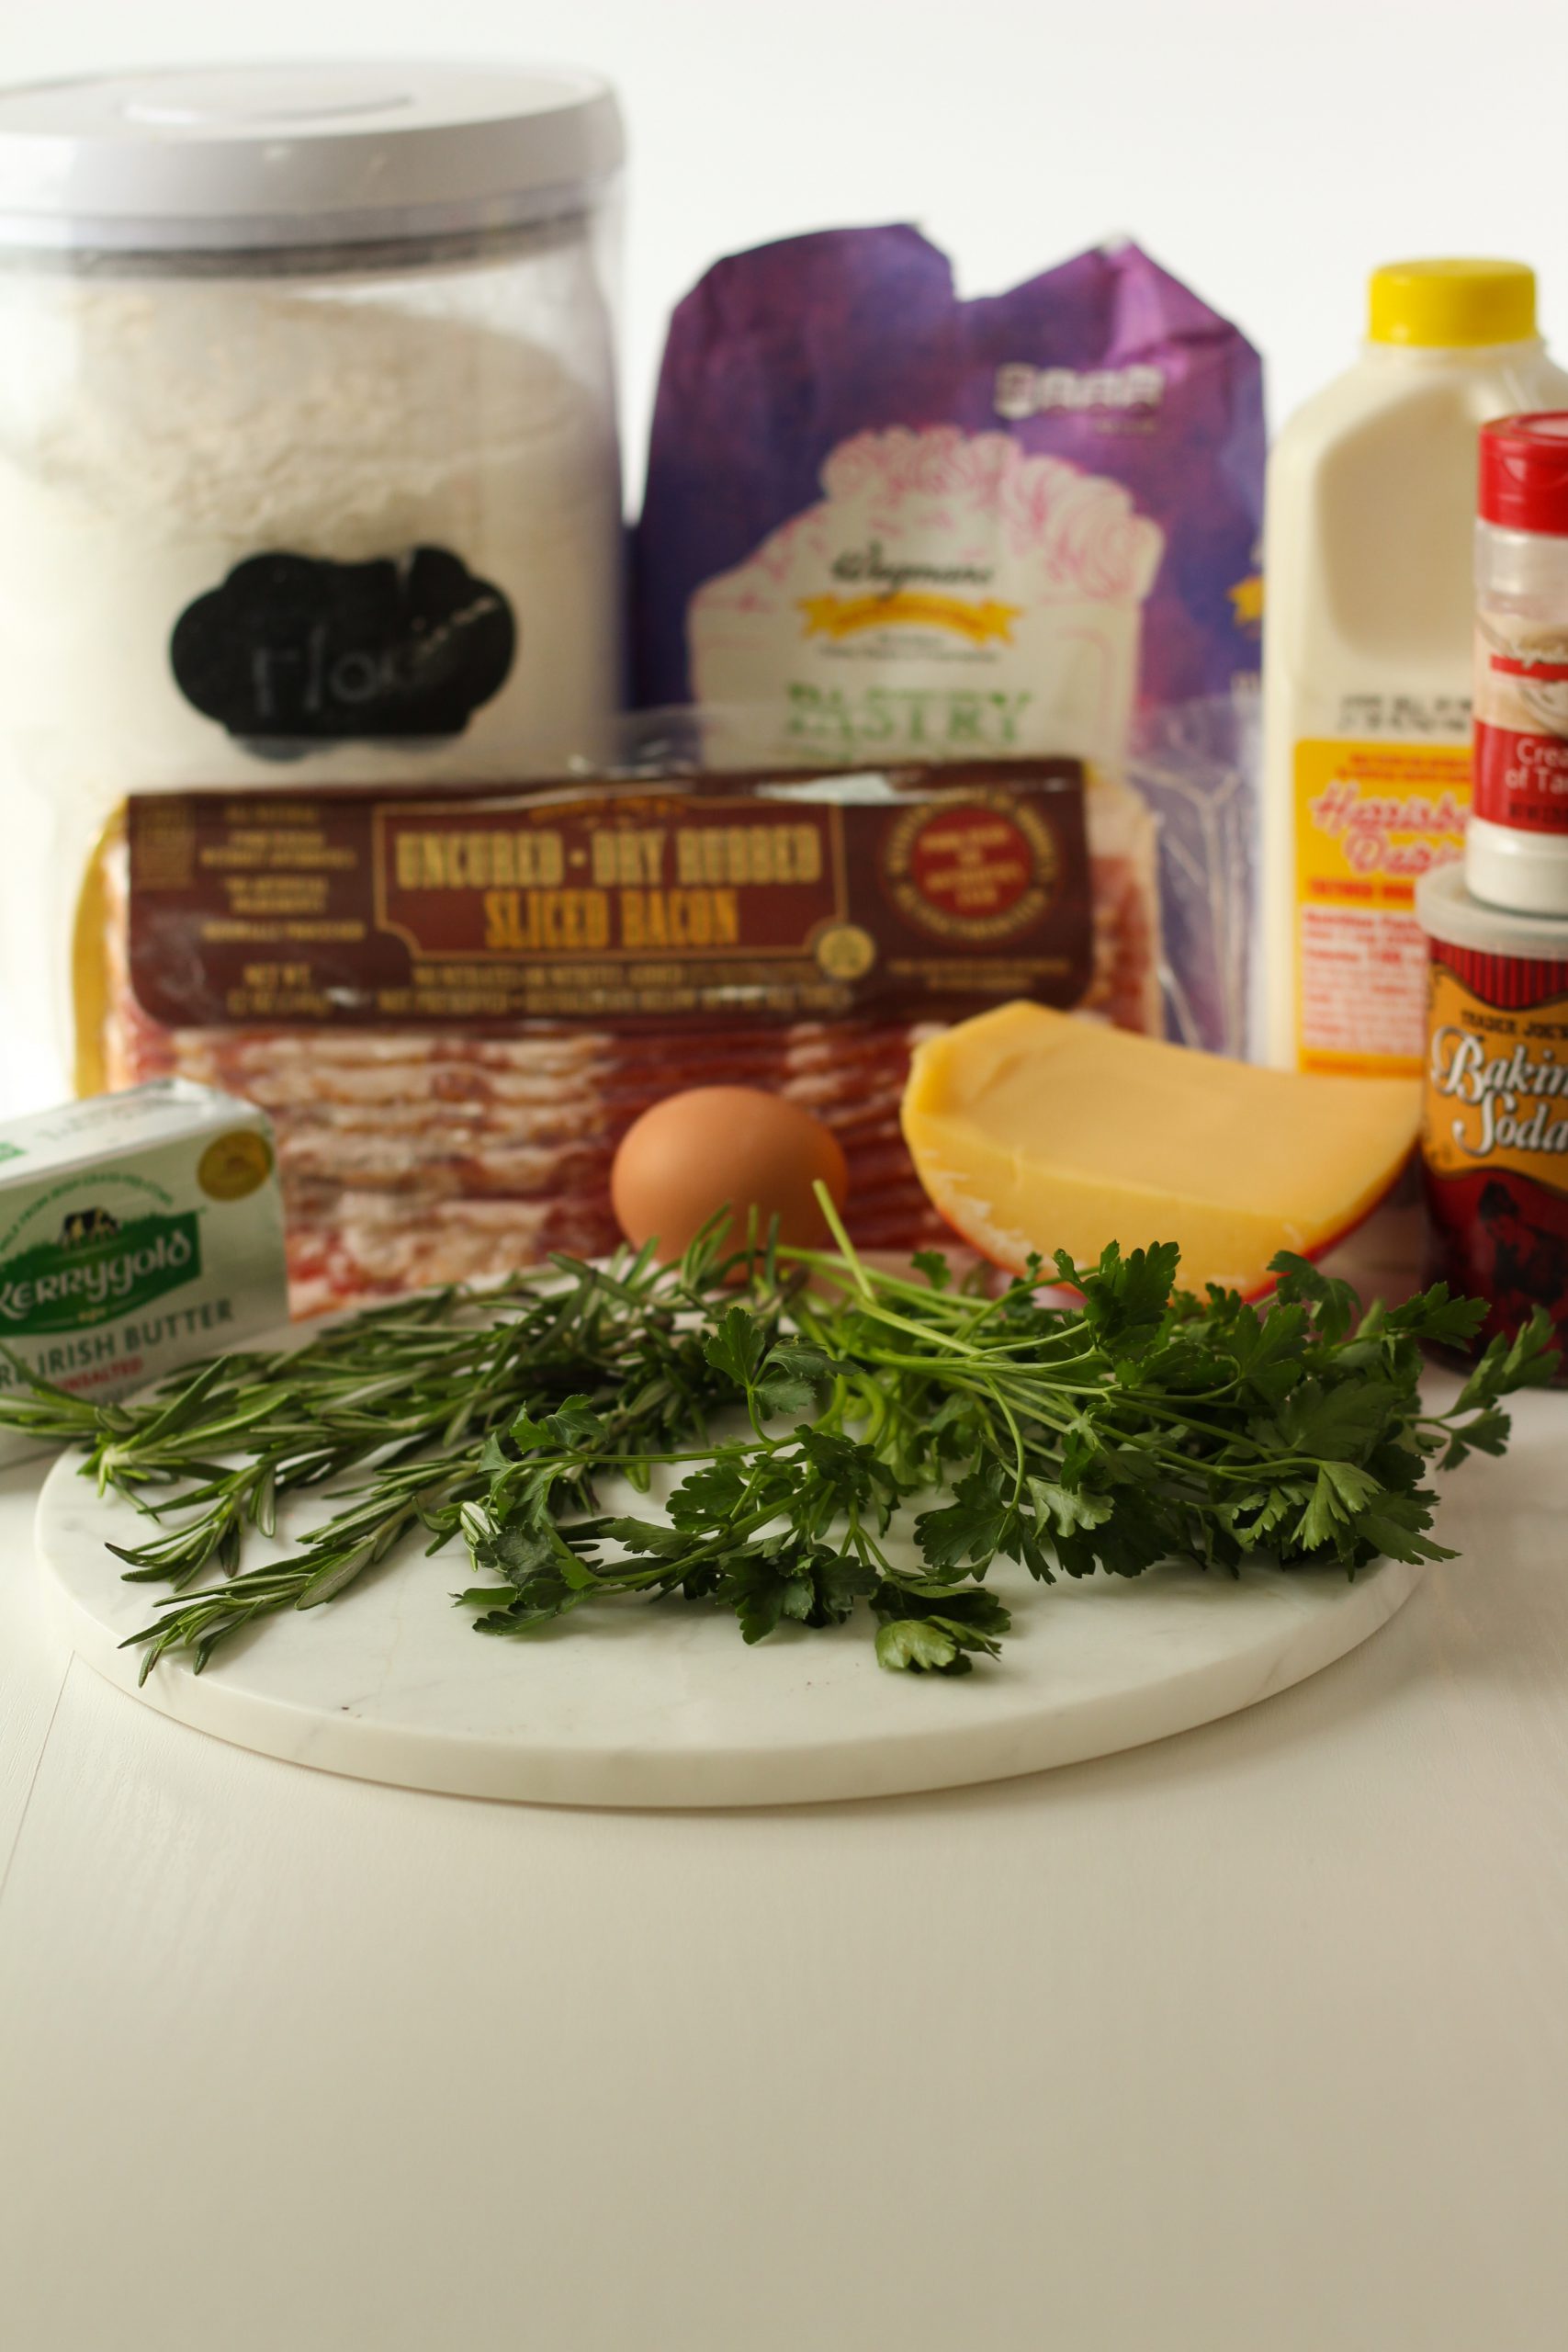
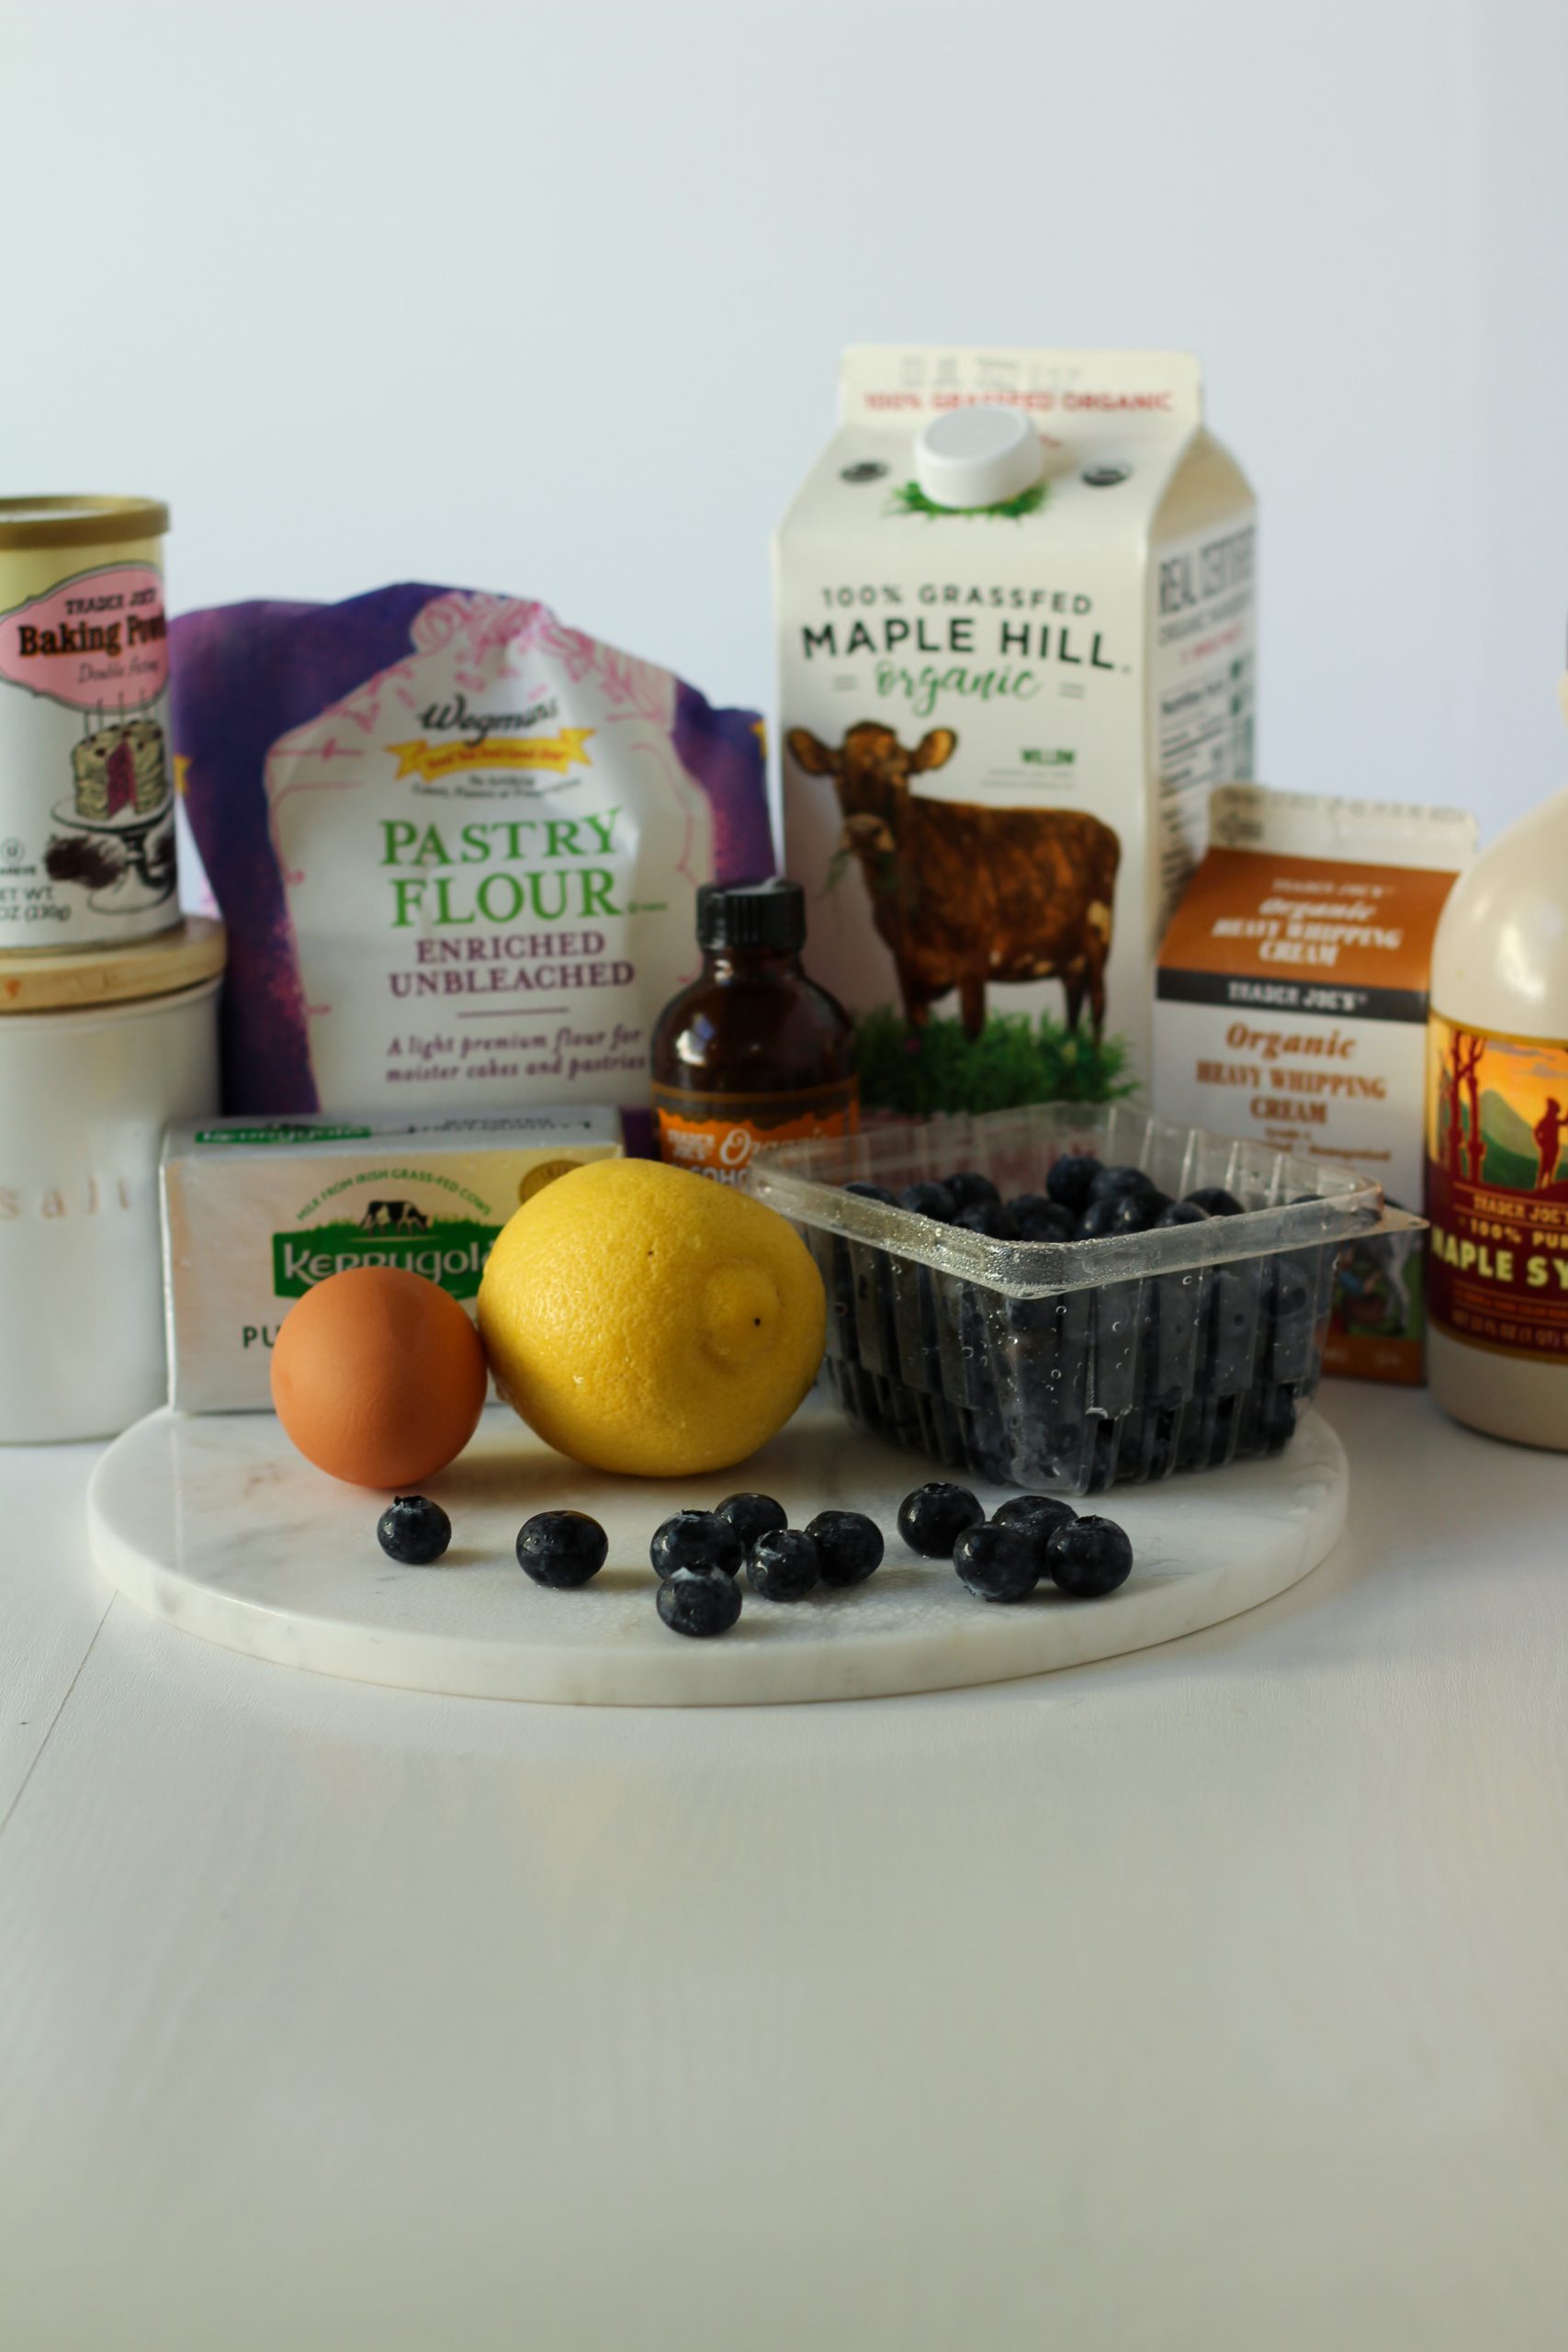
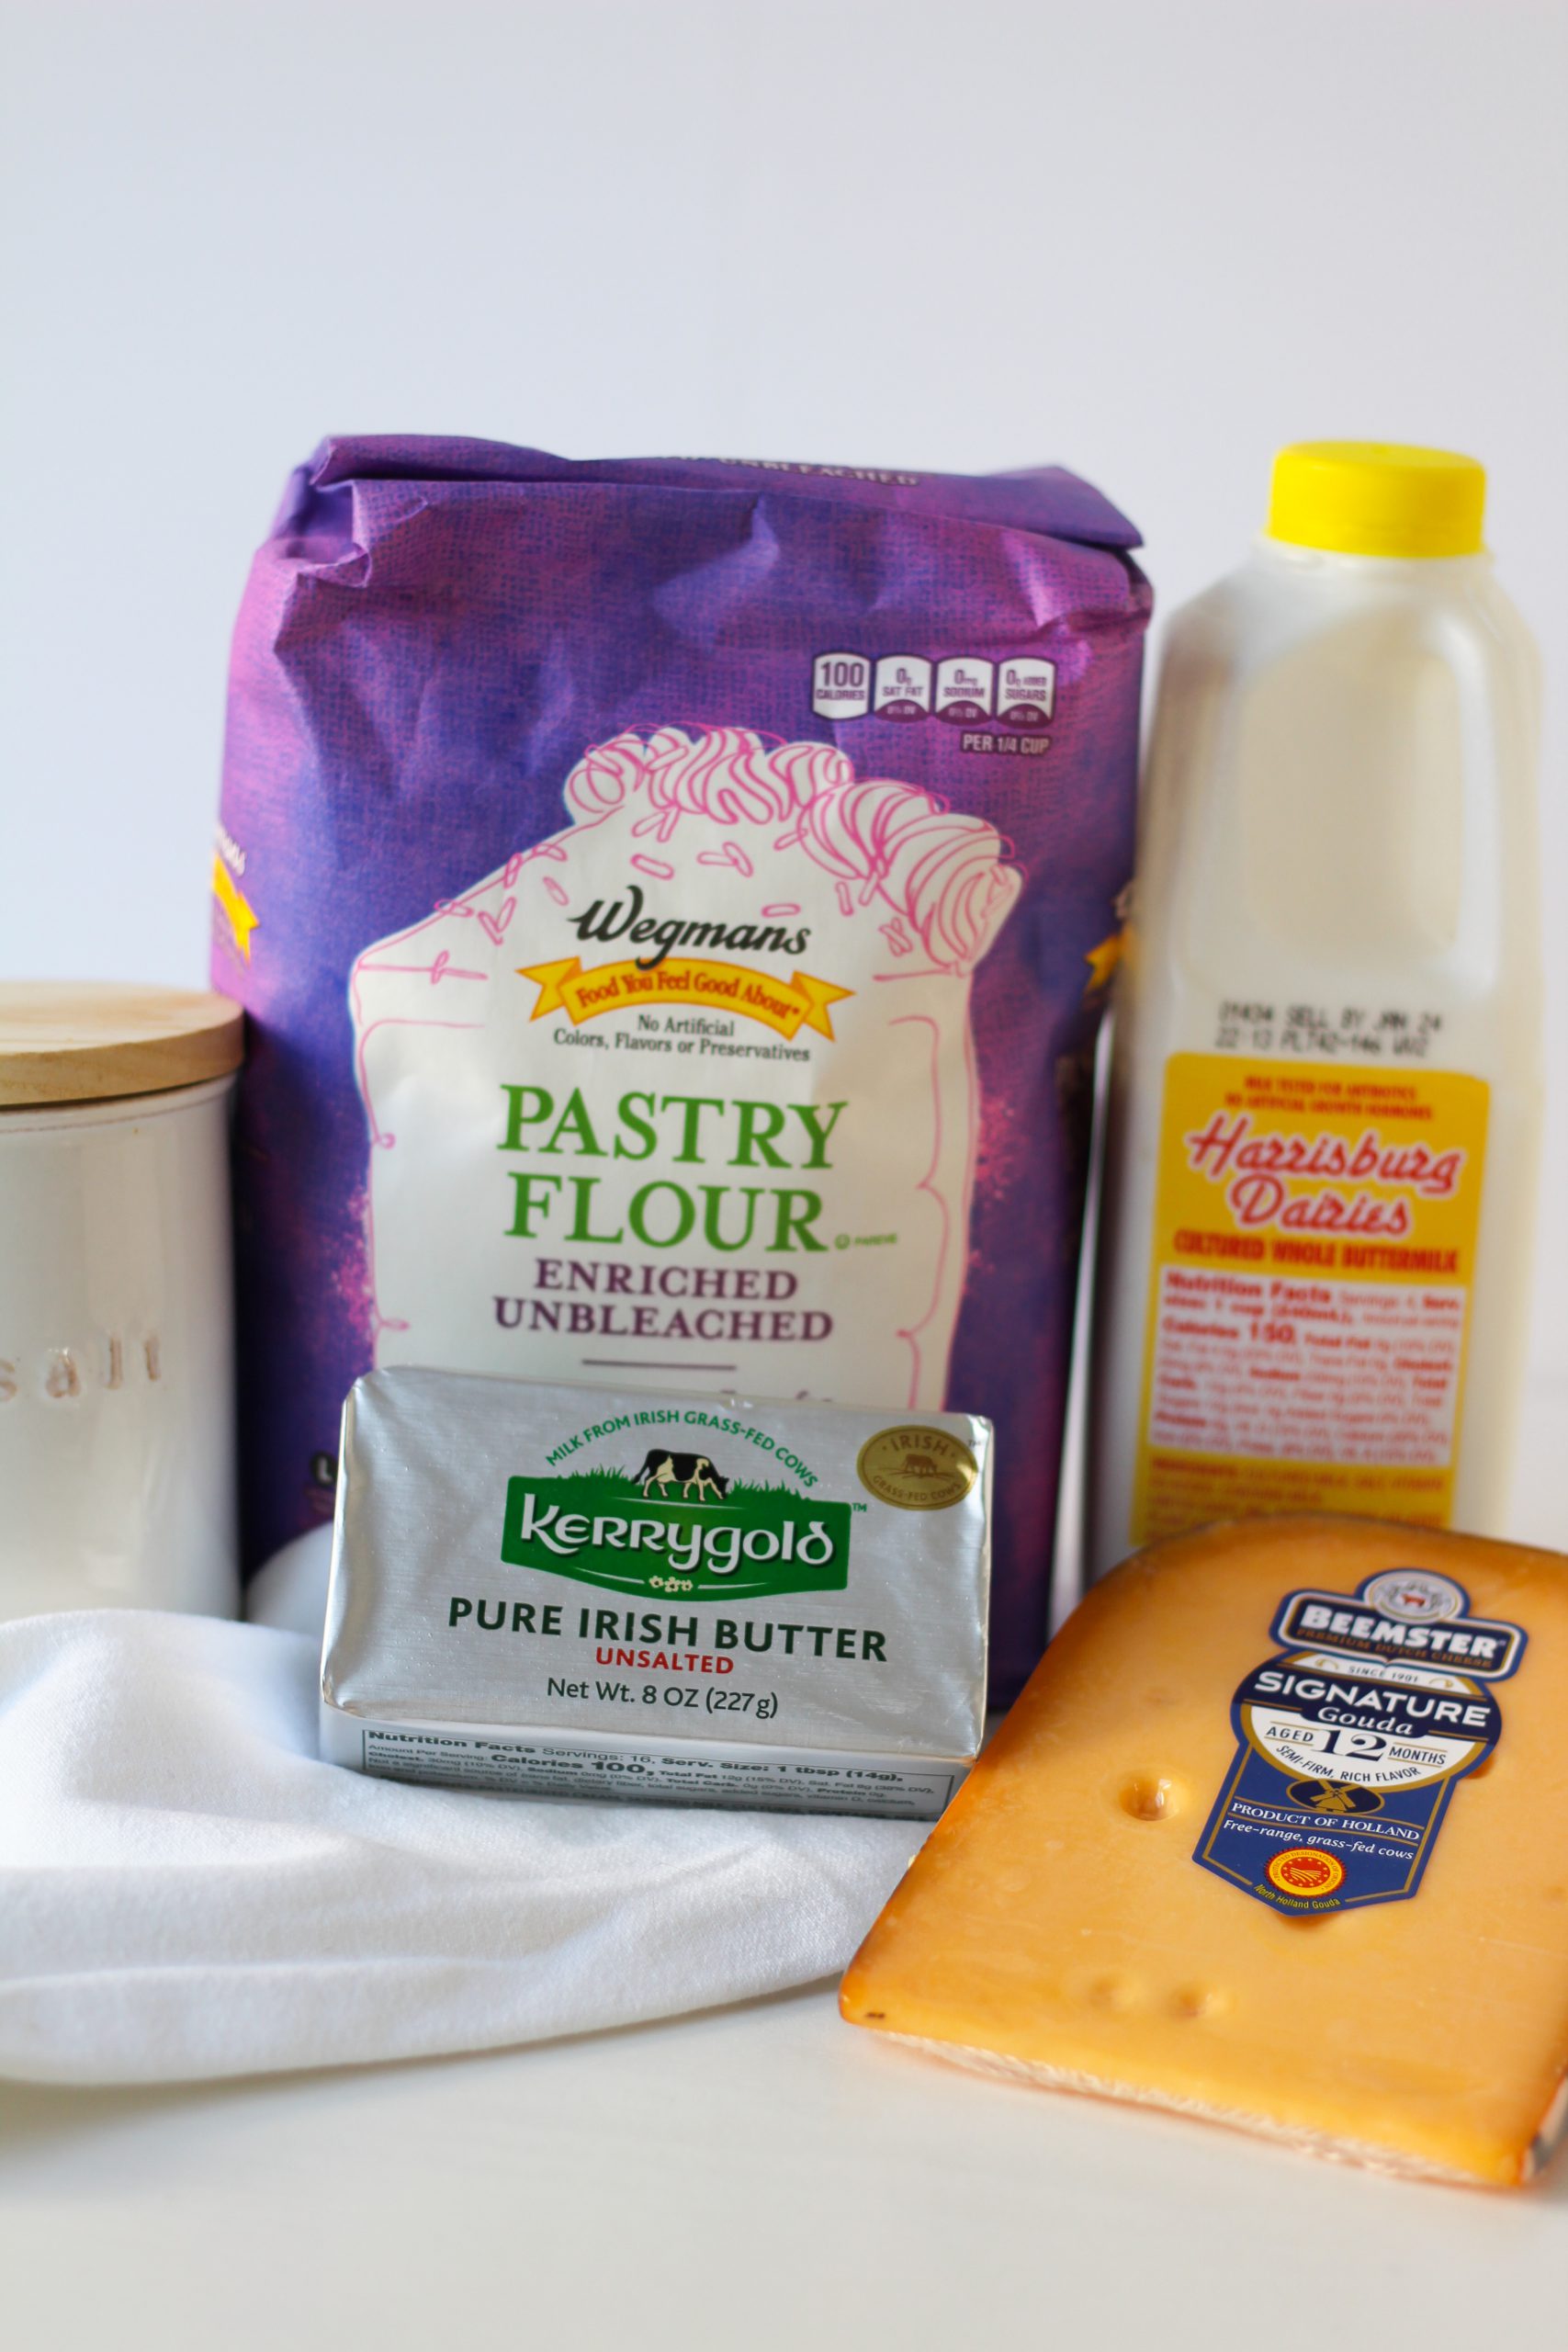
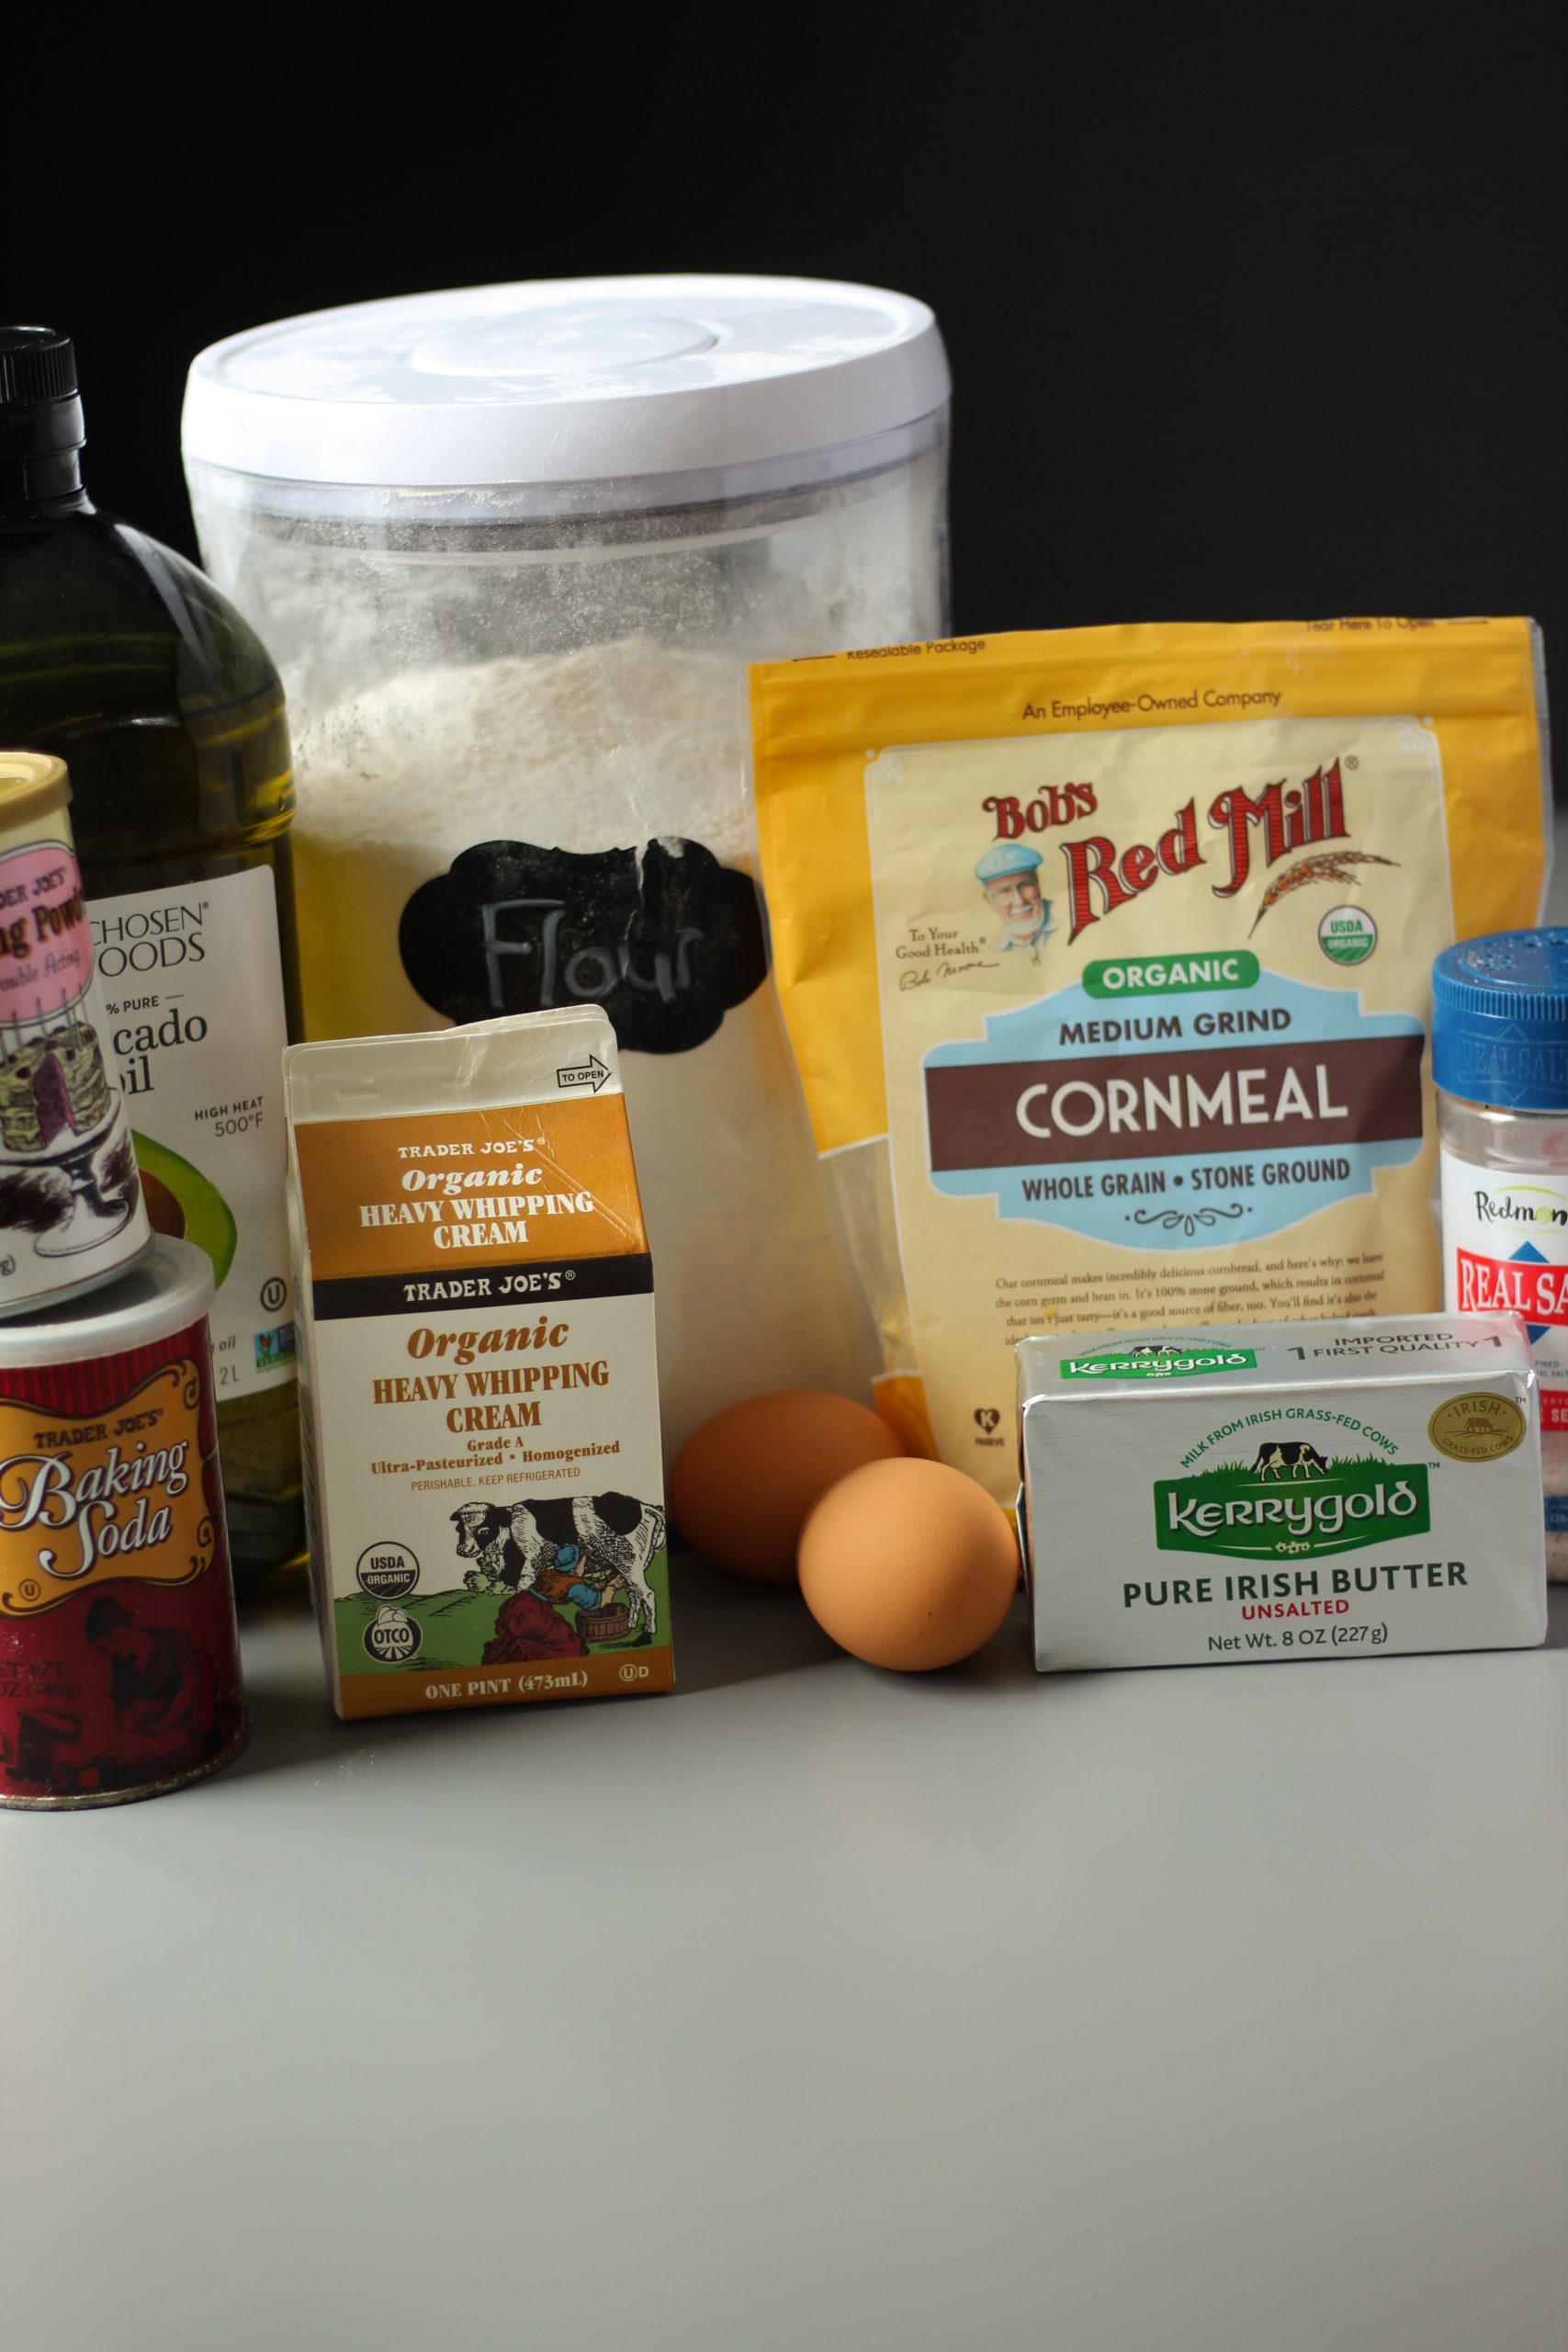
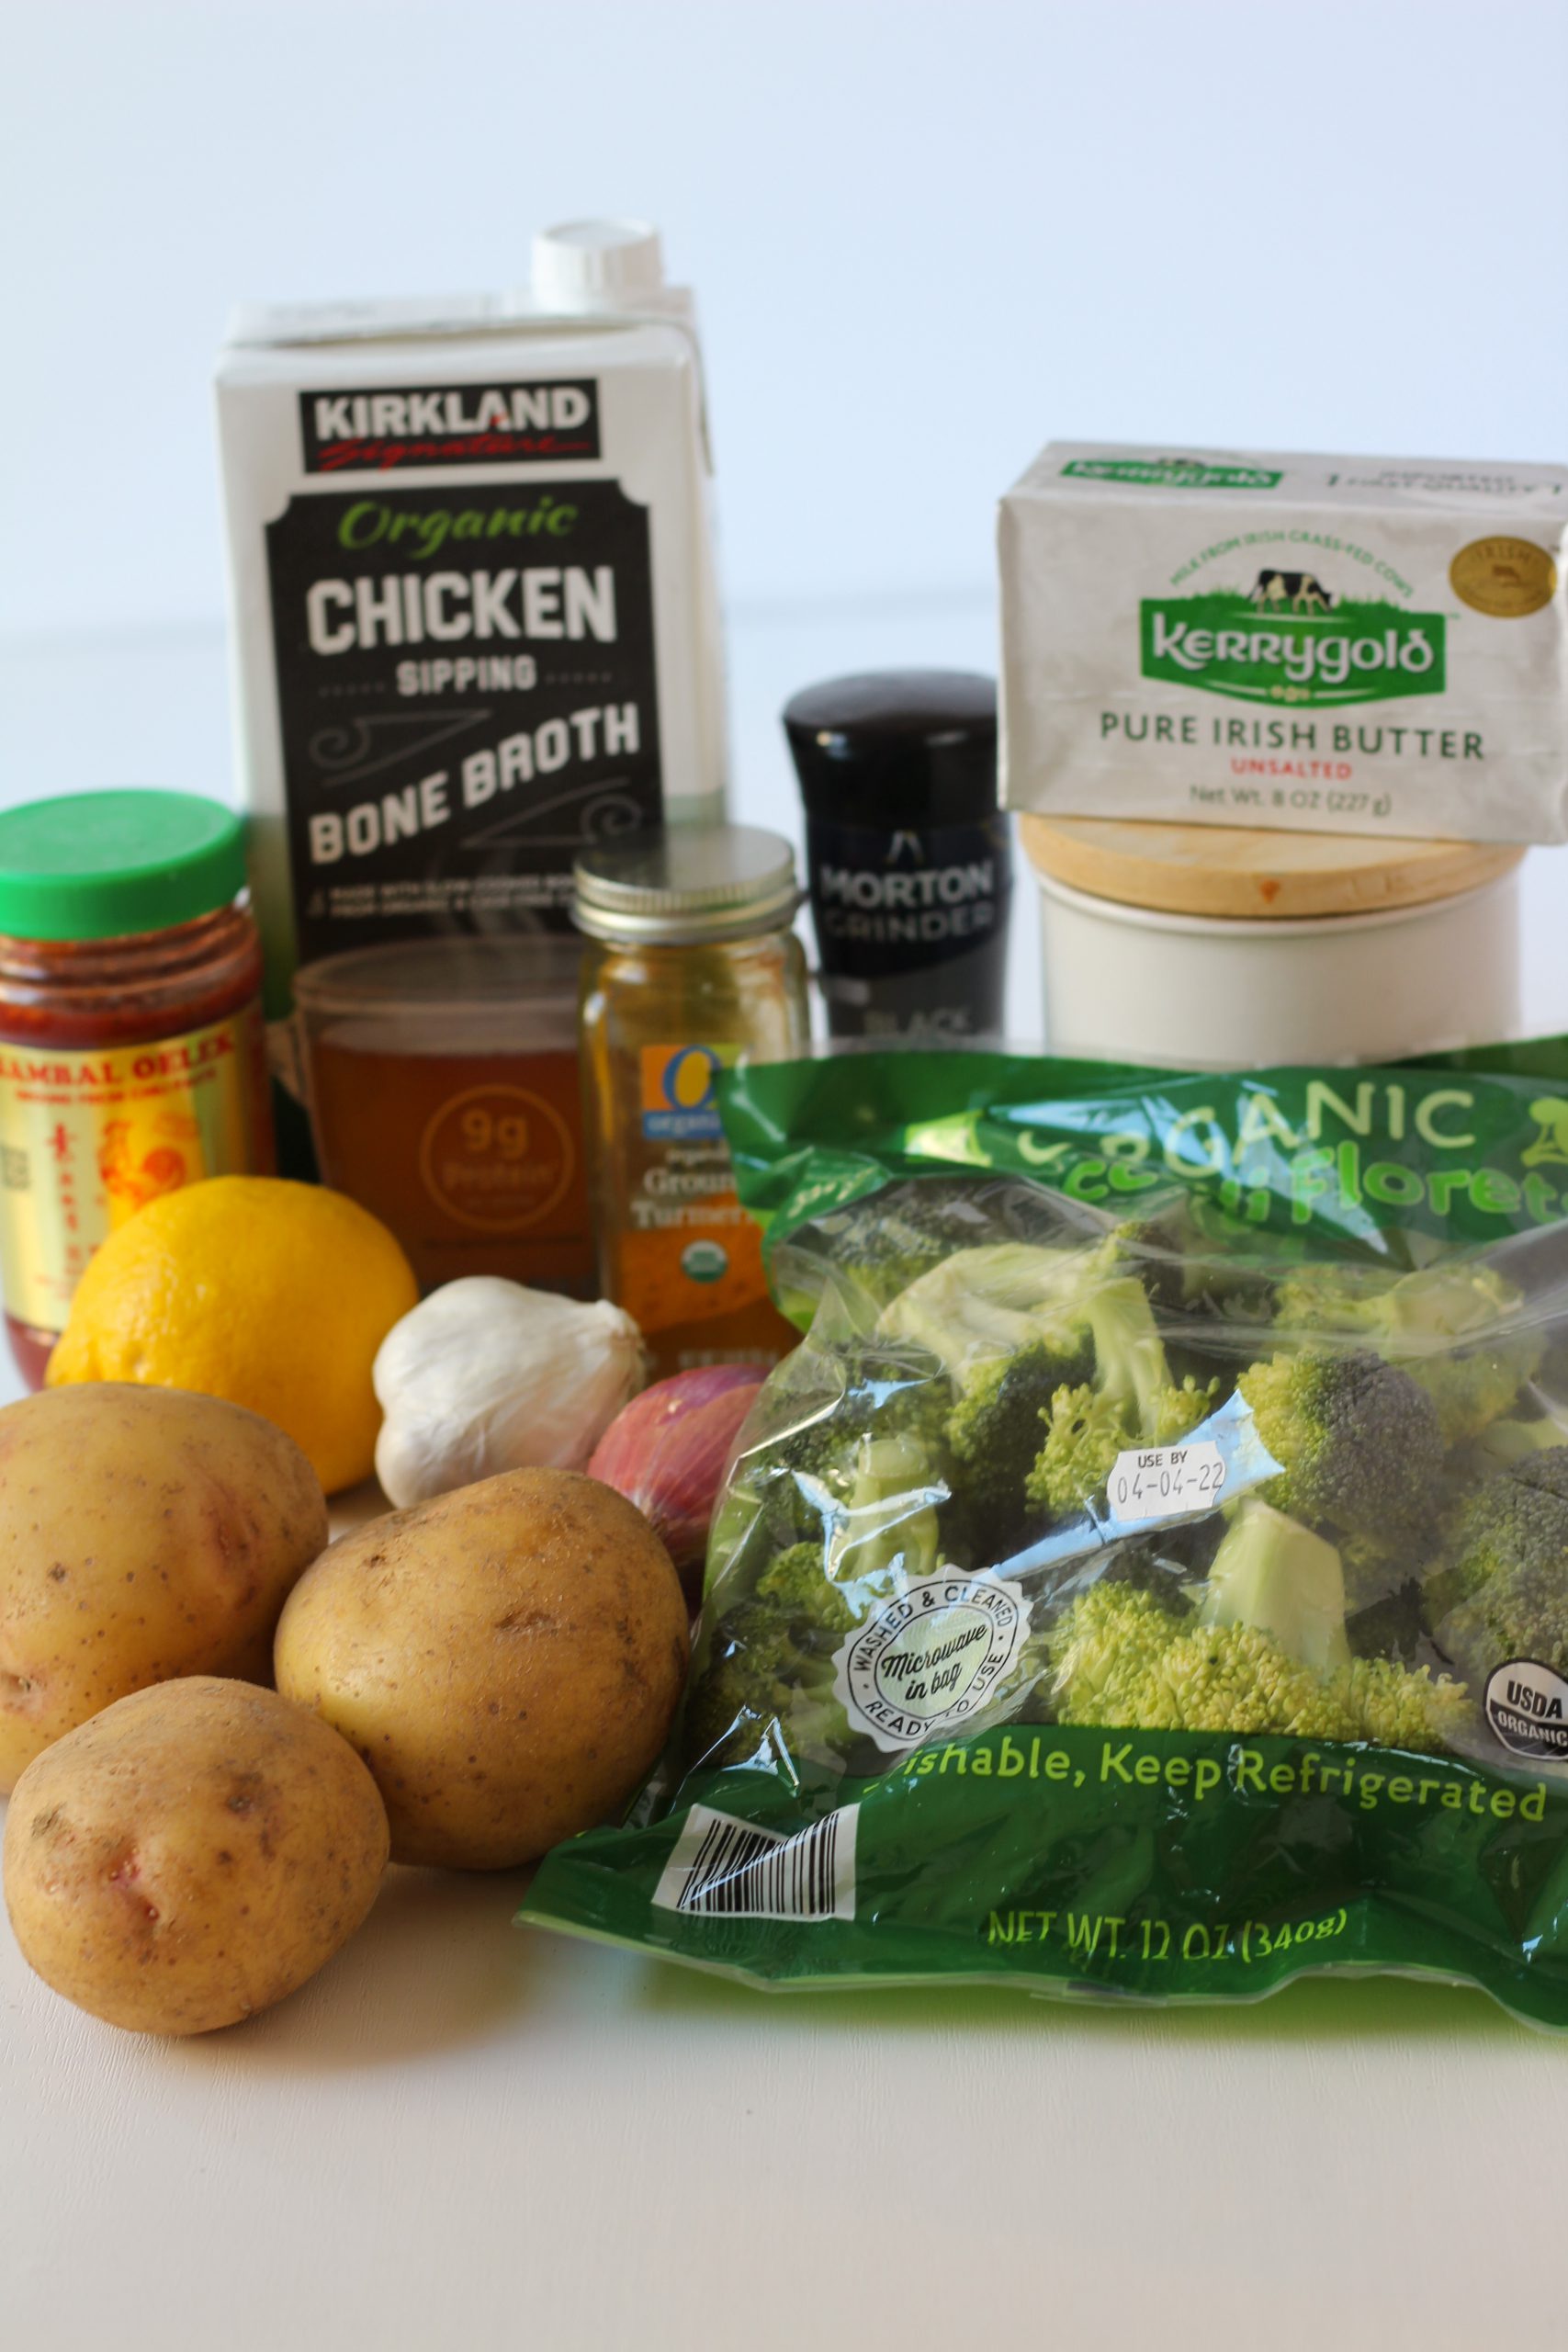
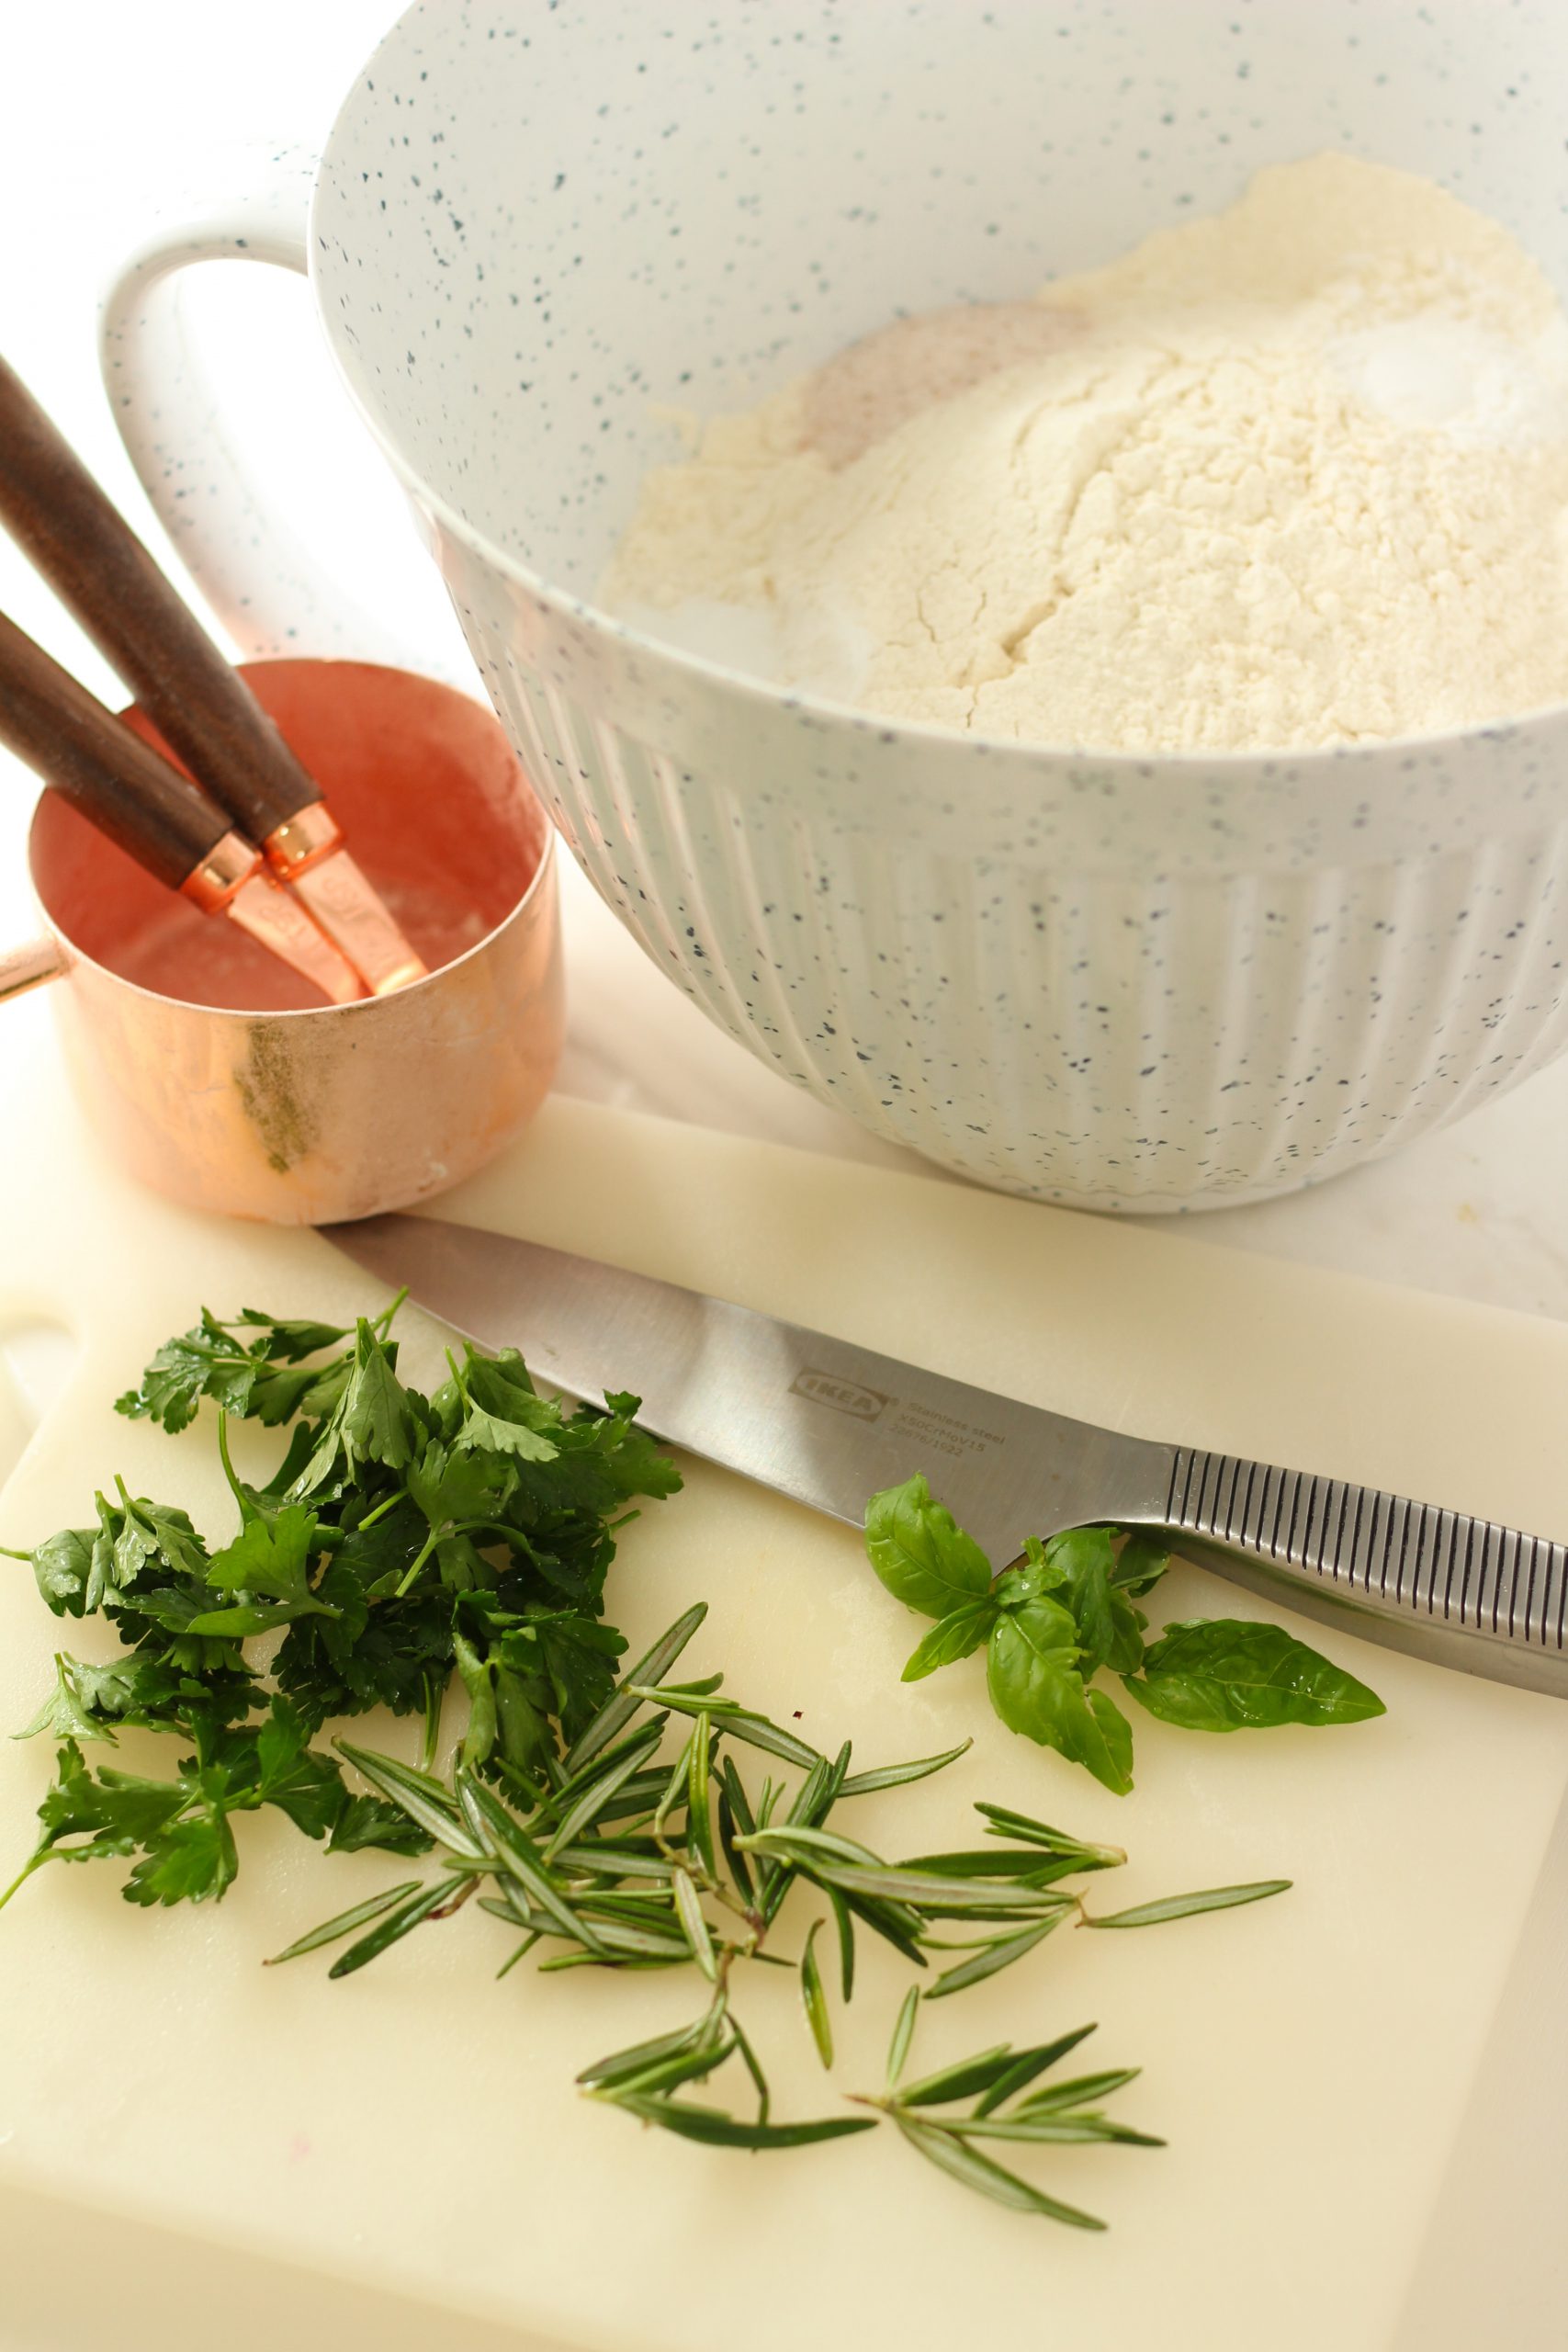
I recommend putting out all your ingredients before you start, so you have everything at hand.

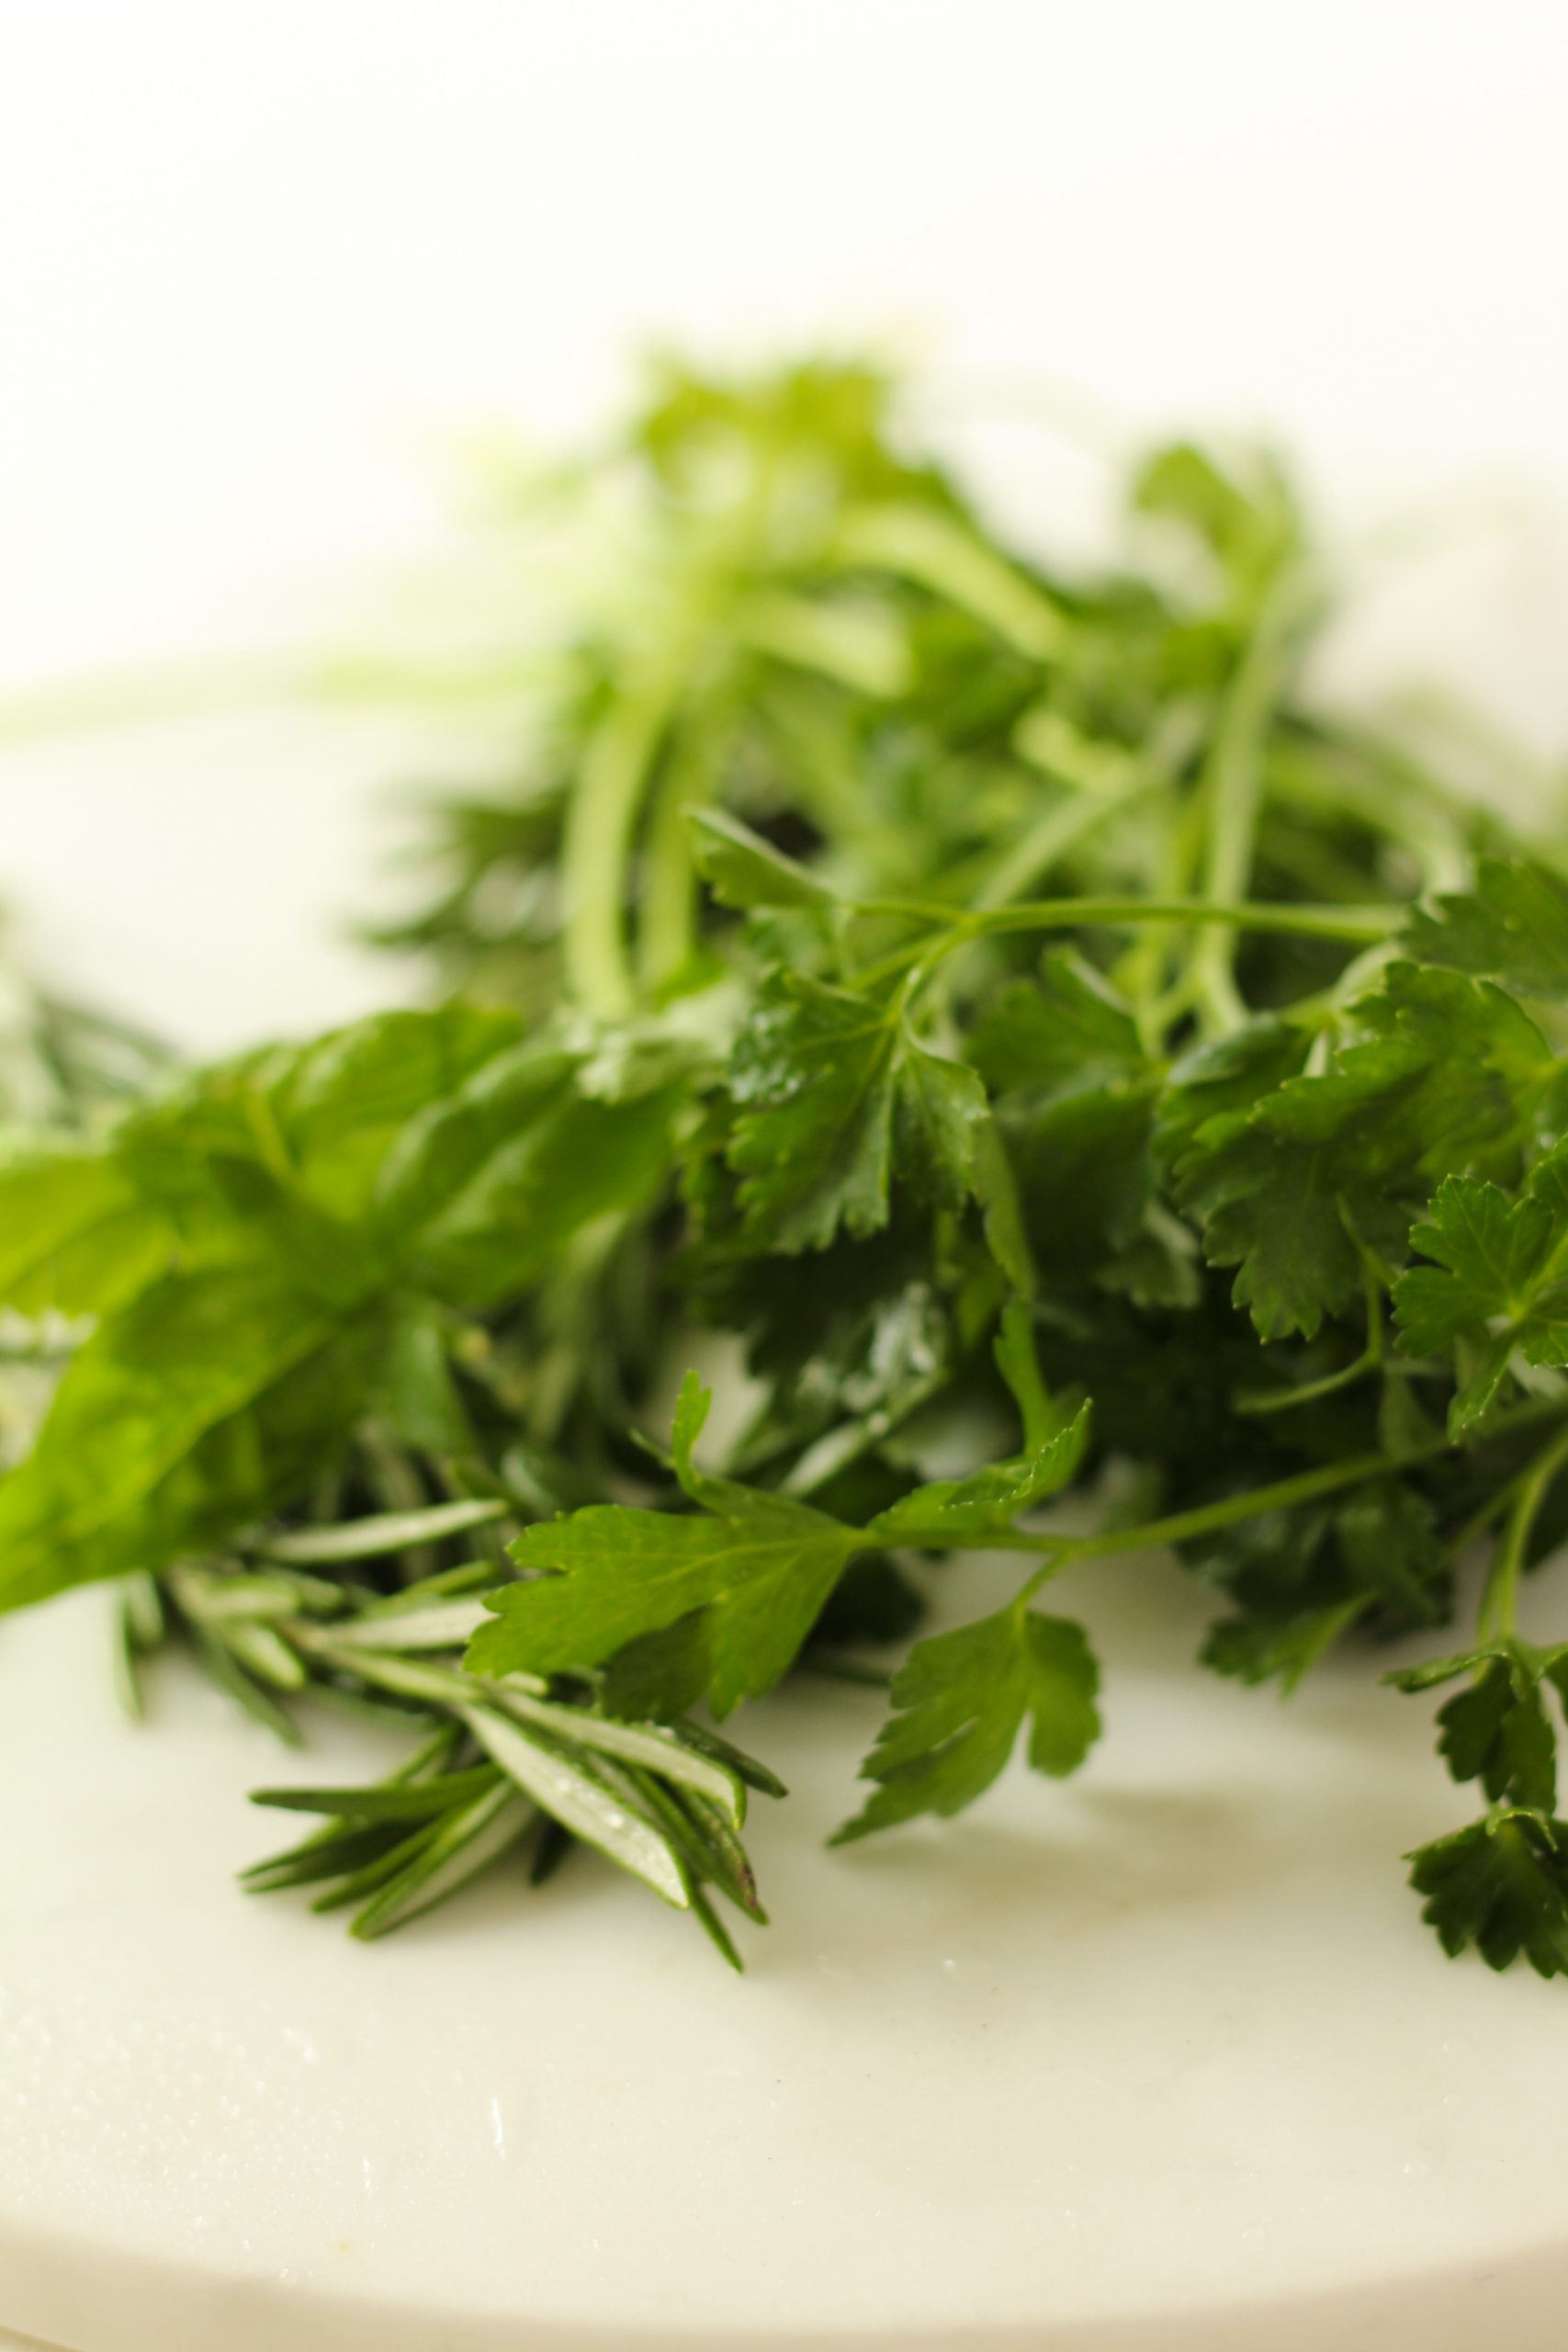
Fresh herbs, washed and ready to use. I used parsley, rosemary and a little basil. You can use any herbs you prefer.


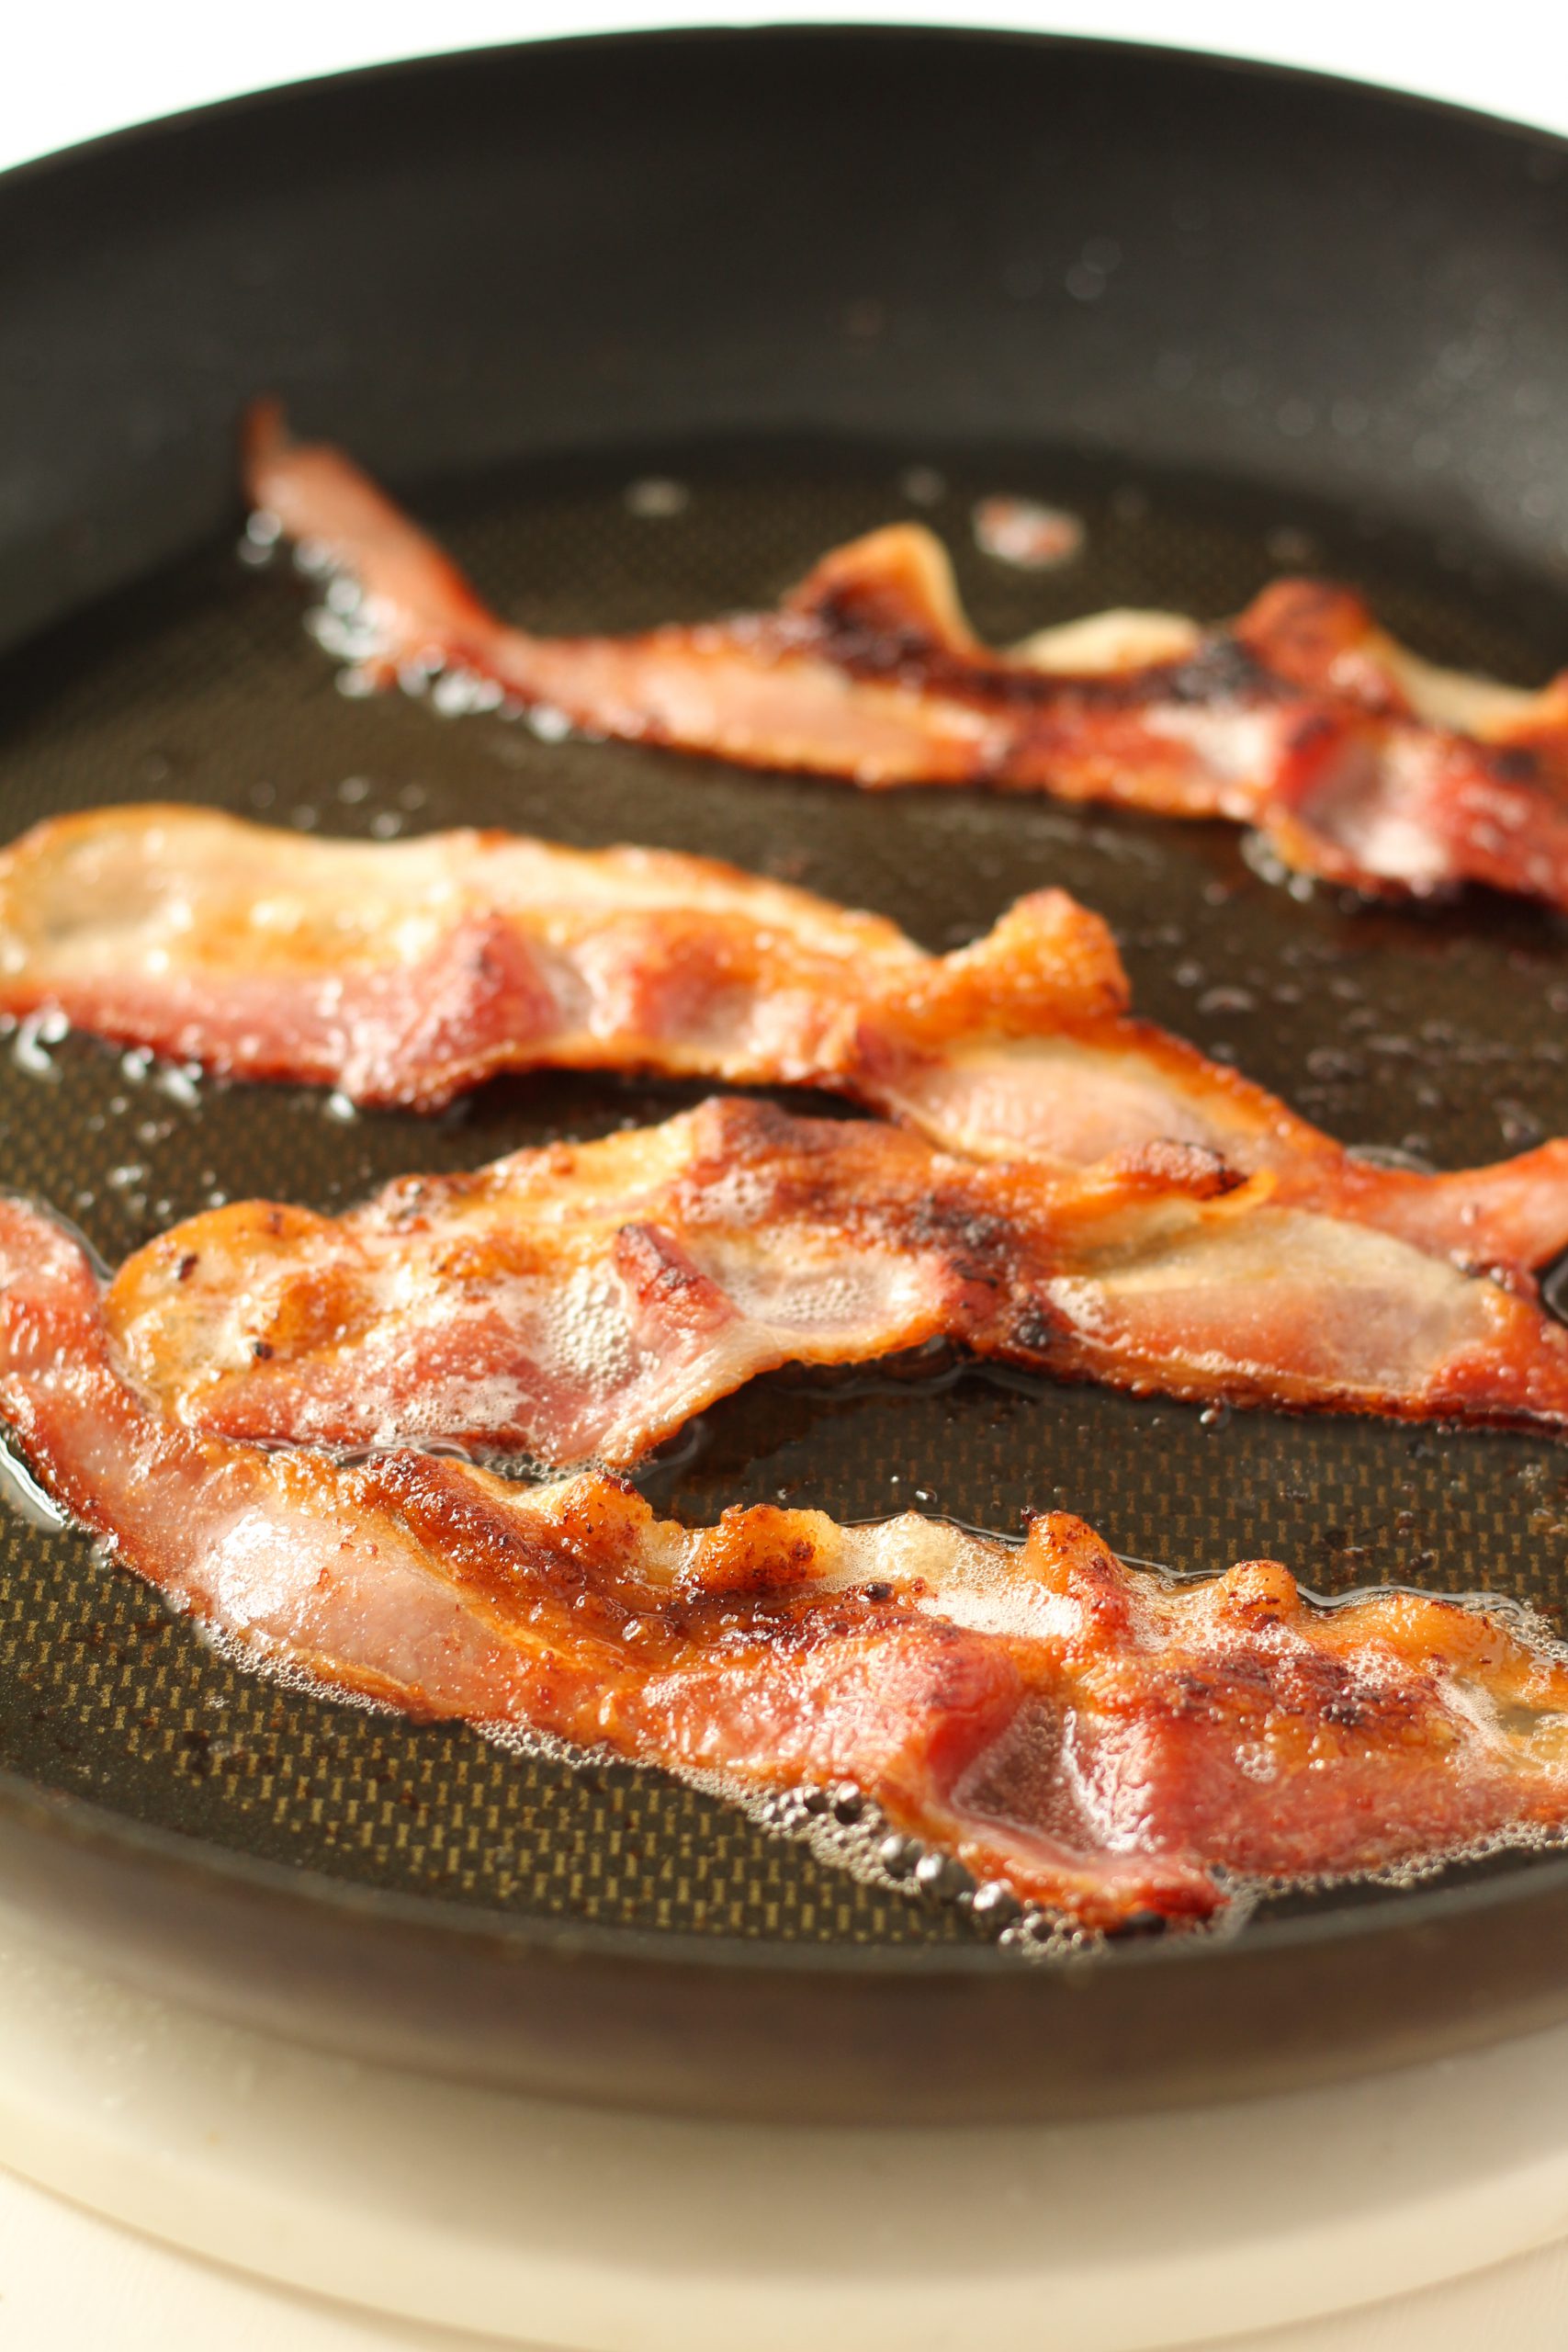
I’ve included bacon to add that extra bit of savory flavor. Make sure you bake until it is nice and crispy.

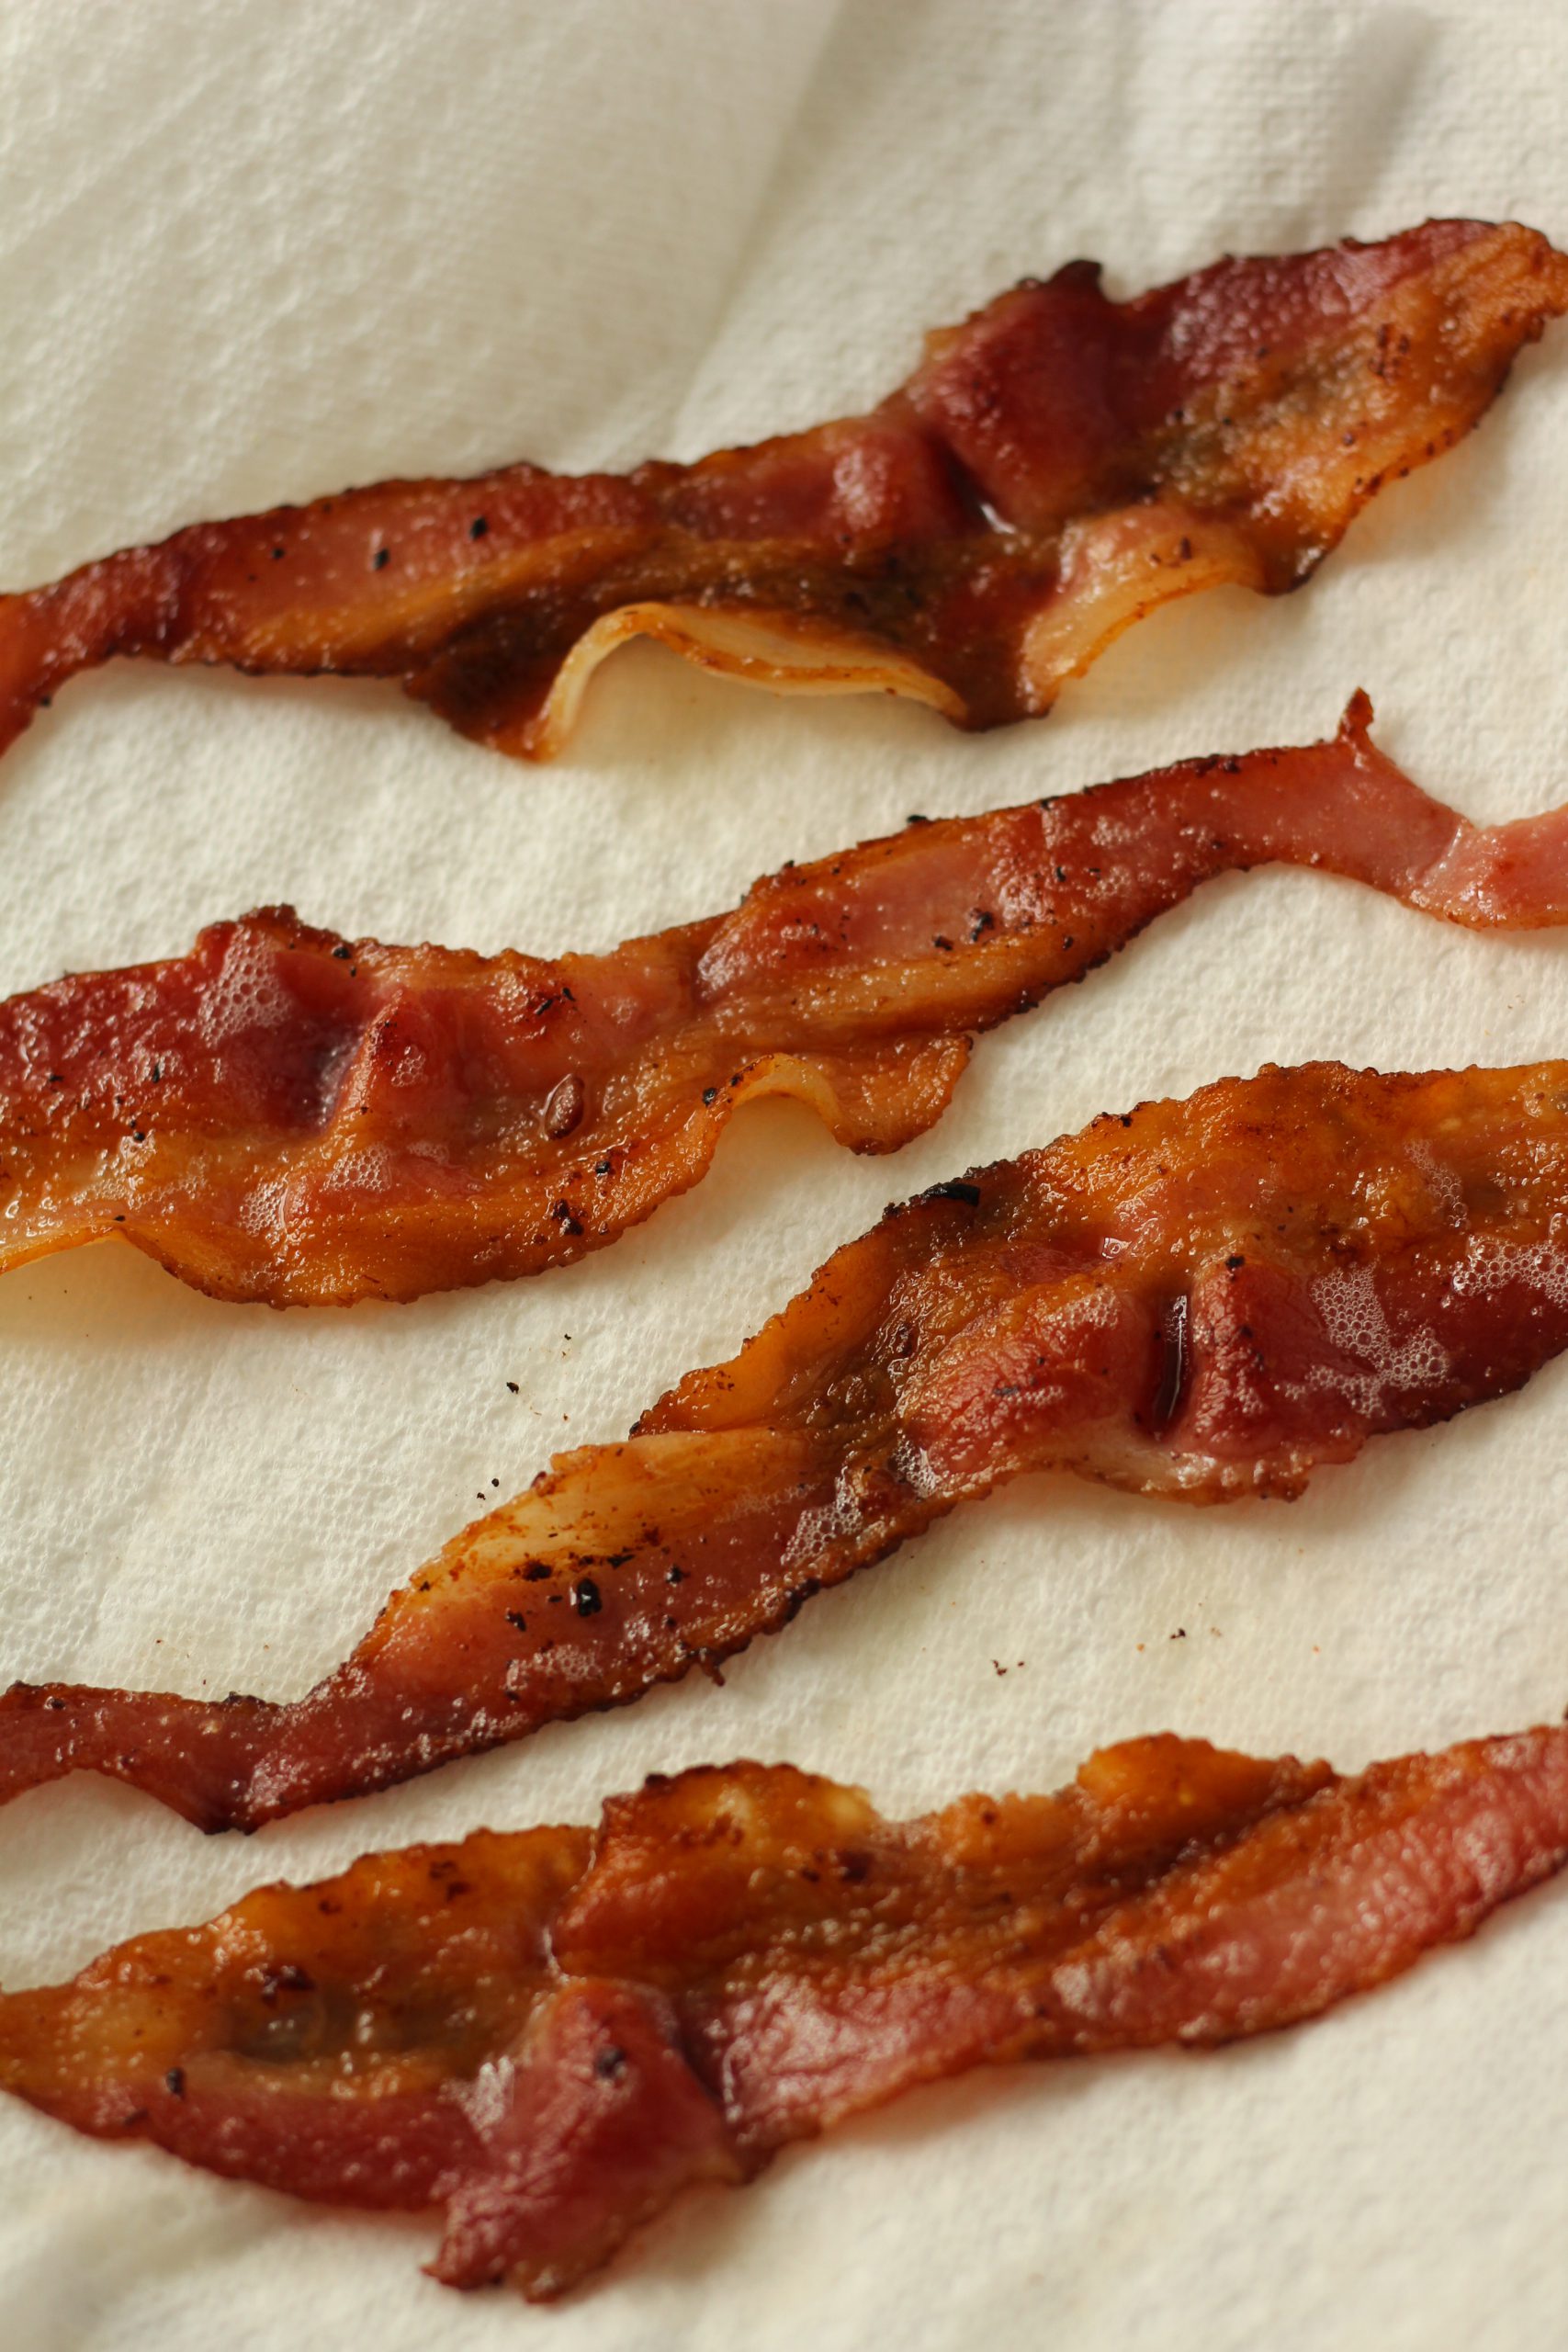
Let the bacon sit on a paper towel for a bit to catch the grease.

Make sure you chop your herbs nice and small.

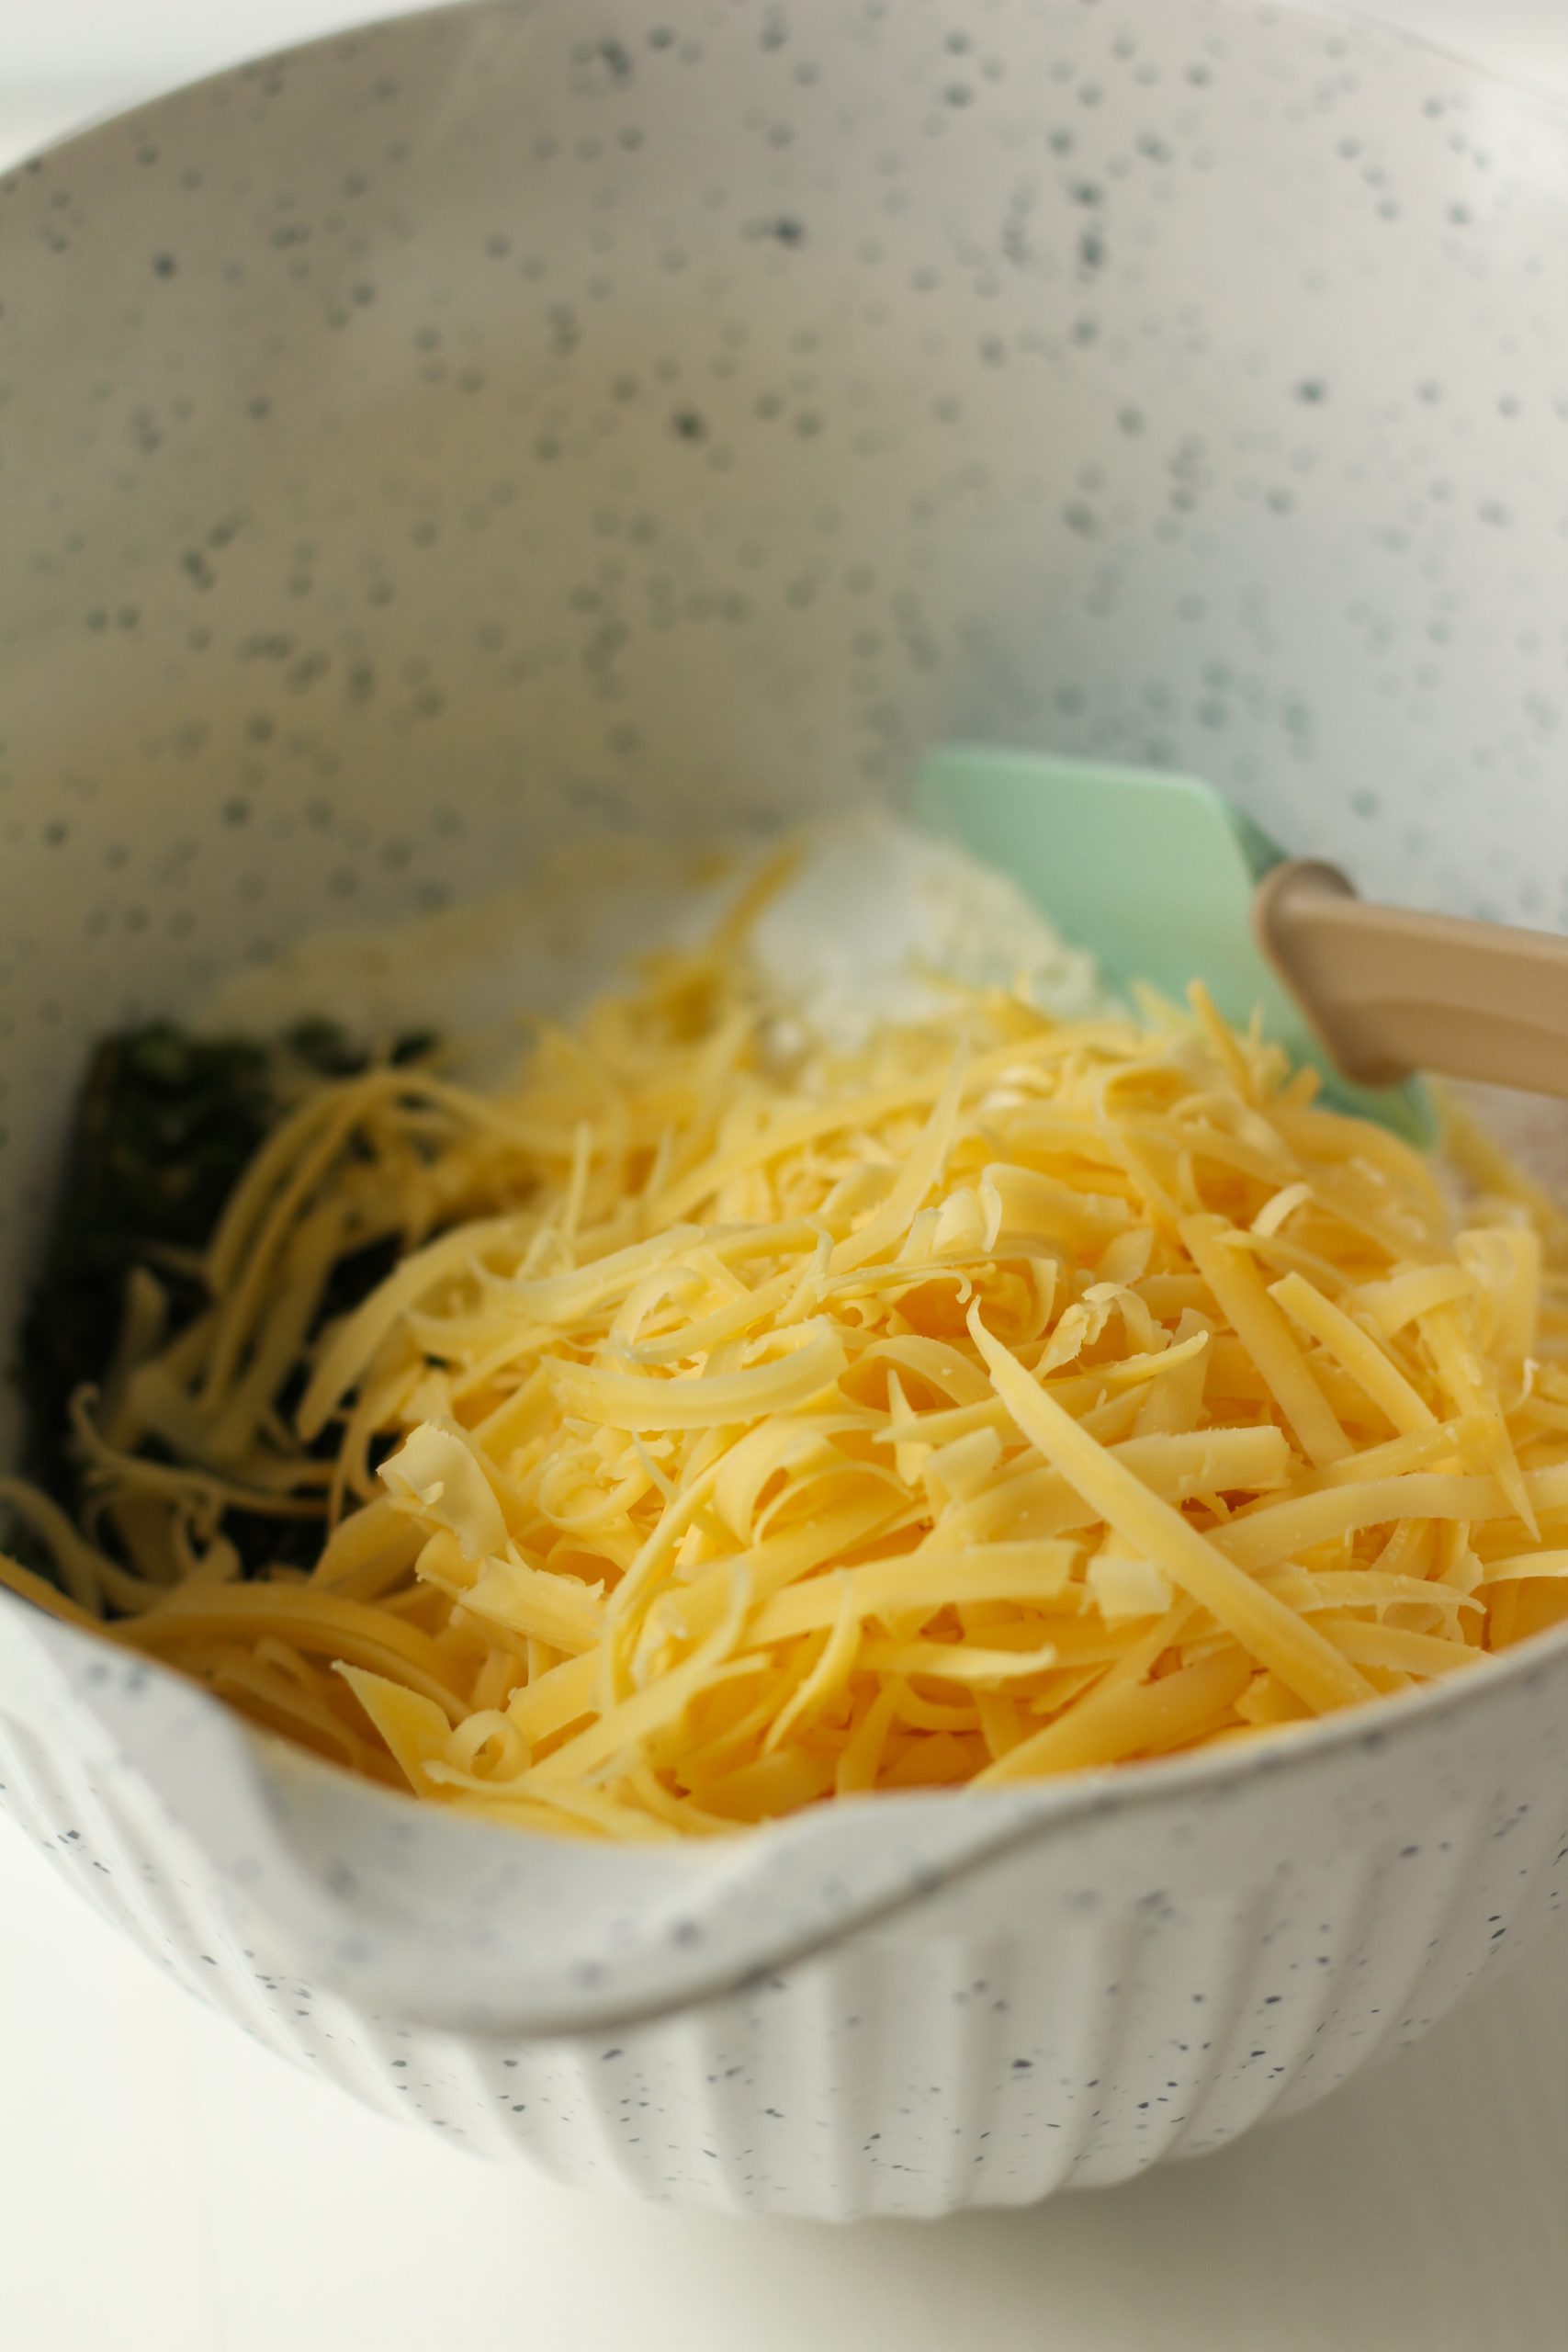
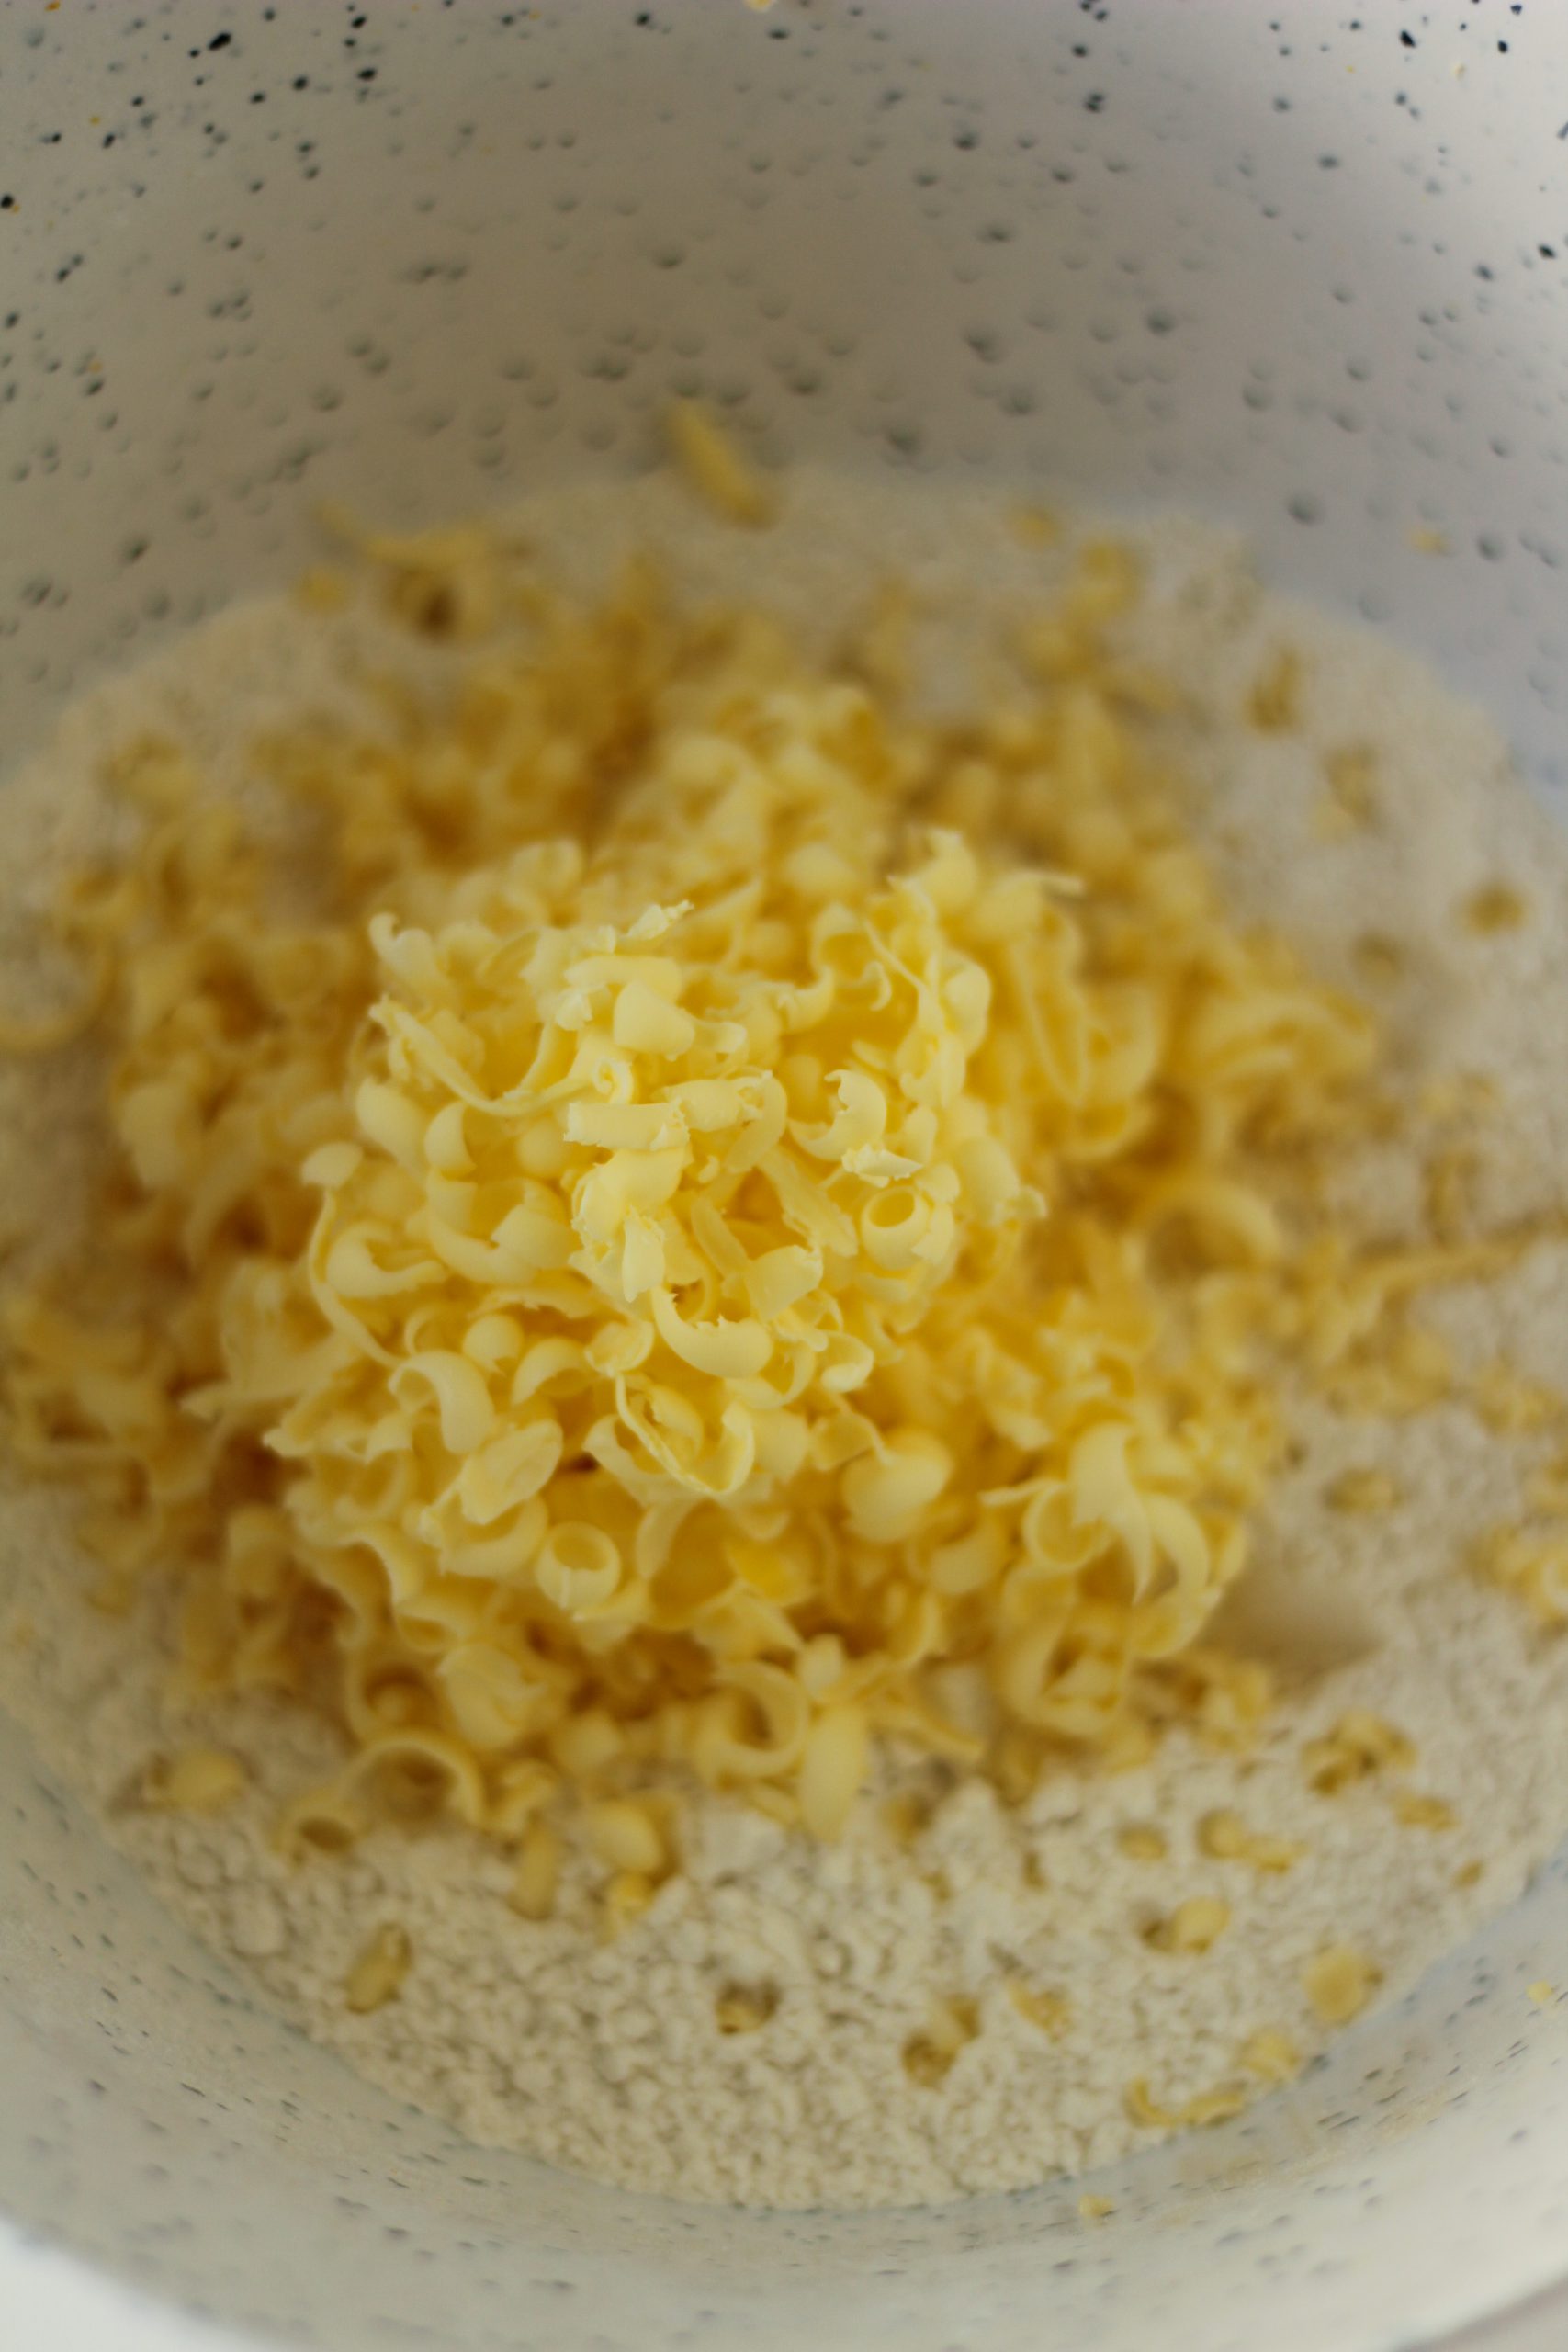
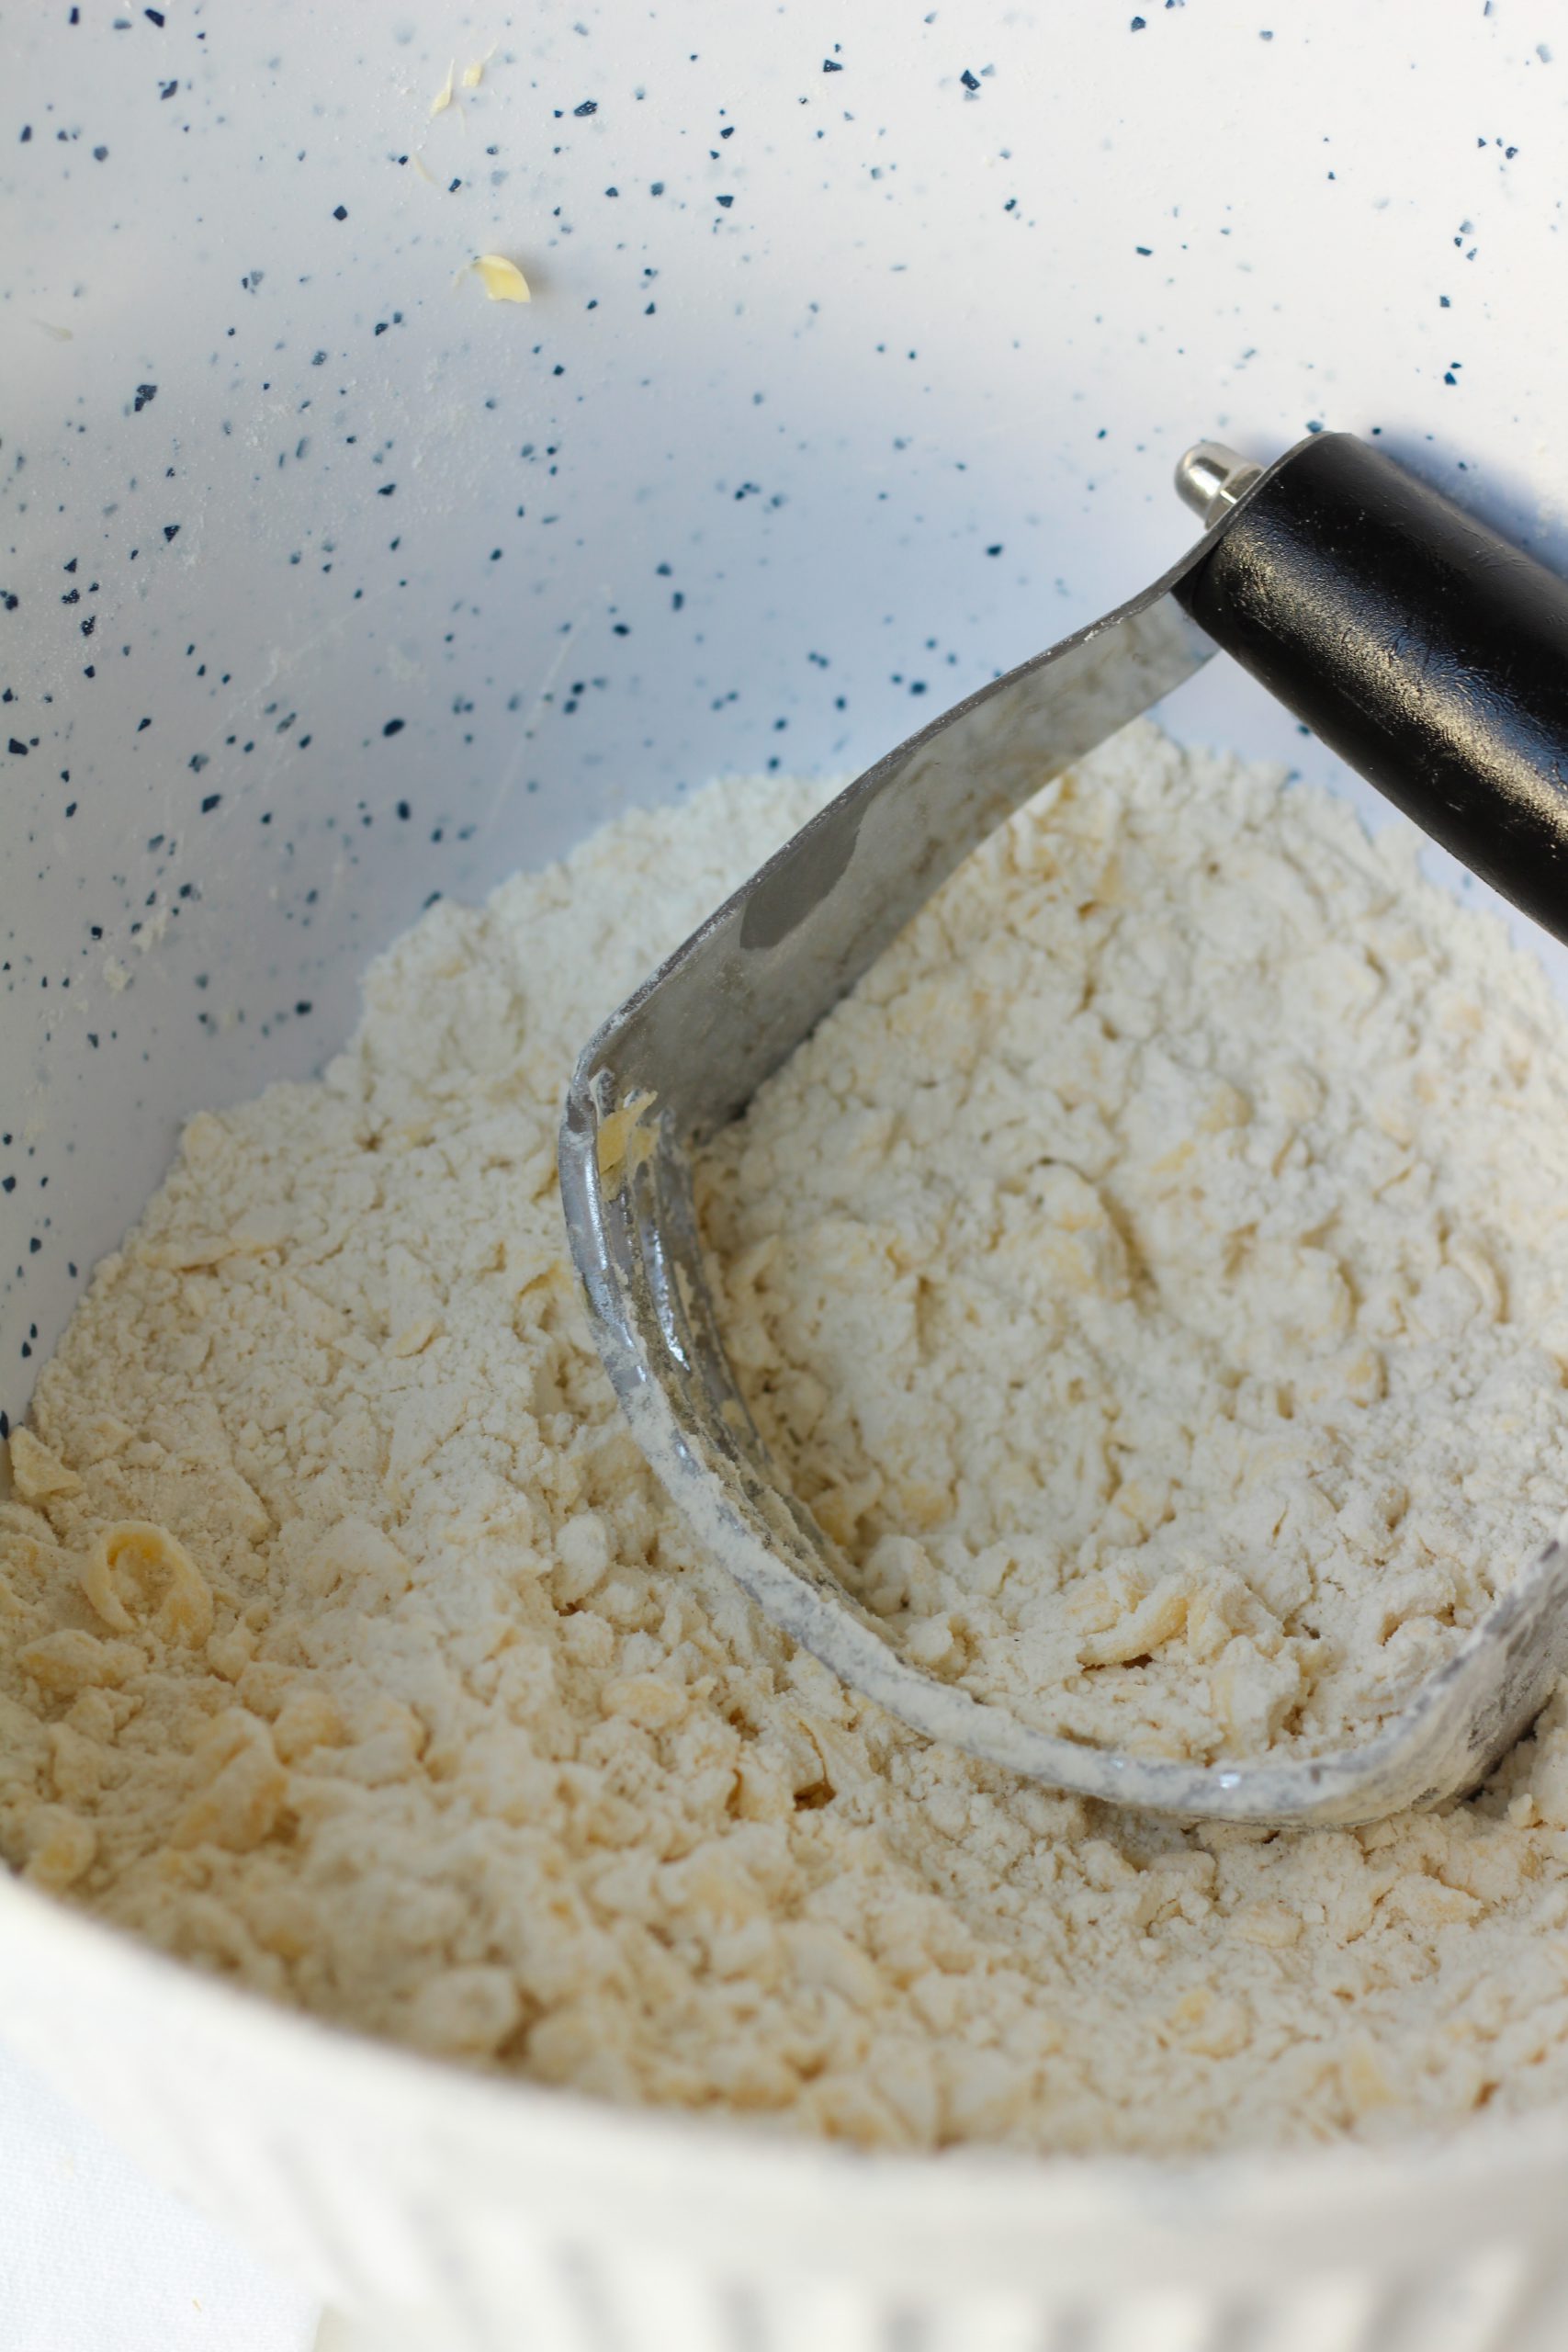
Combine the flour mixture with the bacon, herbs and cheese. Slowly mix them together. By adding them now it prevents them from sticking together and makes sure it is evenly distributed in your bread.

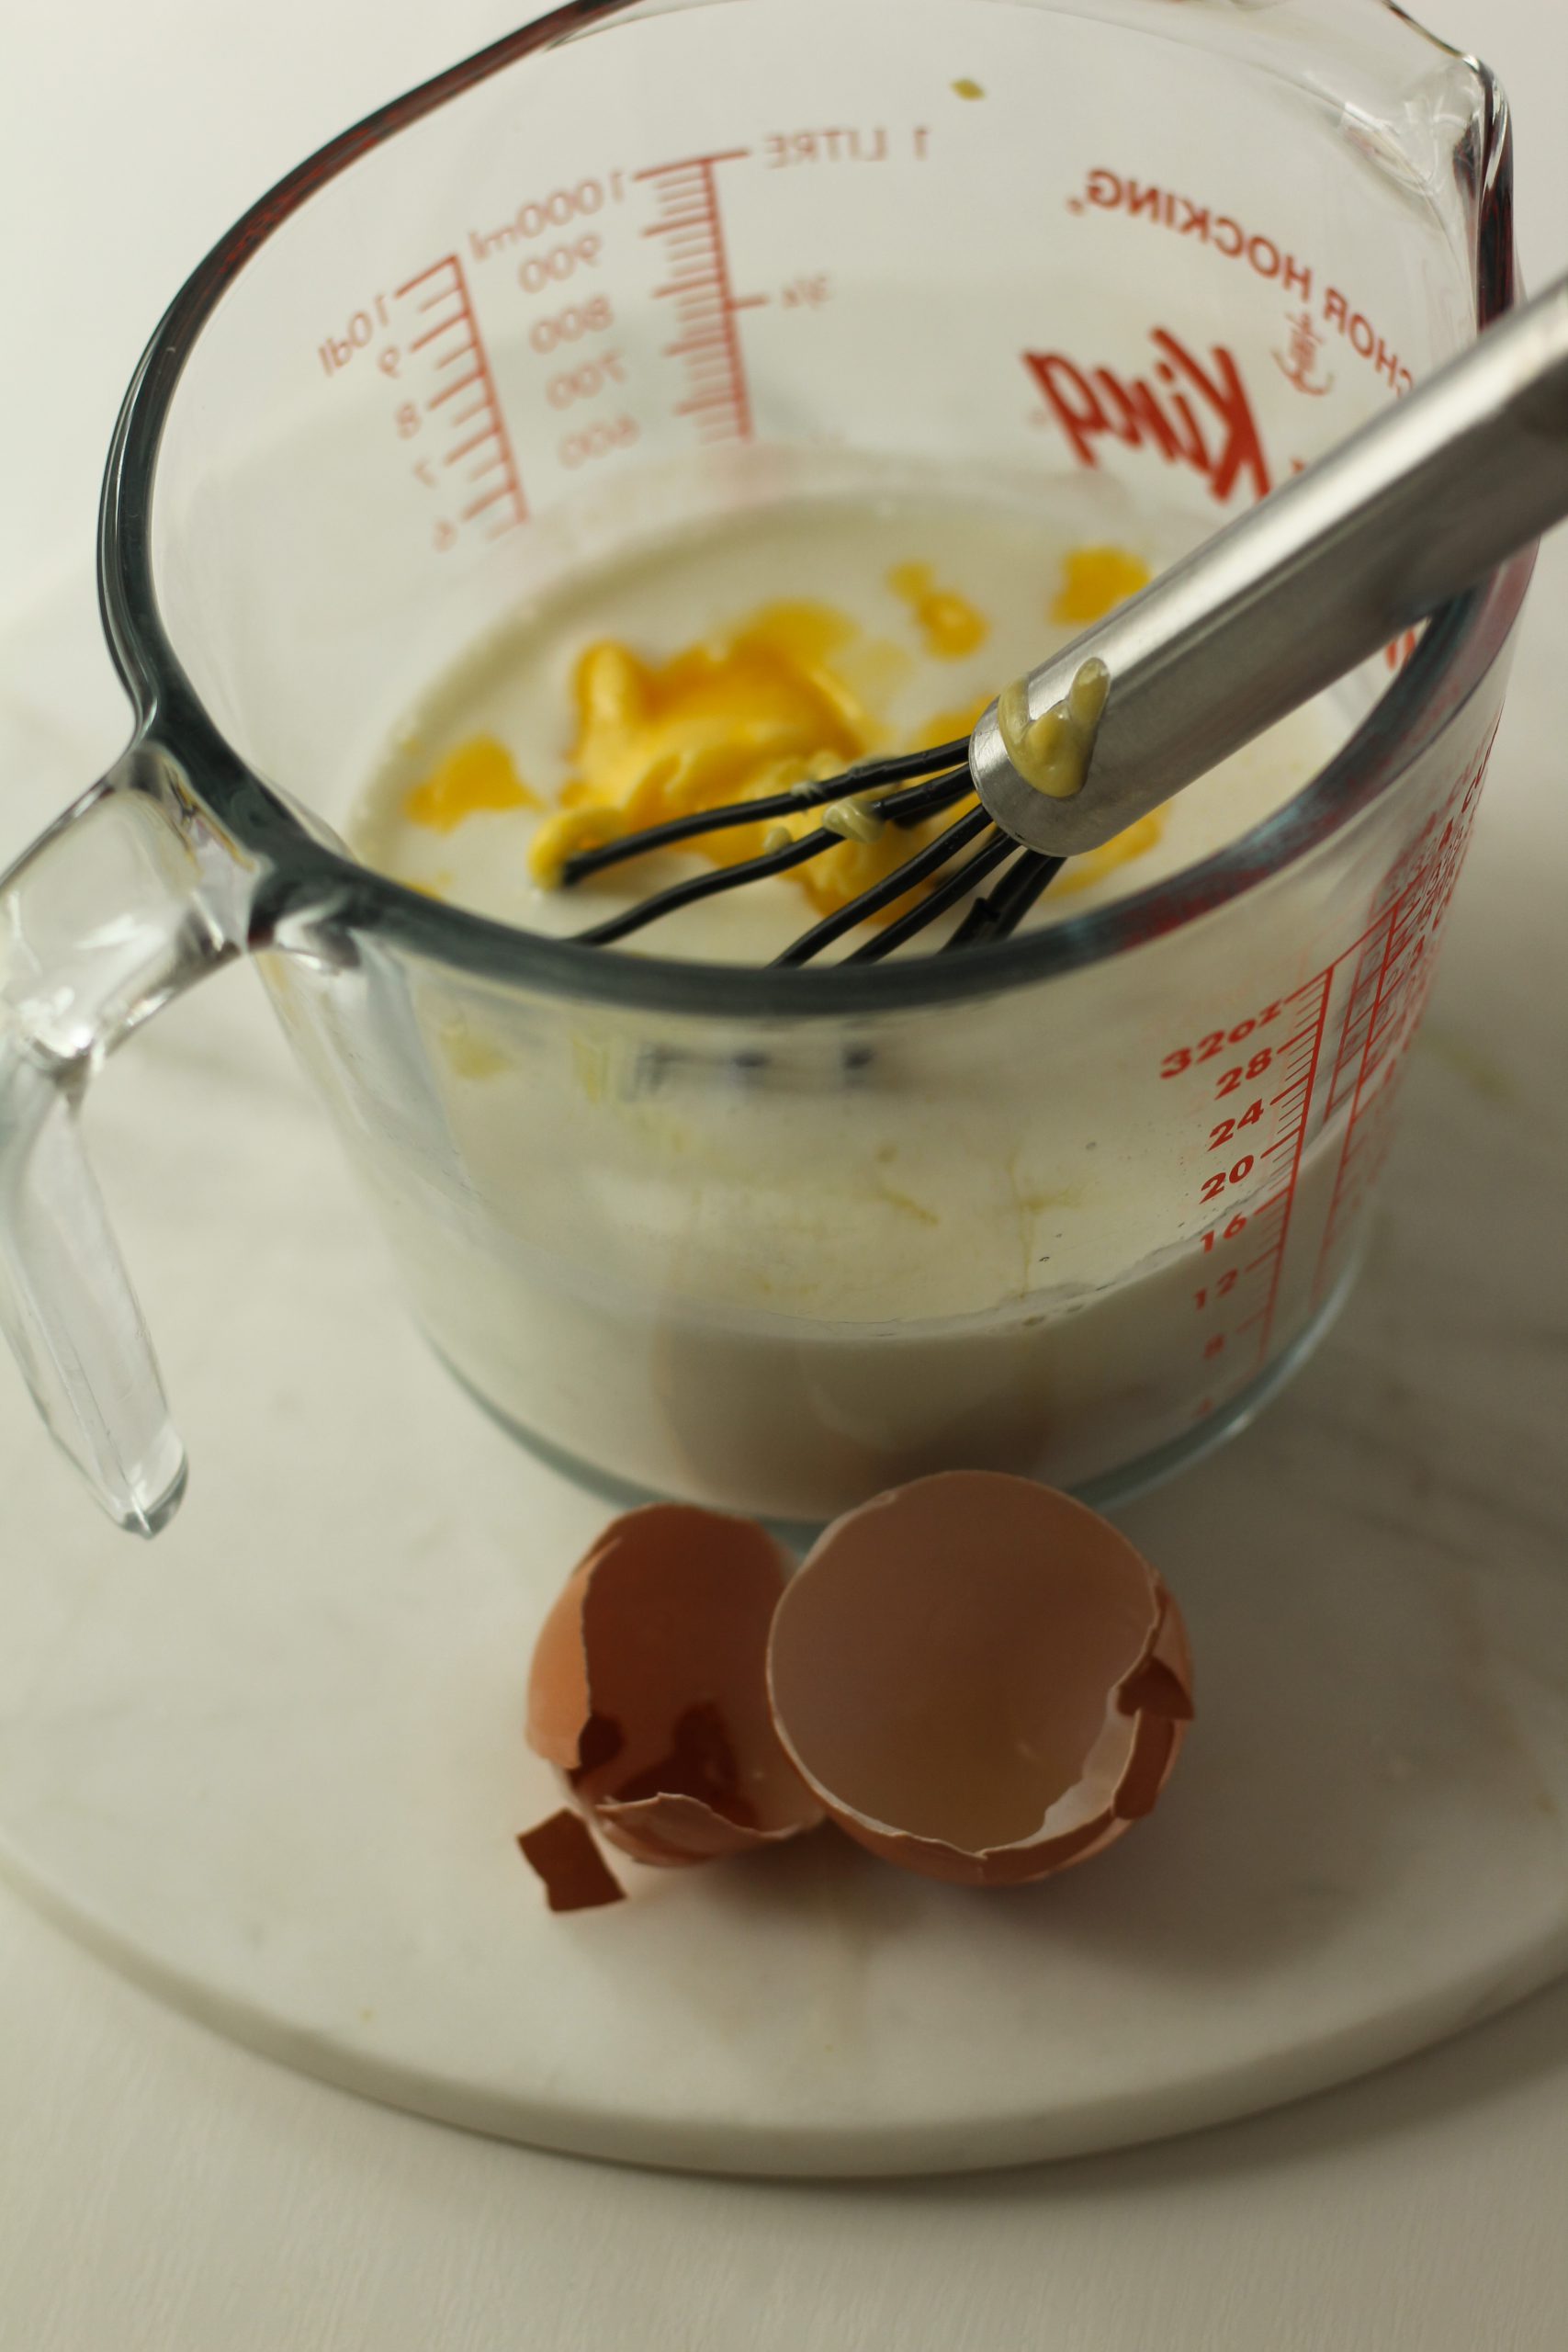
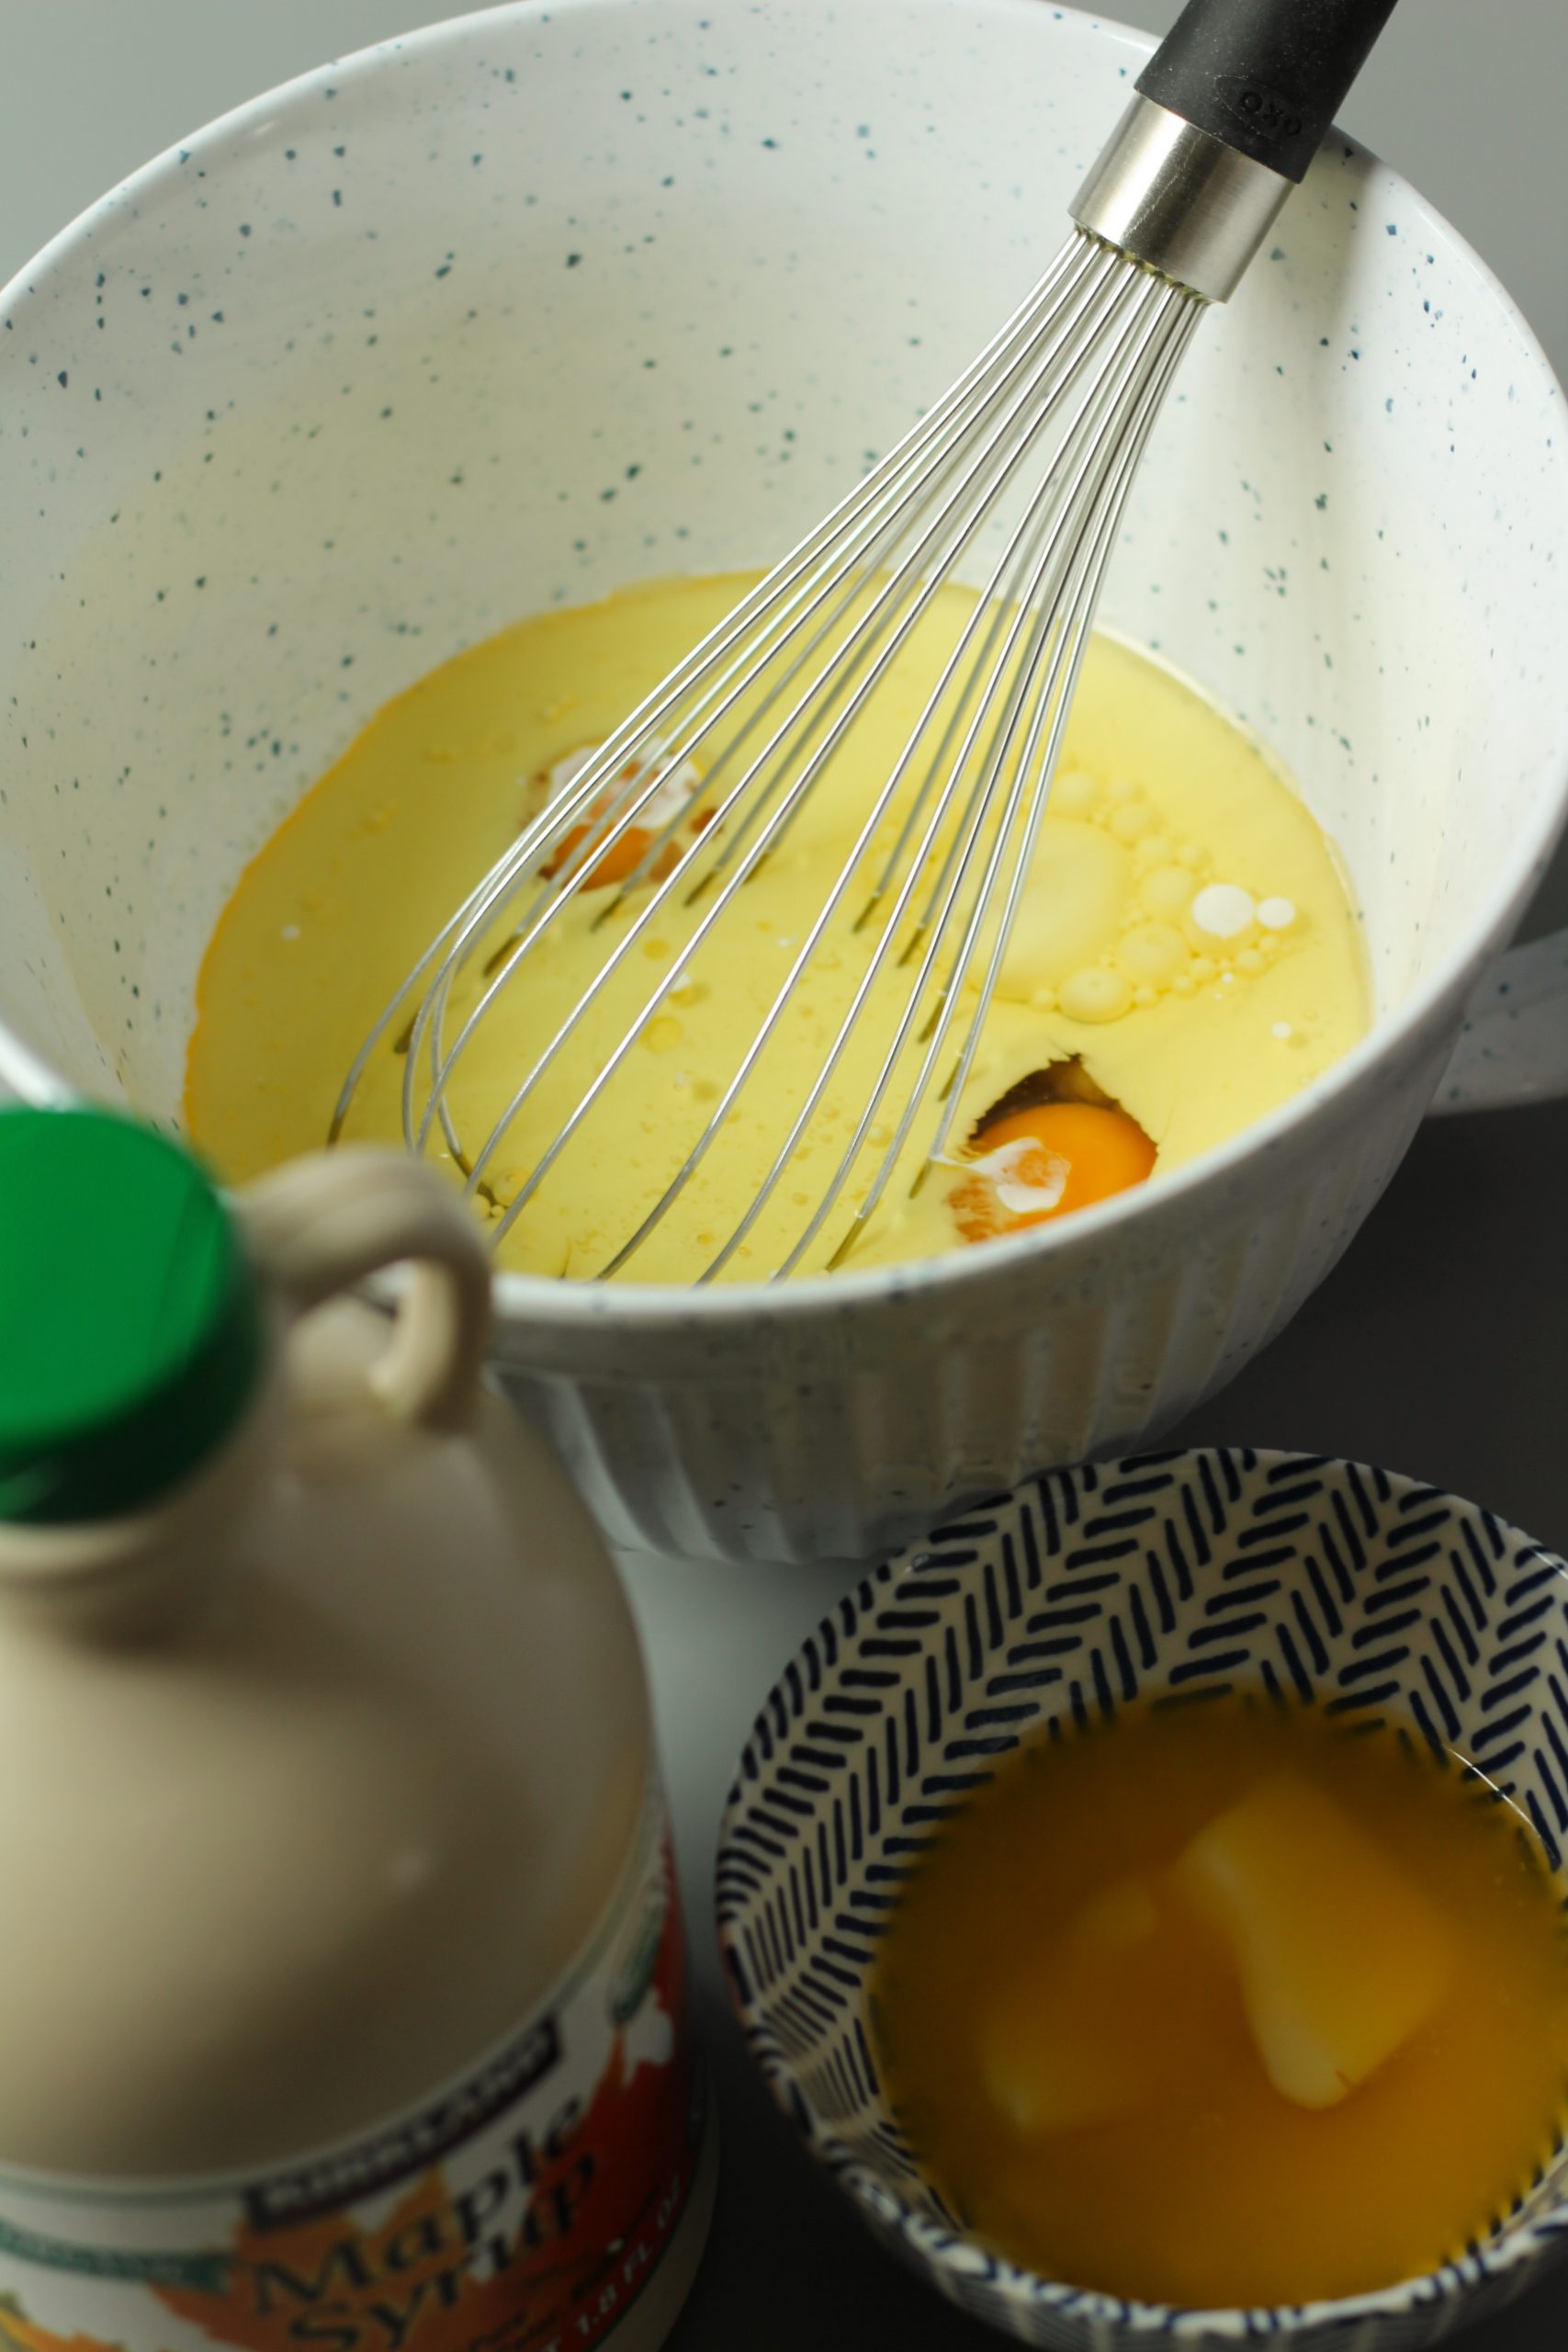
Combine all the liquid and eggs before adding to the dry mixture.

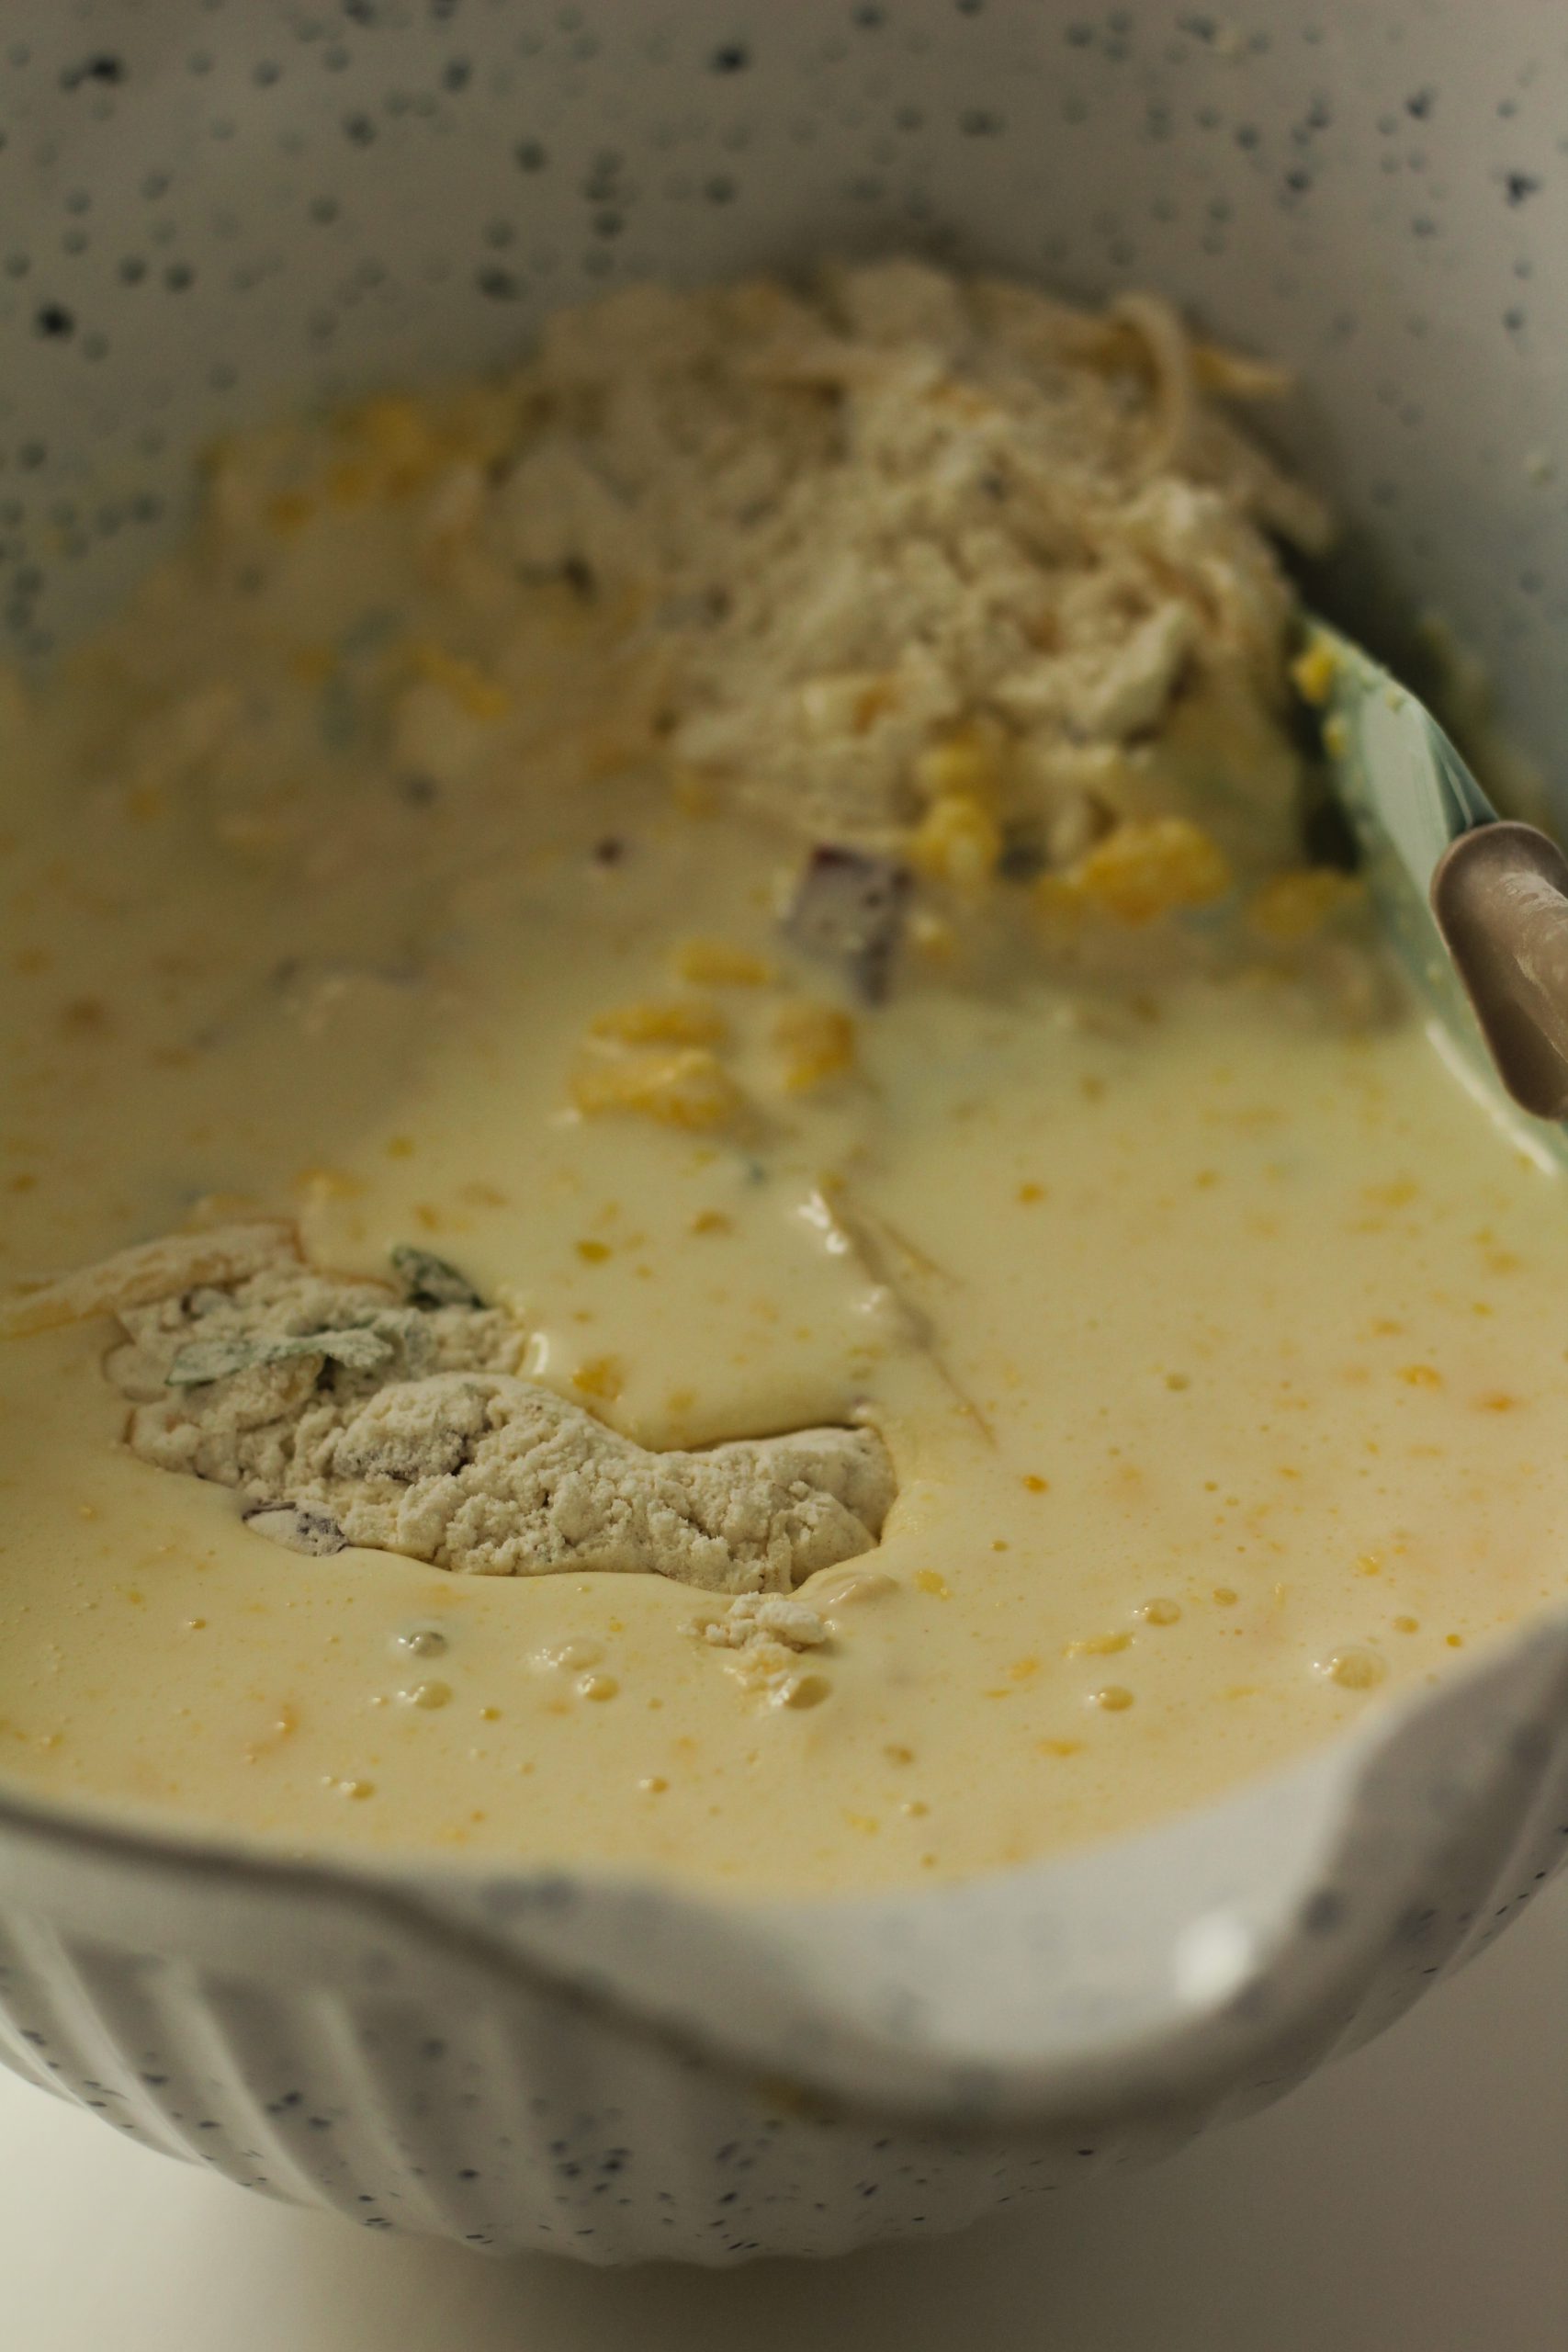
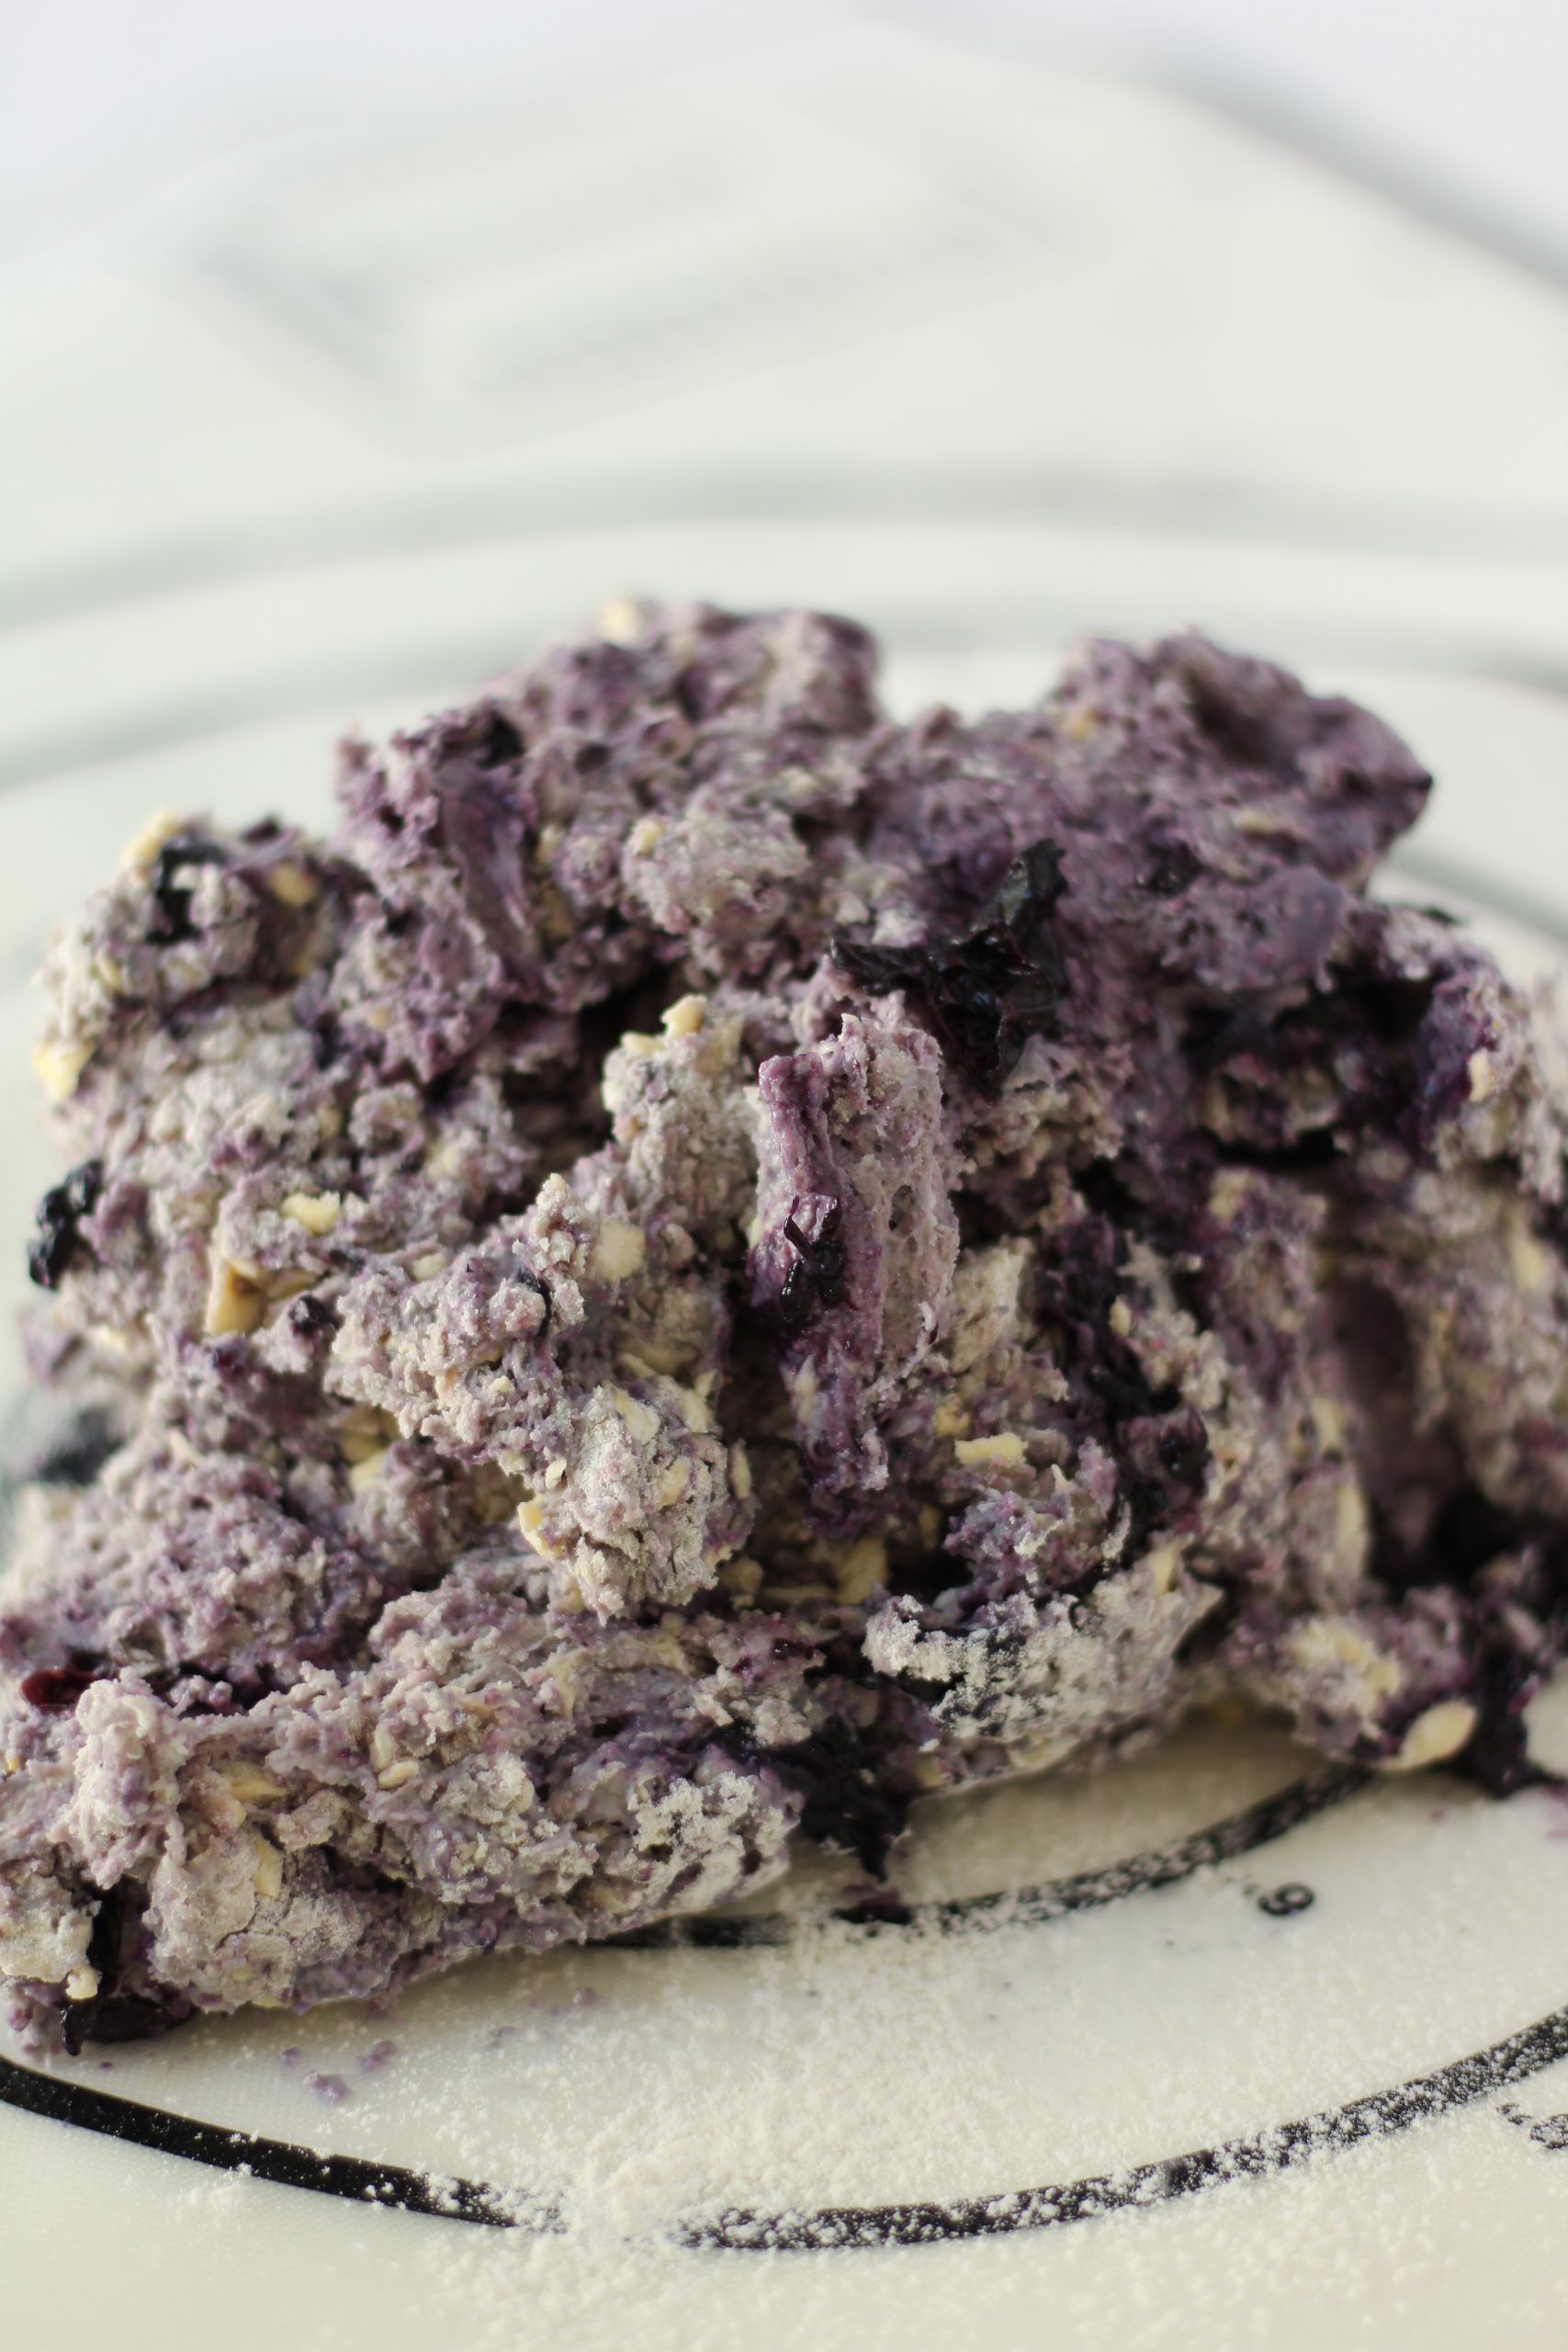
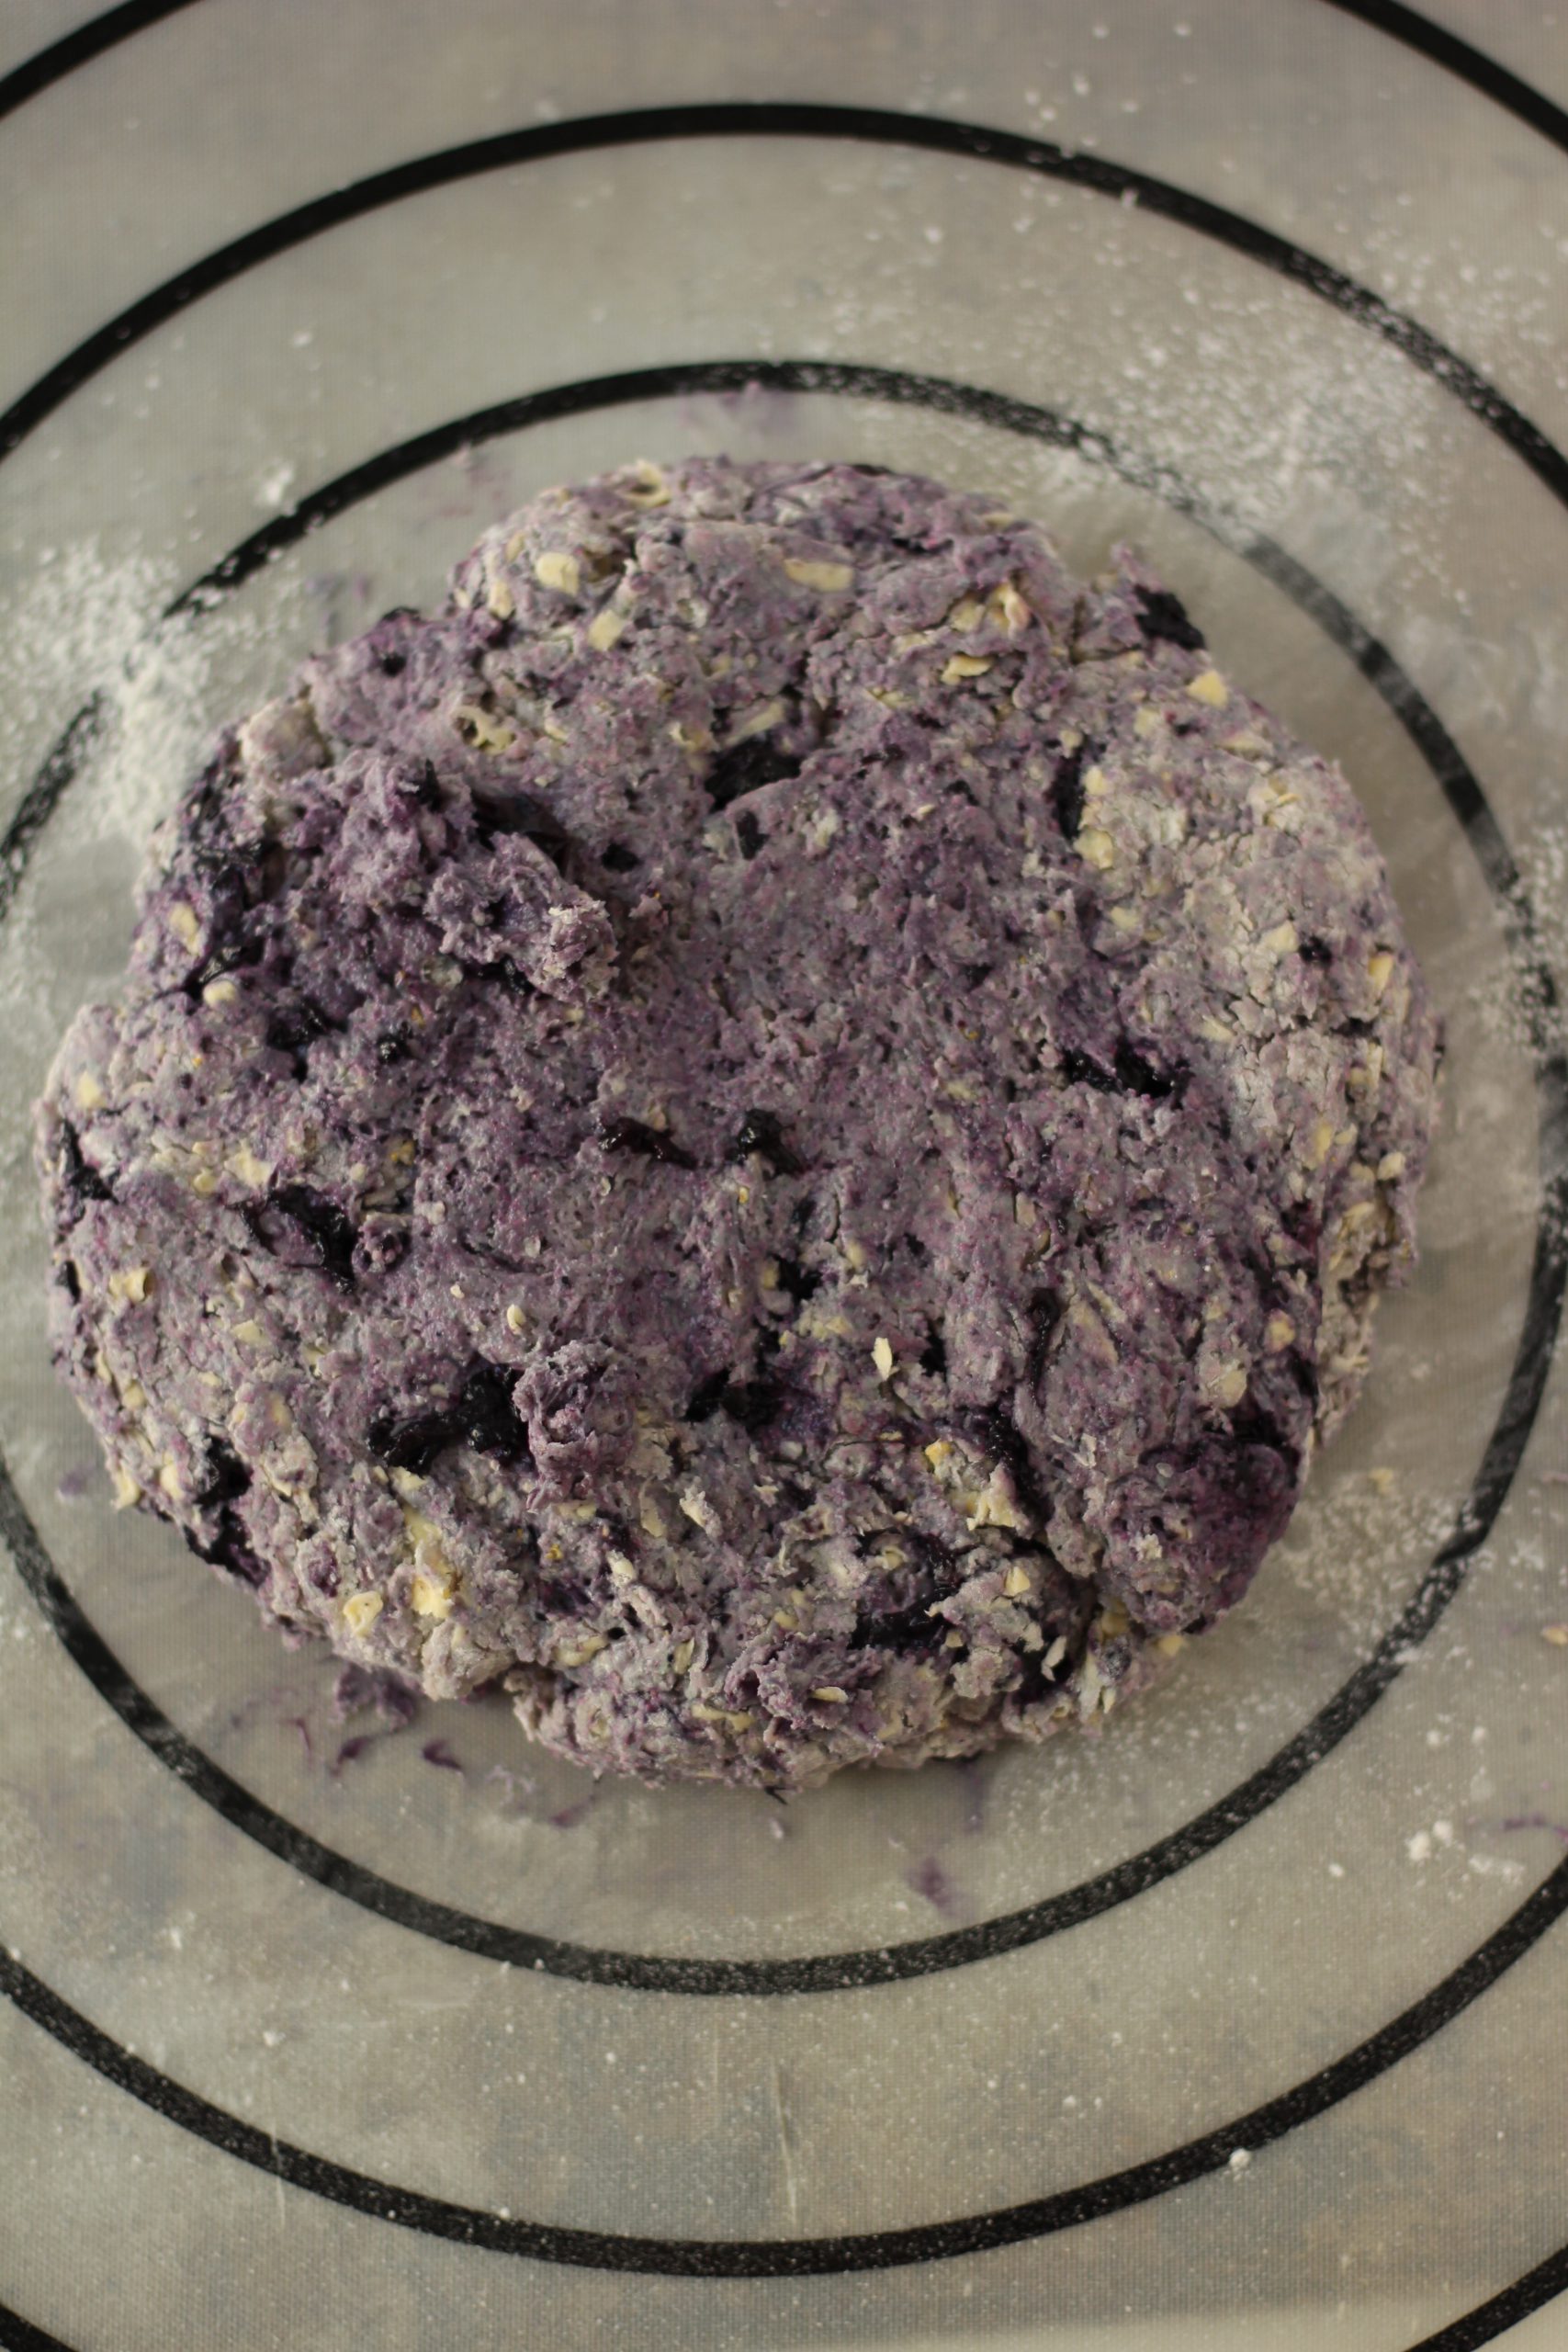
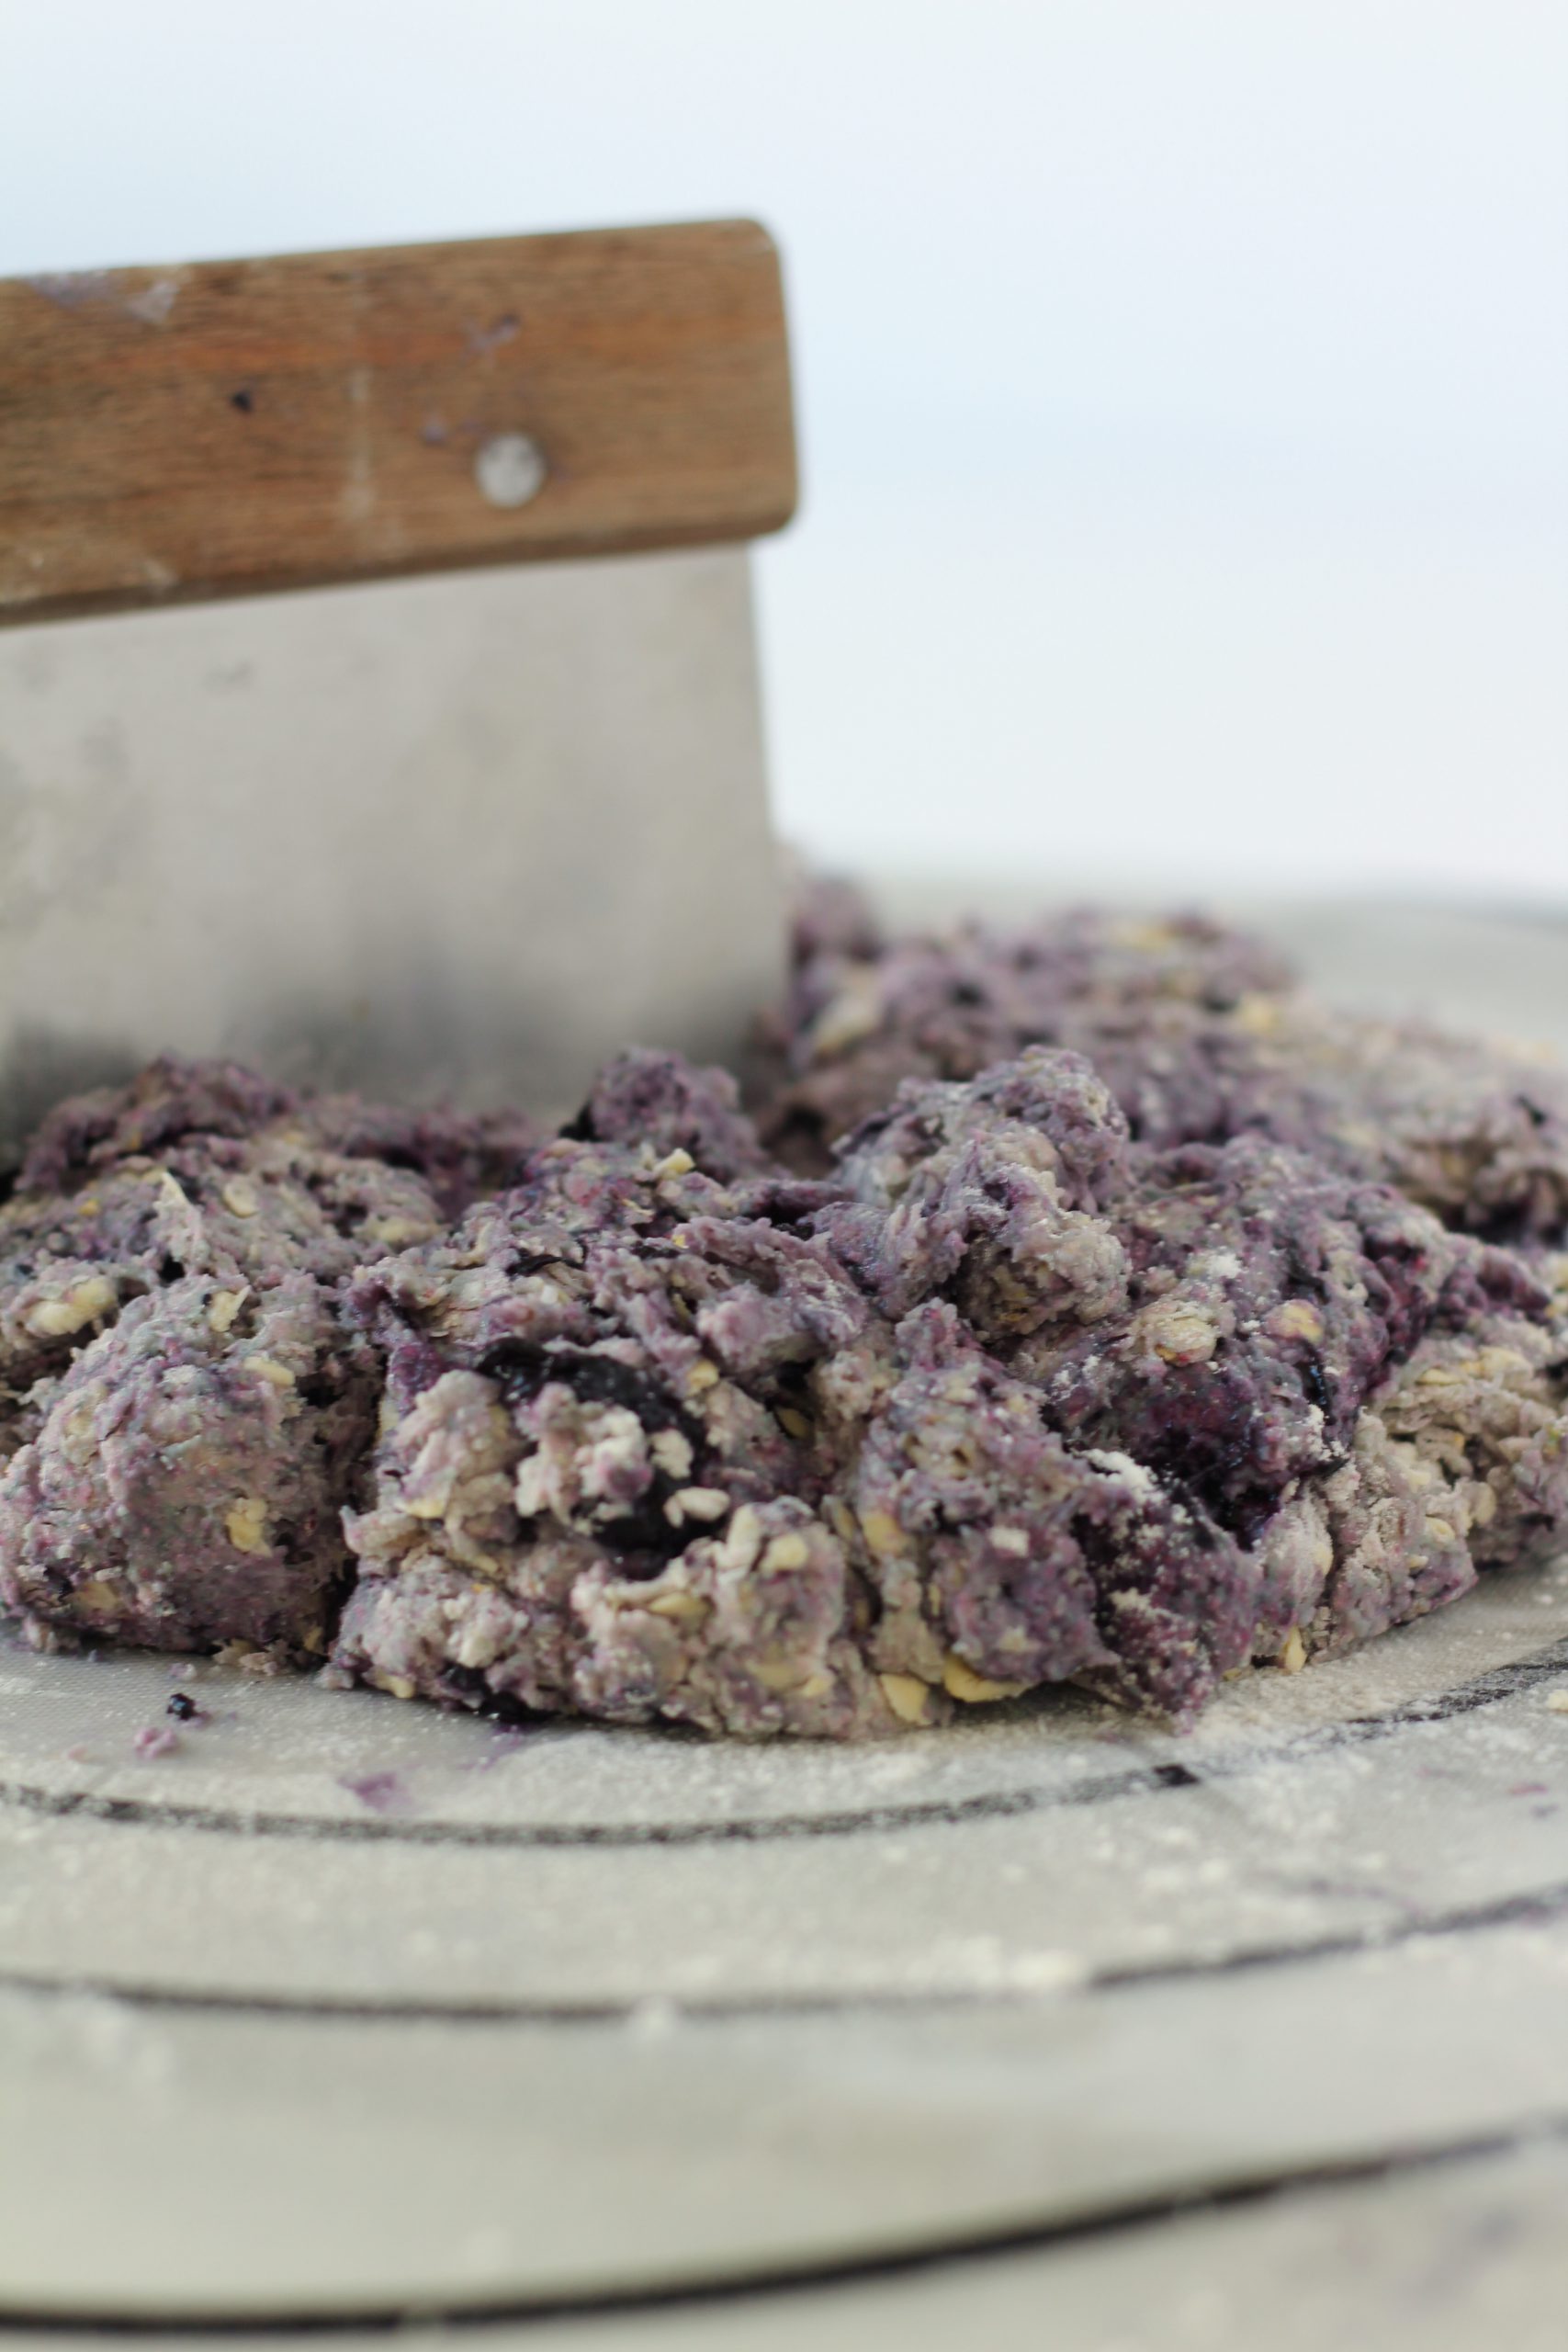
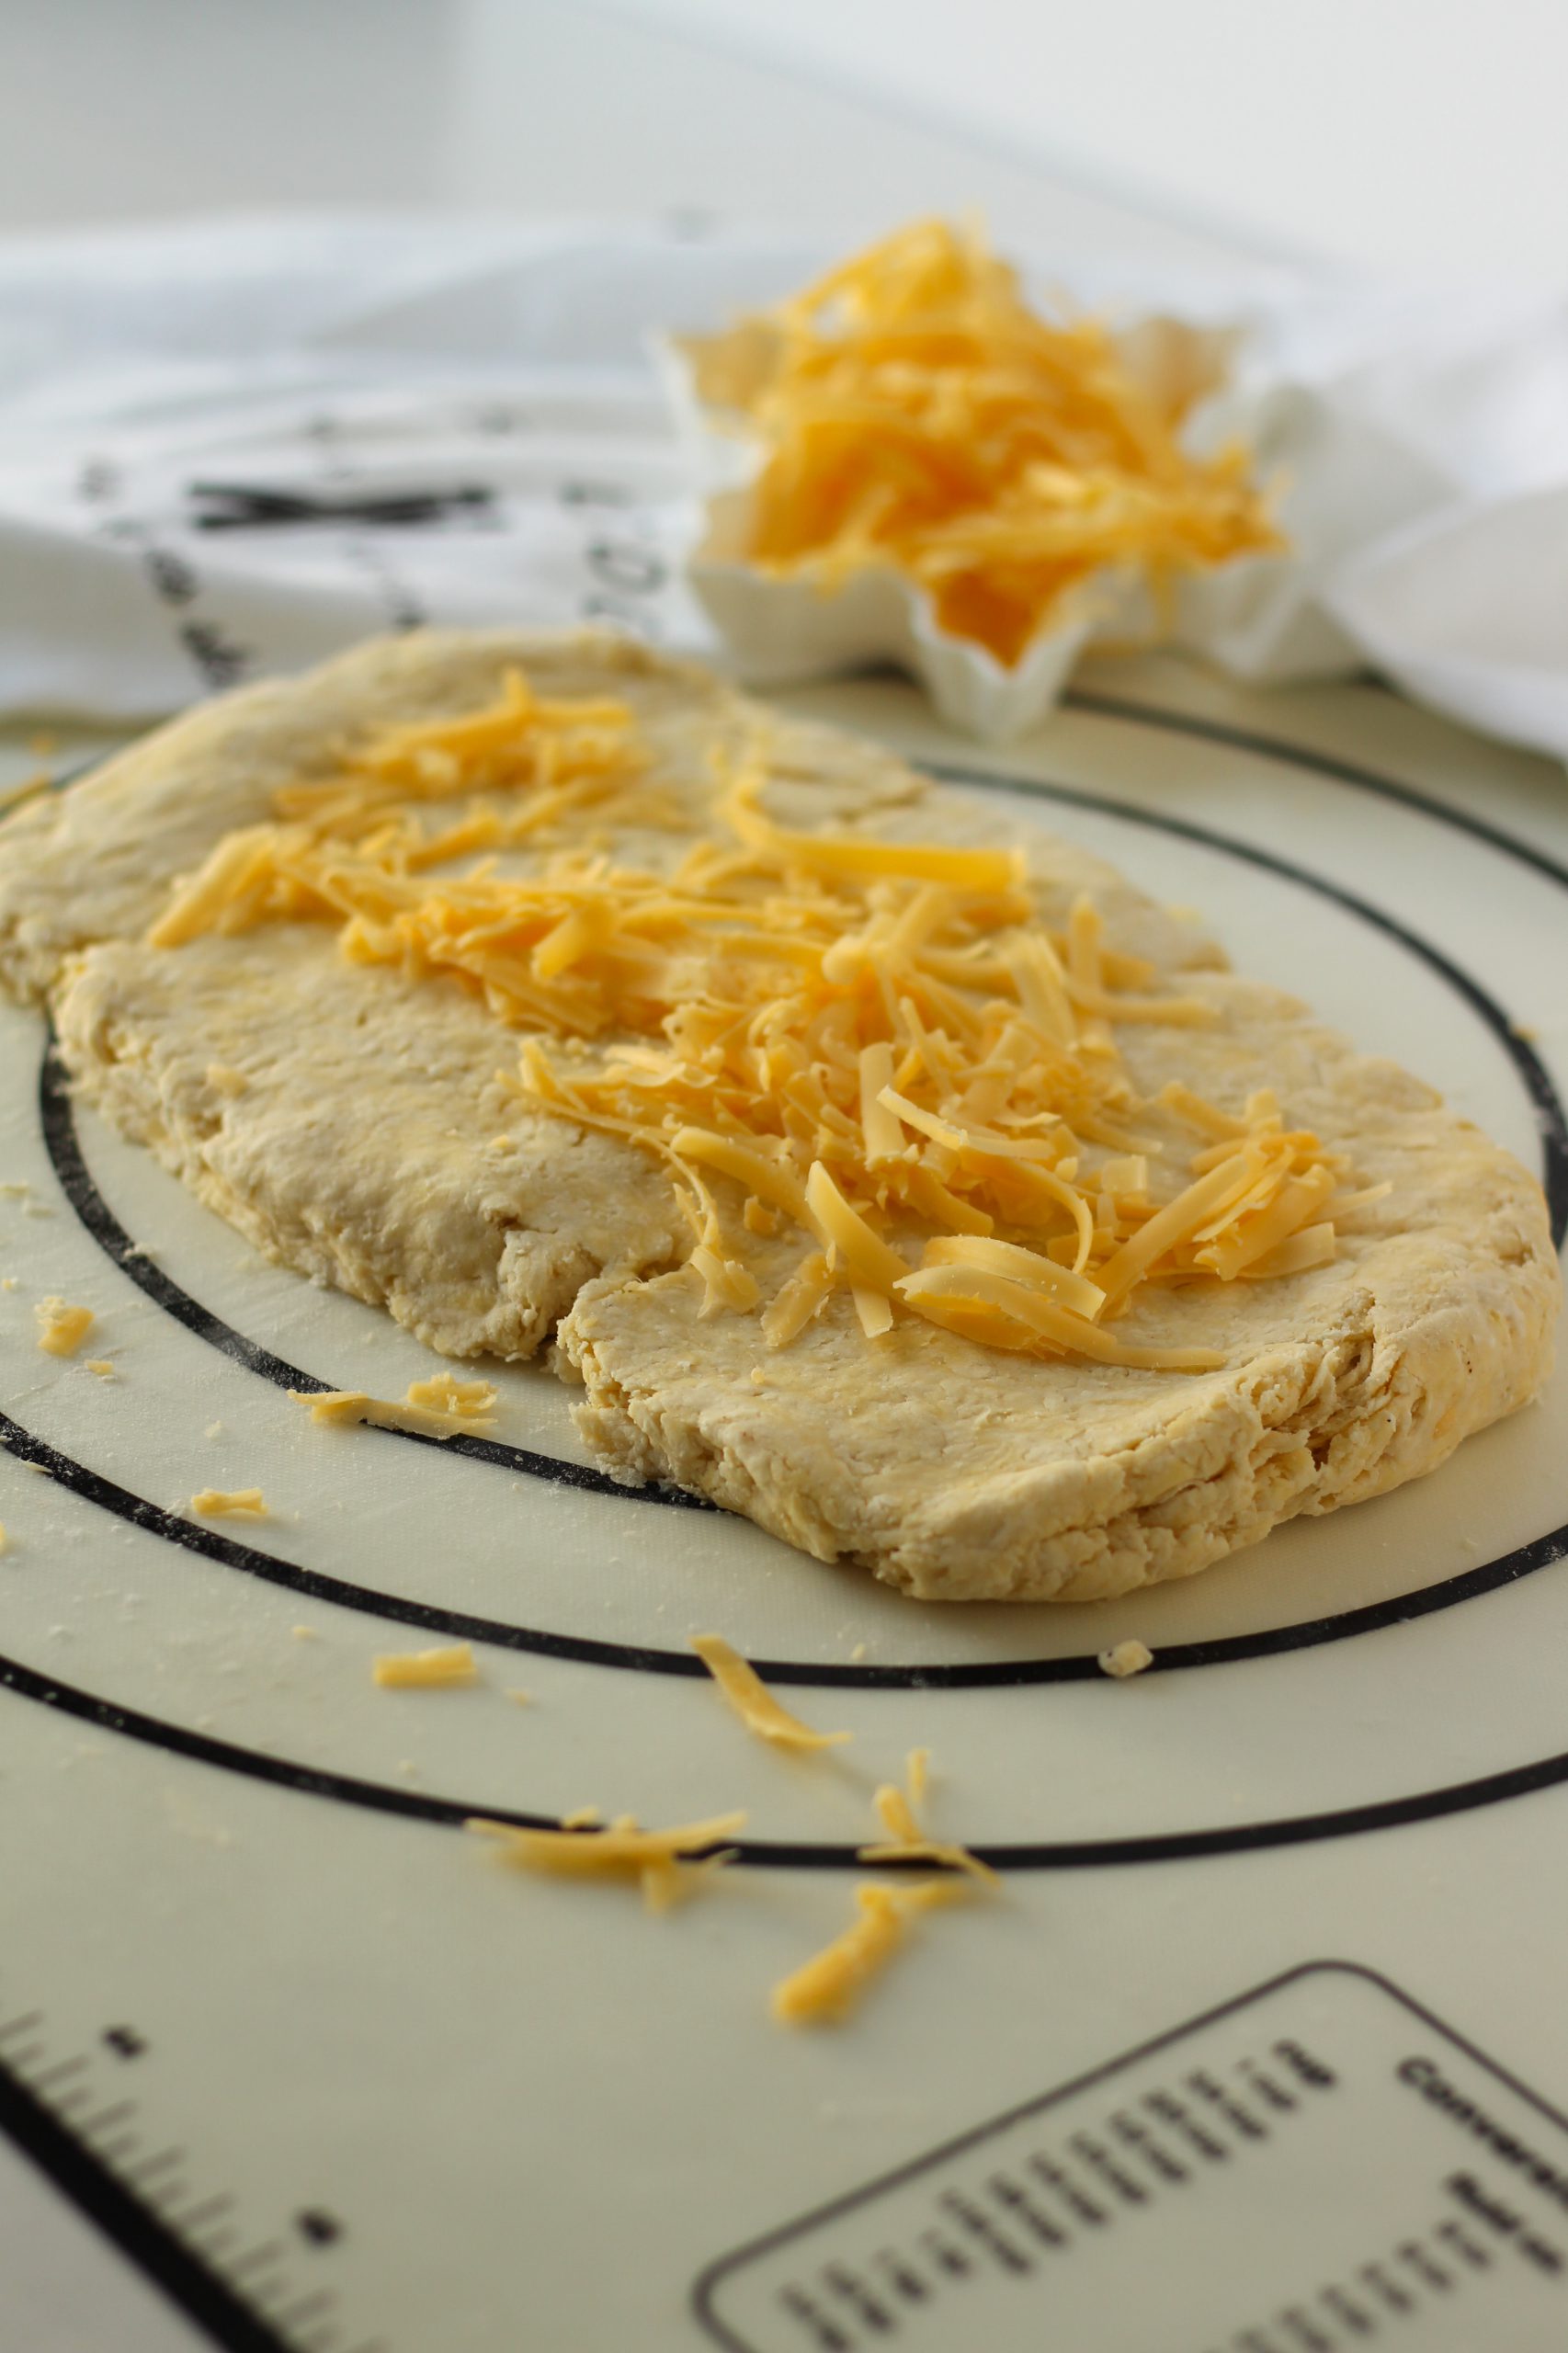
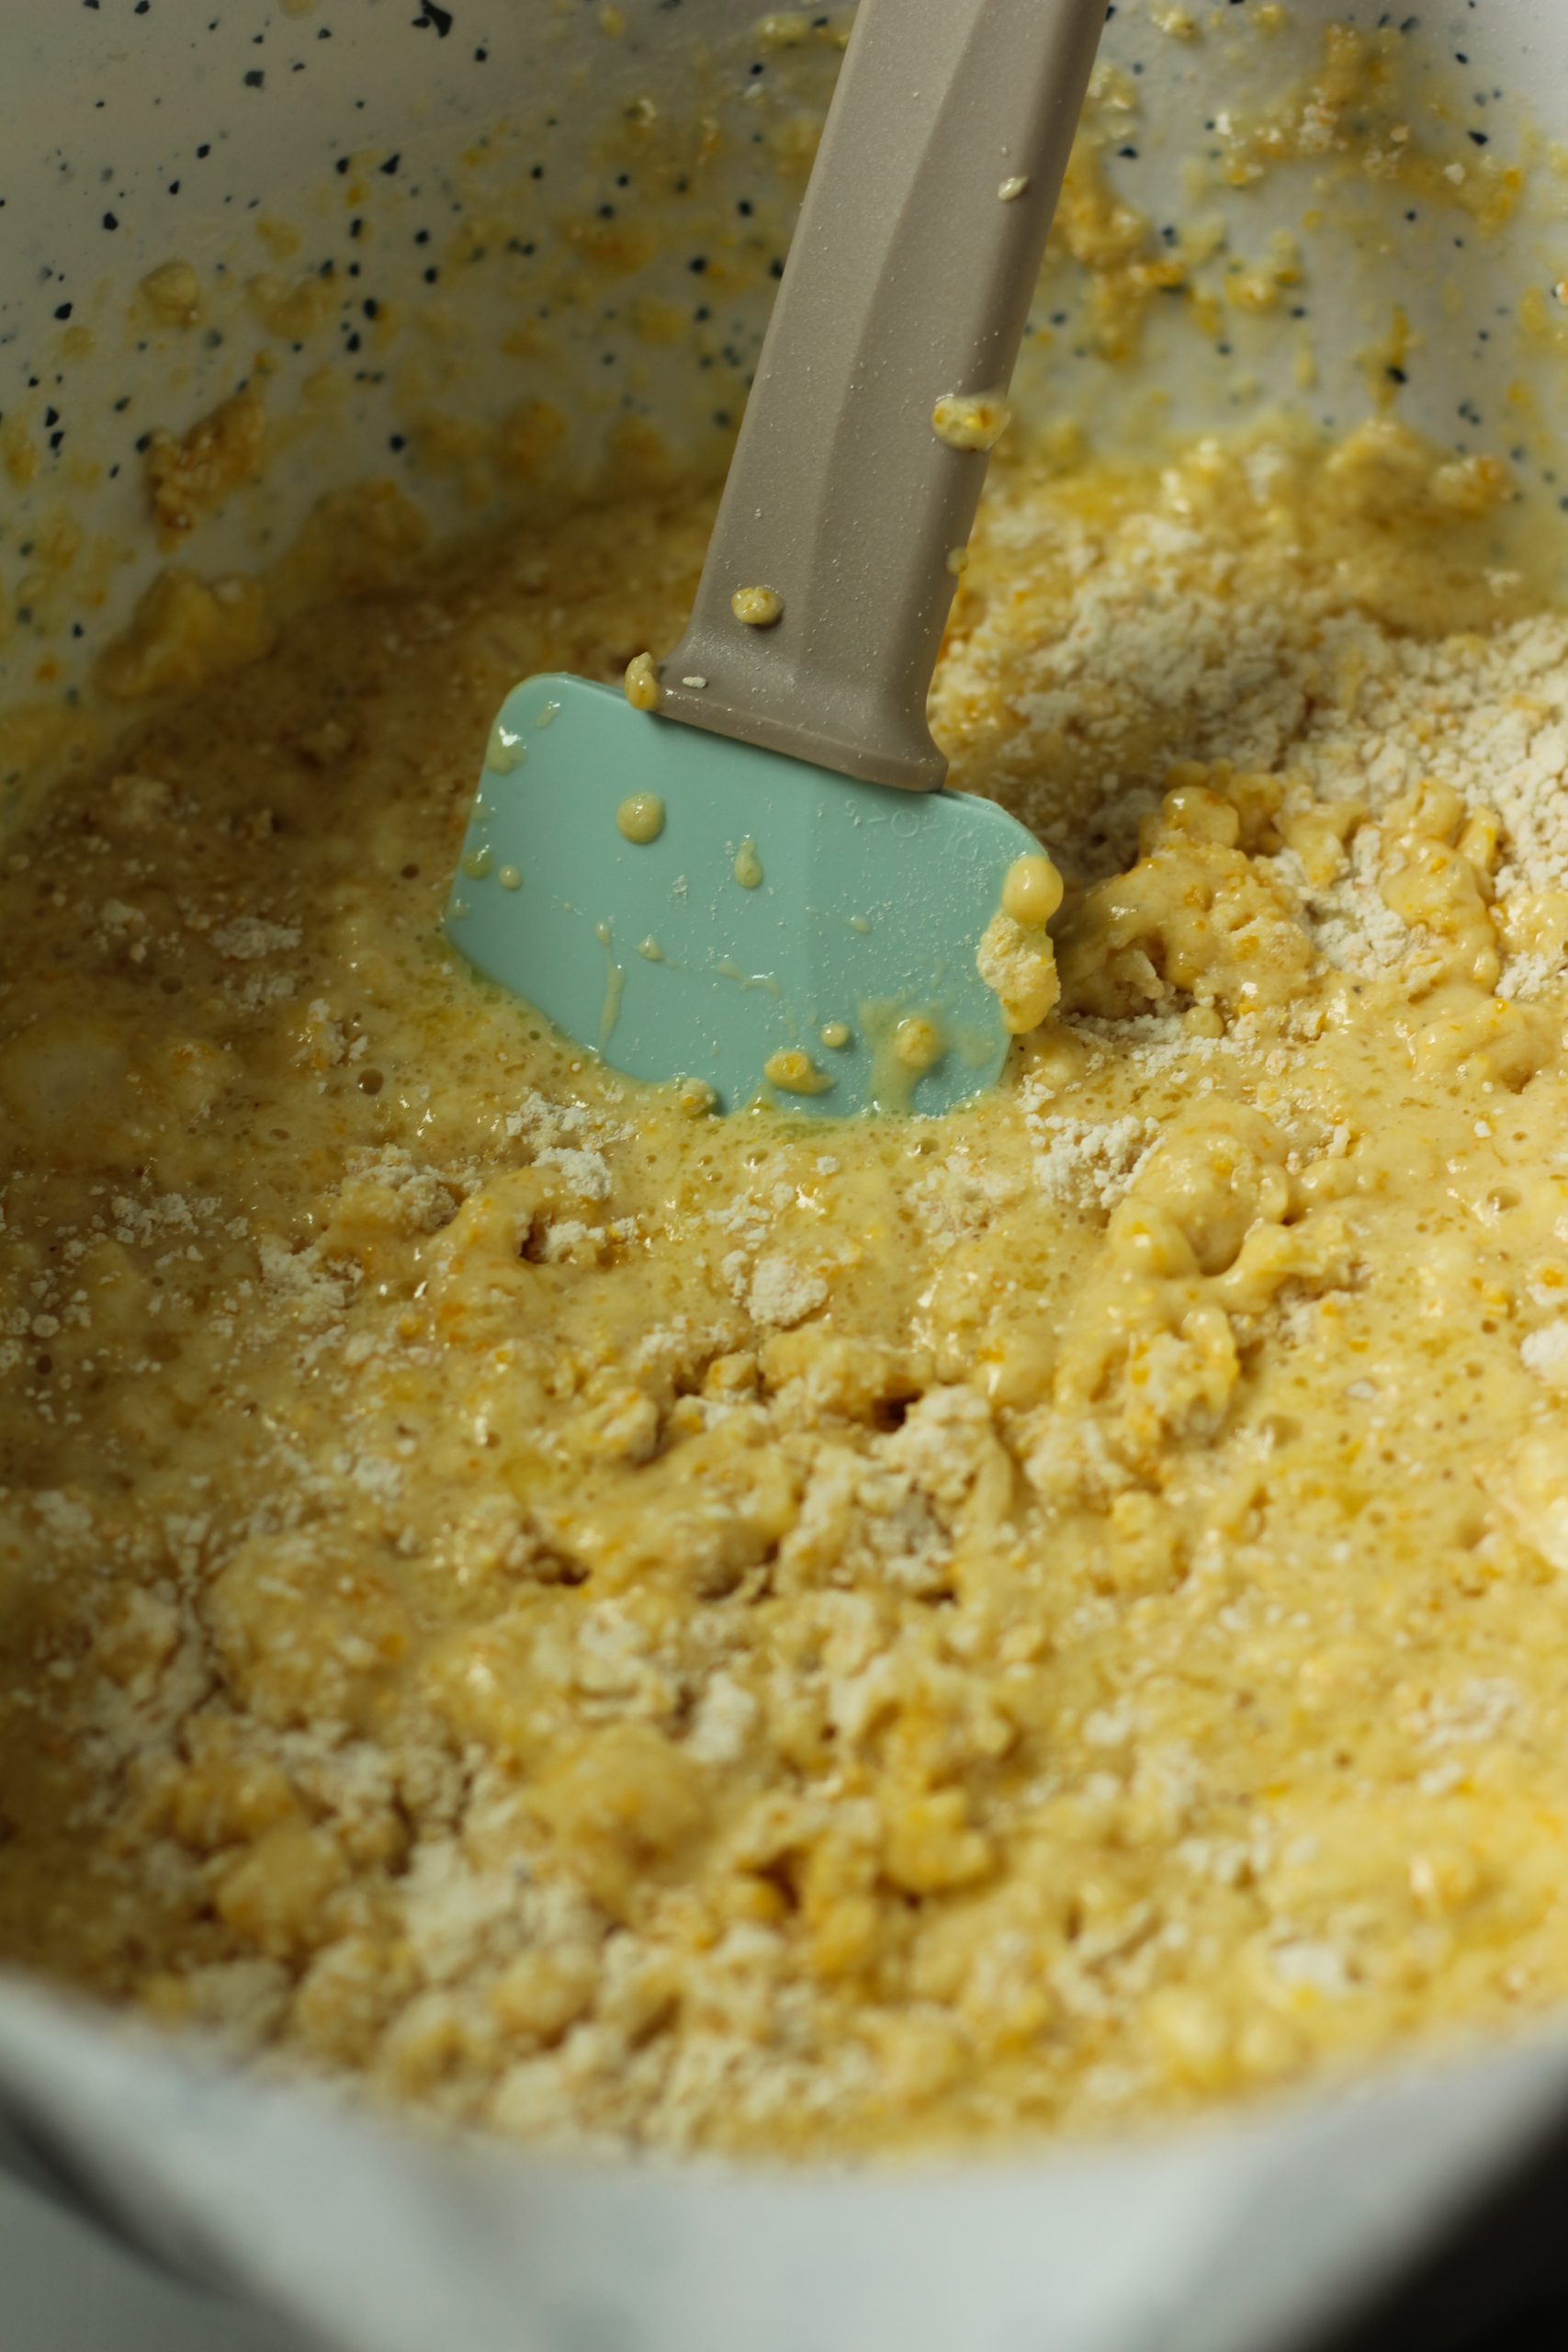
Pour the liquid into the dry mixture and gently combine it together. Make sure not to overmix or knead the dough. If the mixture is to dry add more buttermilk.

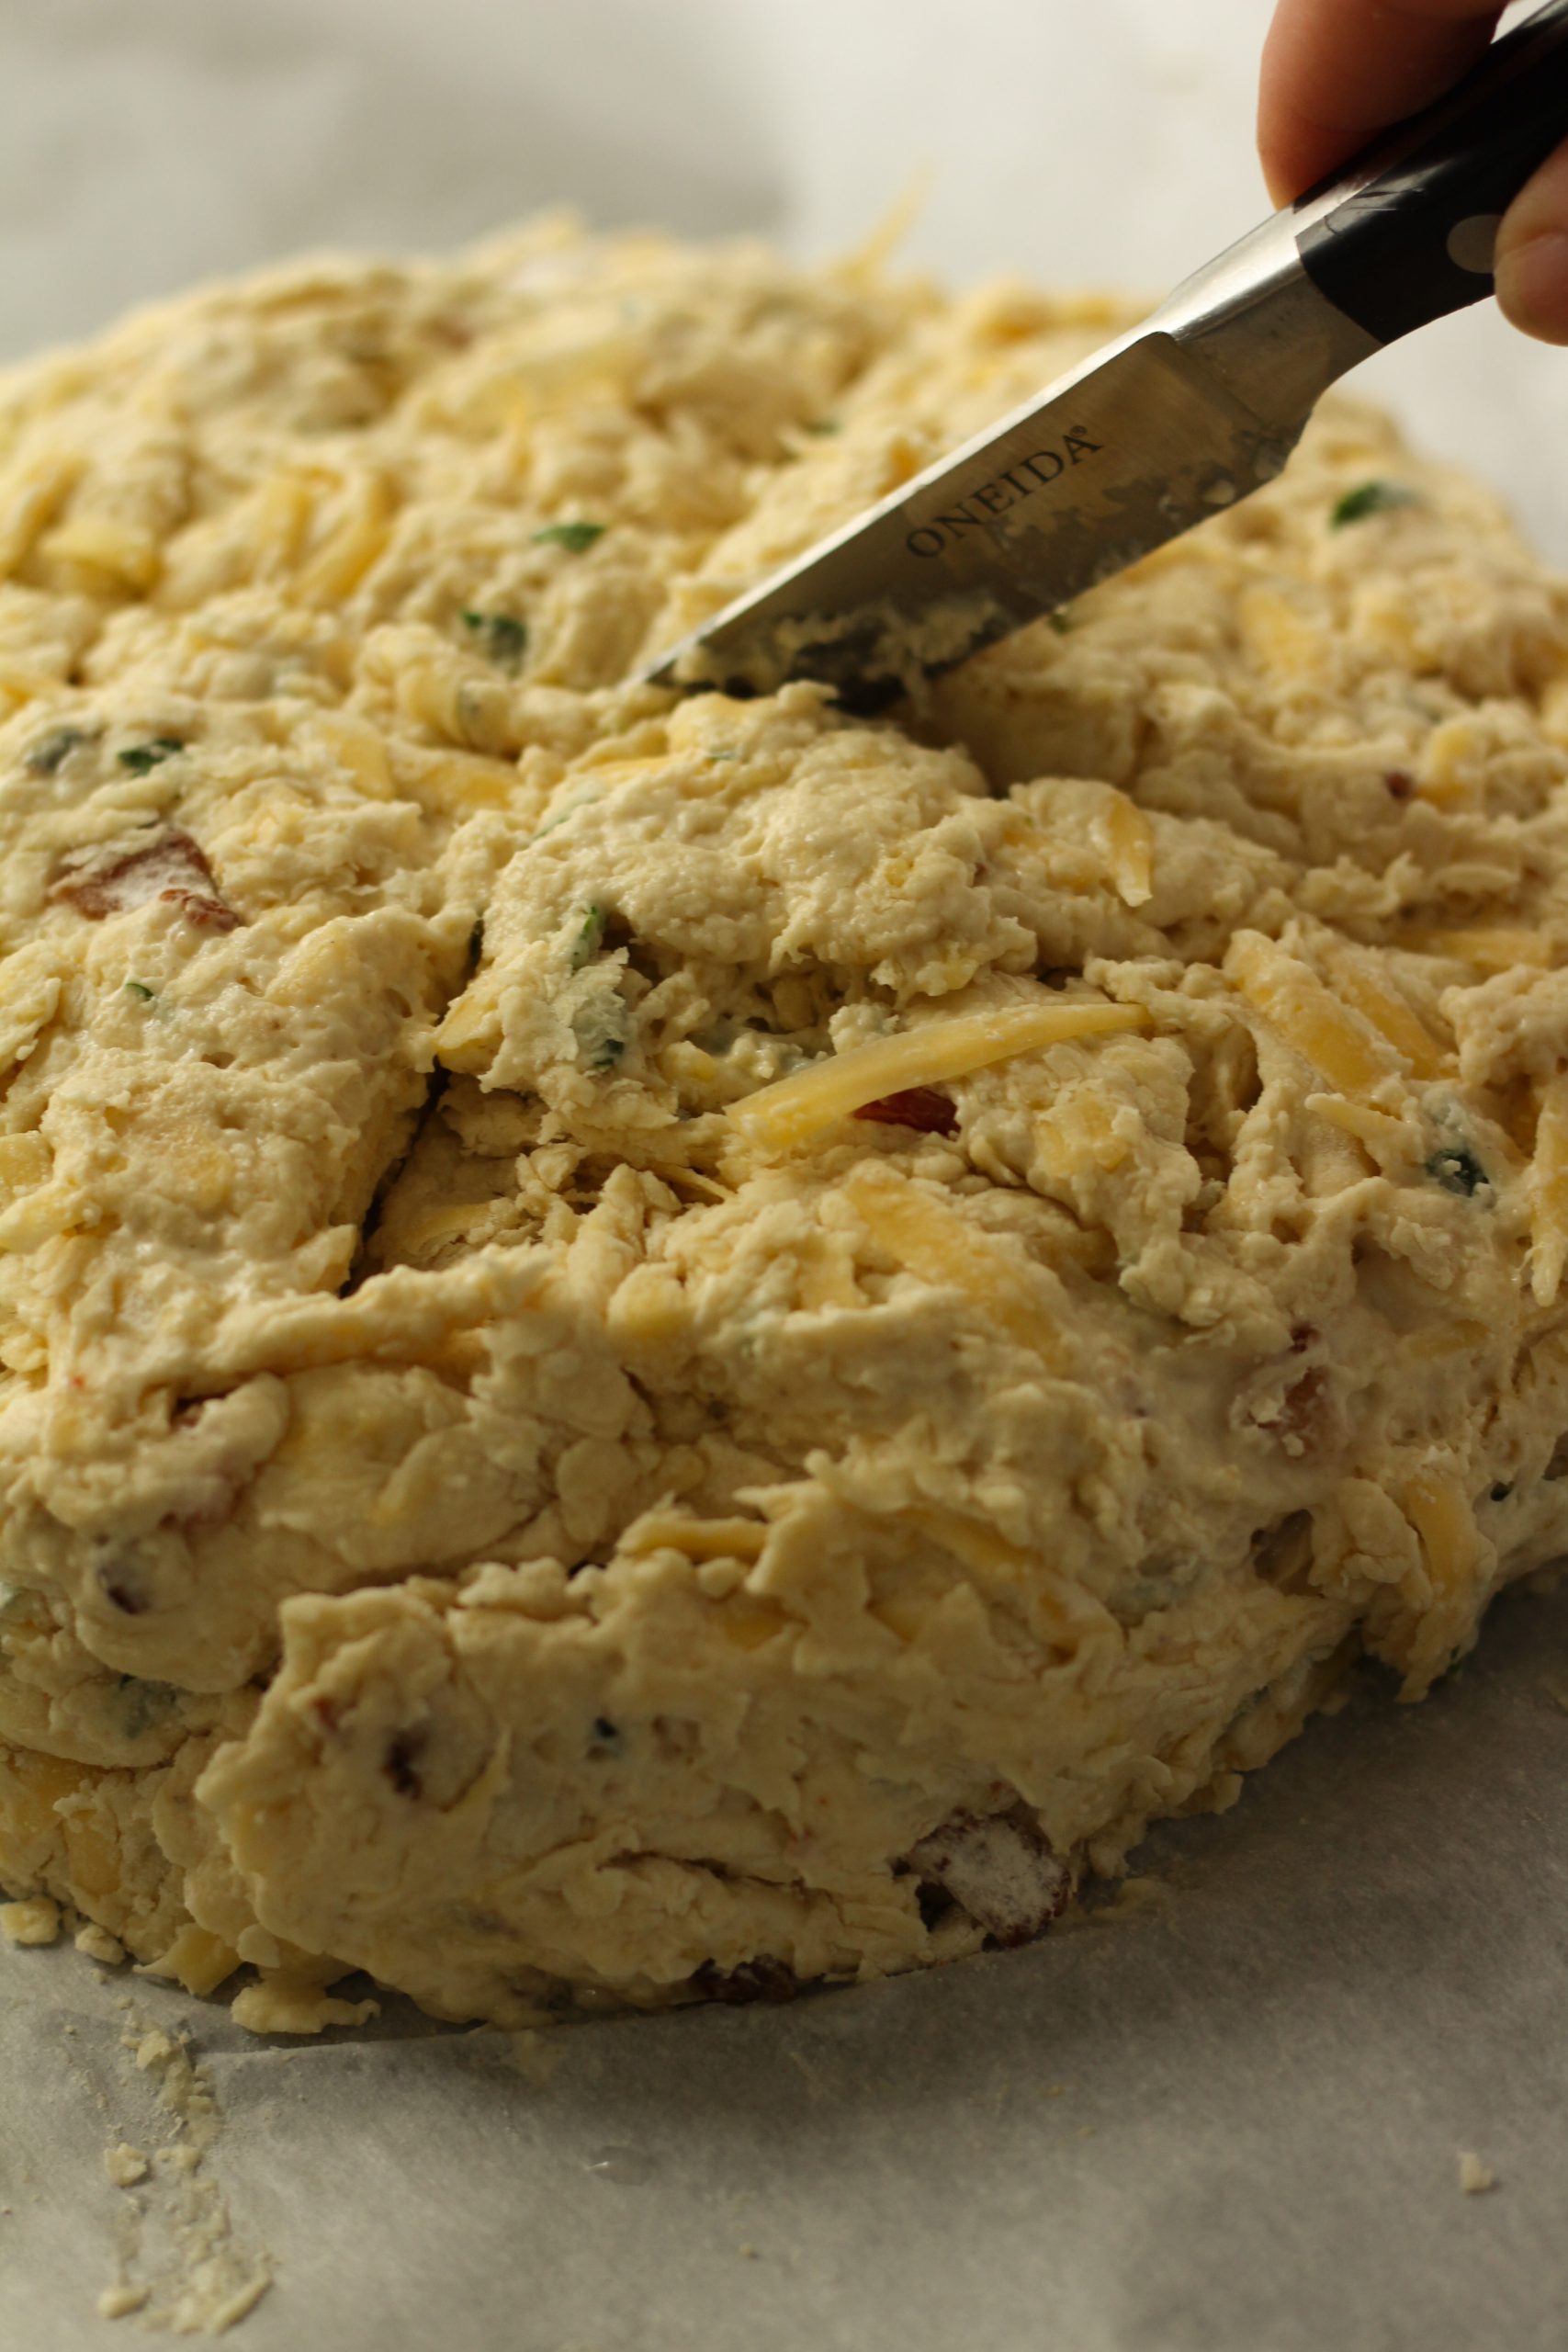
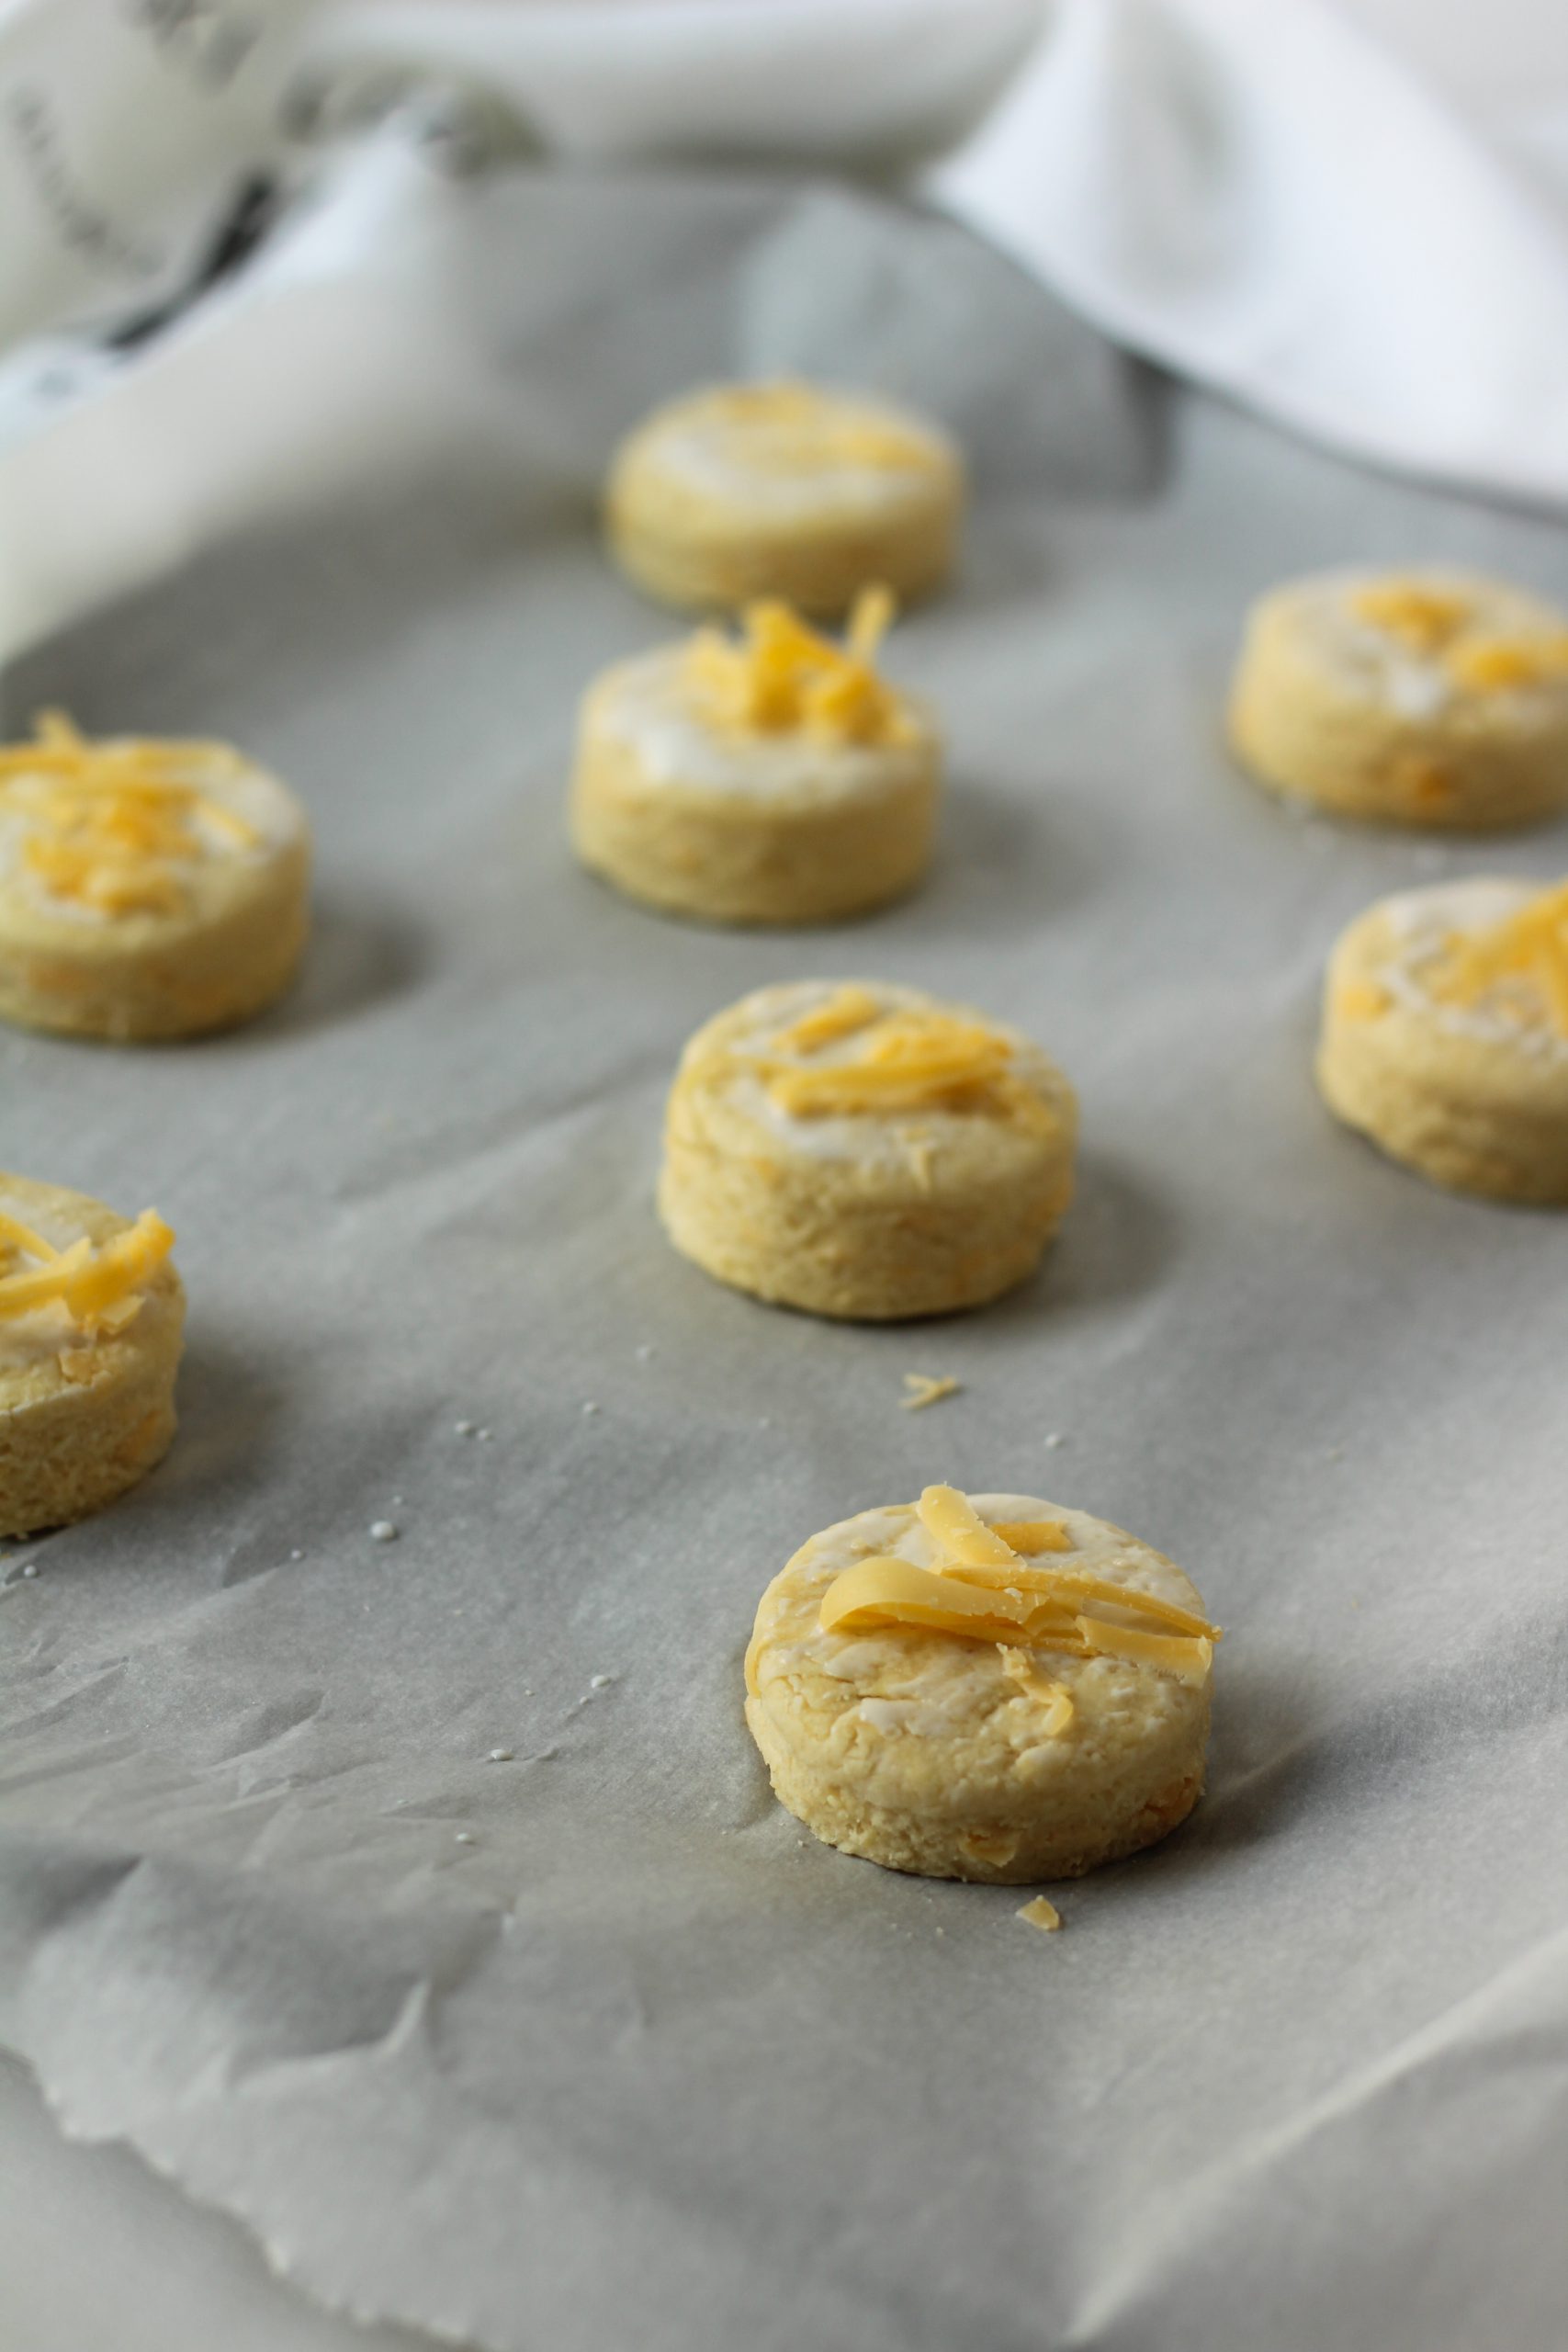
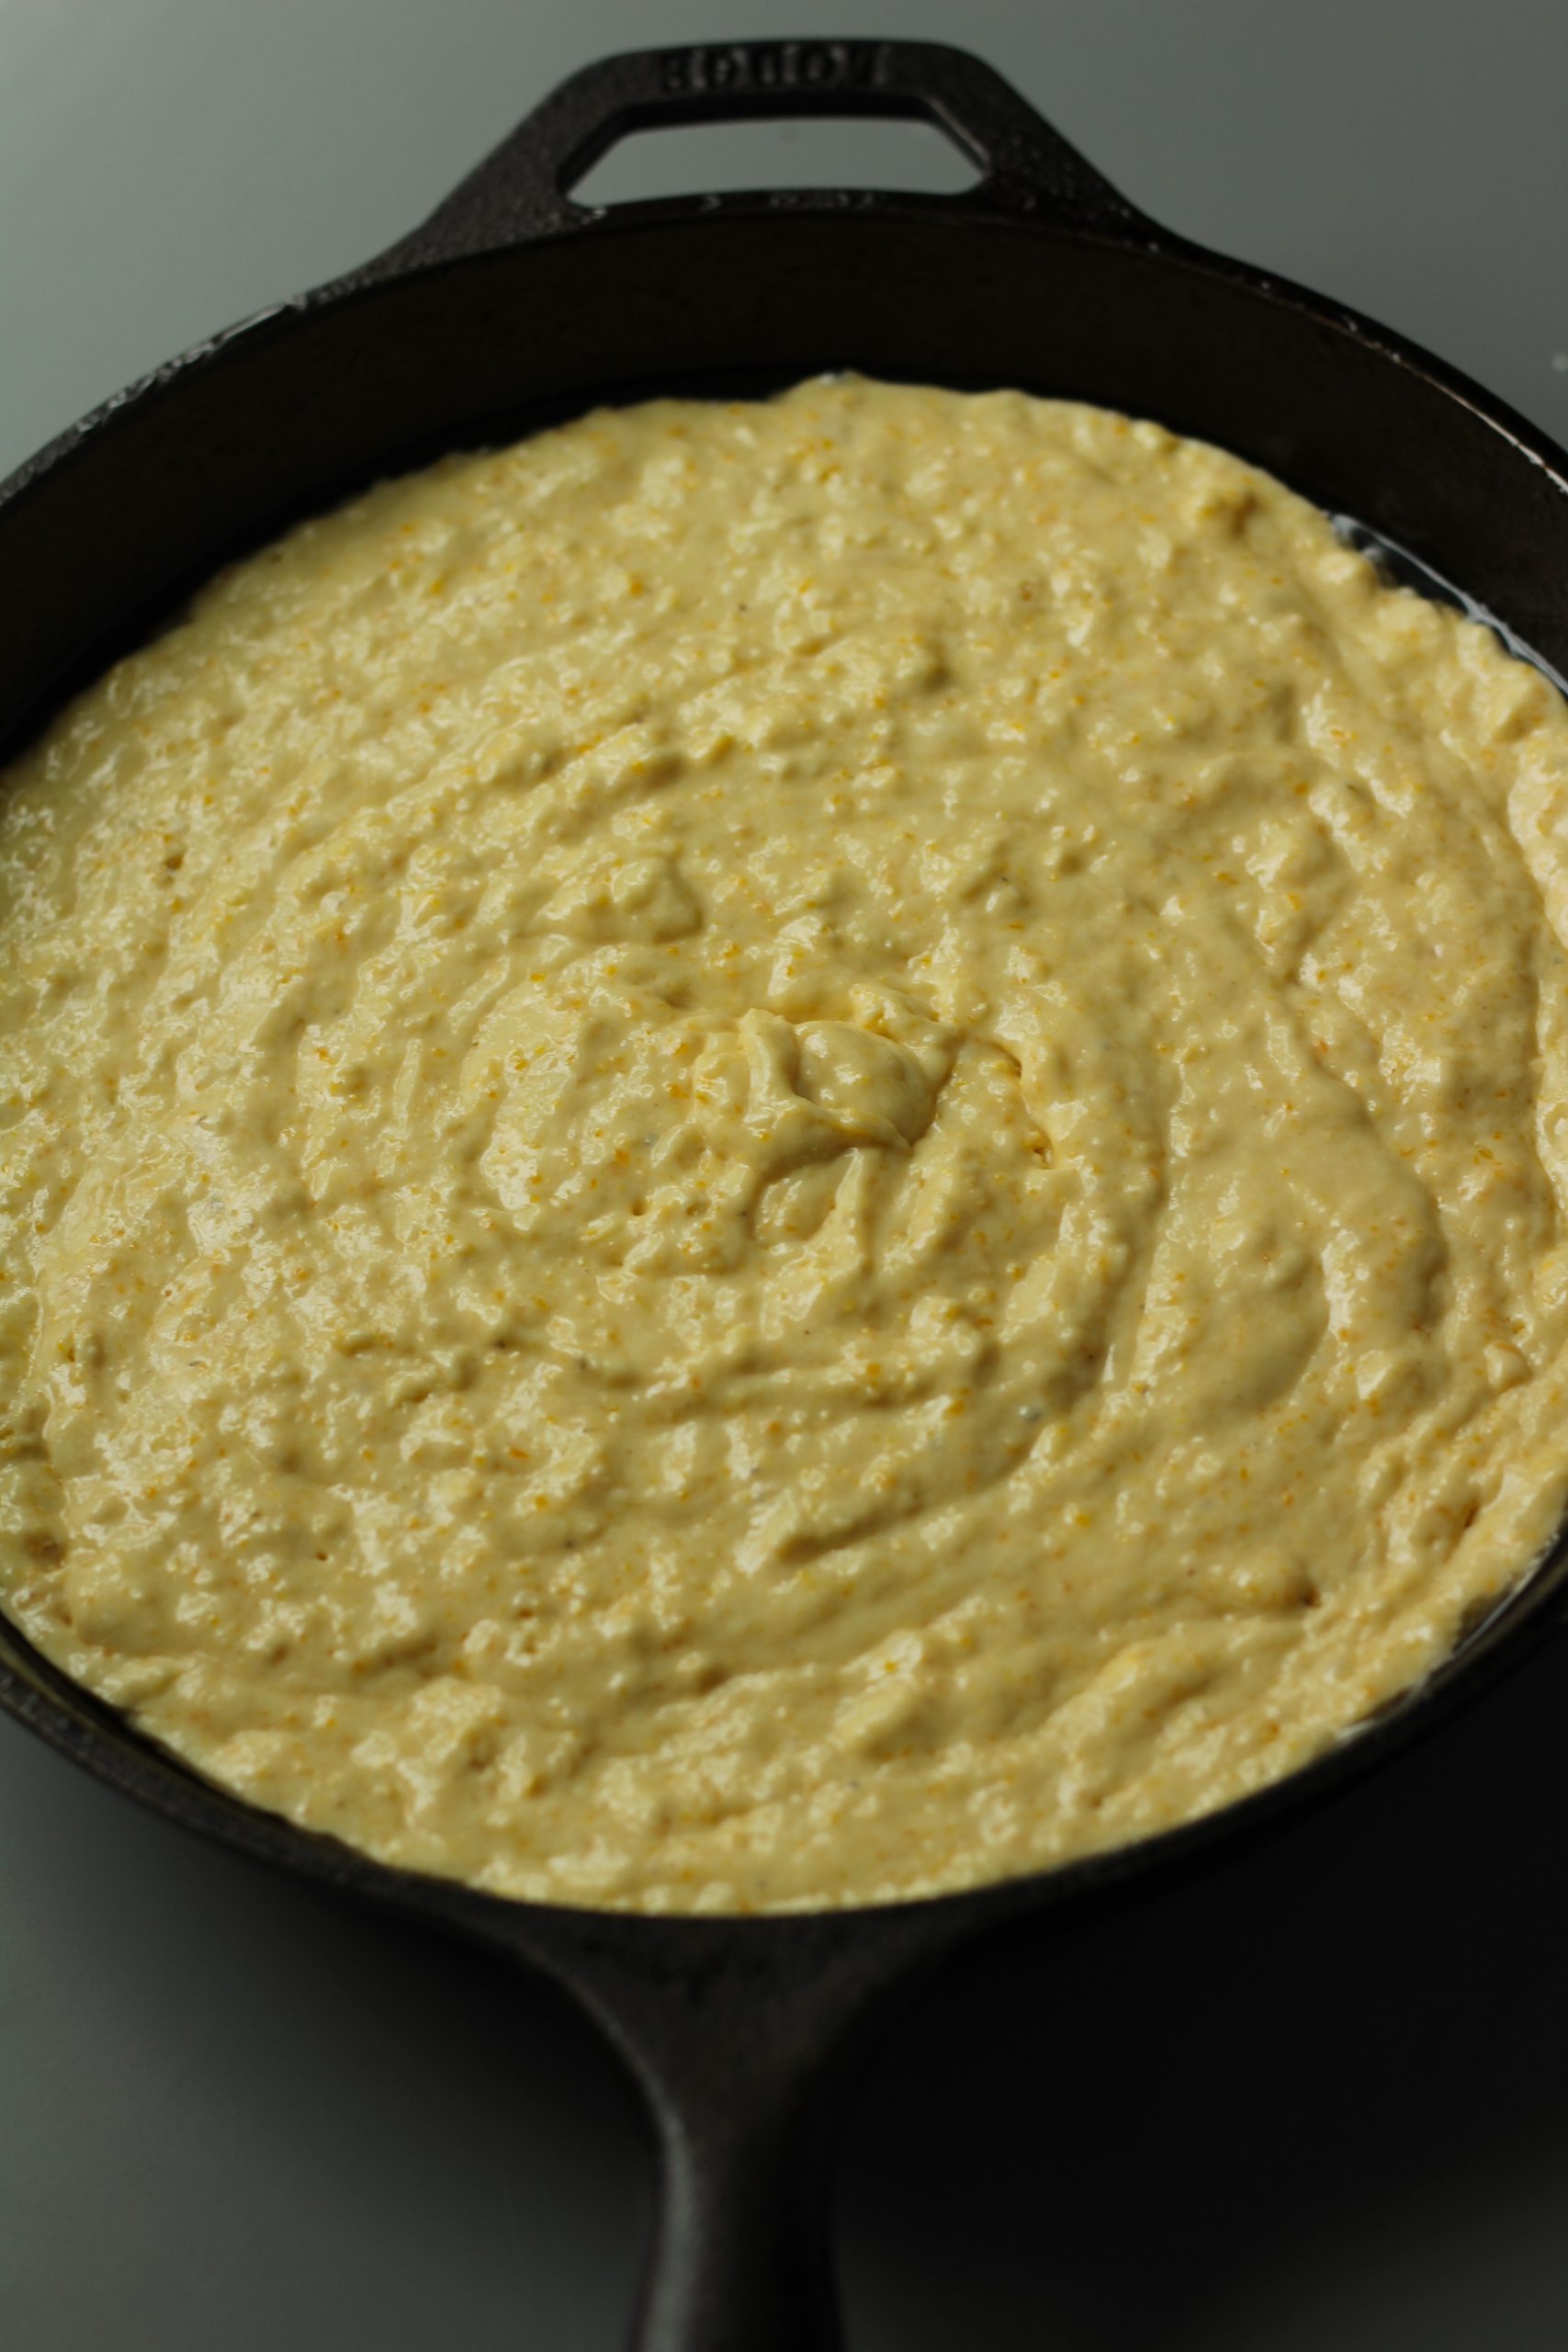
With a sharp knife score a cross on top of your bread.

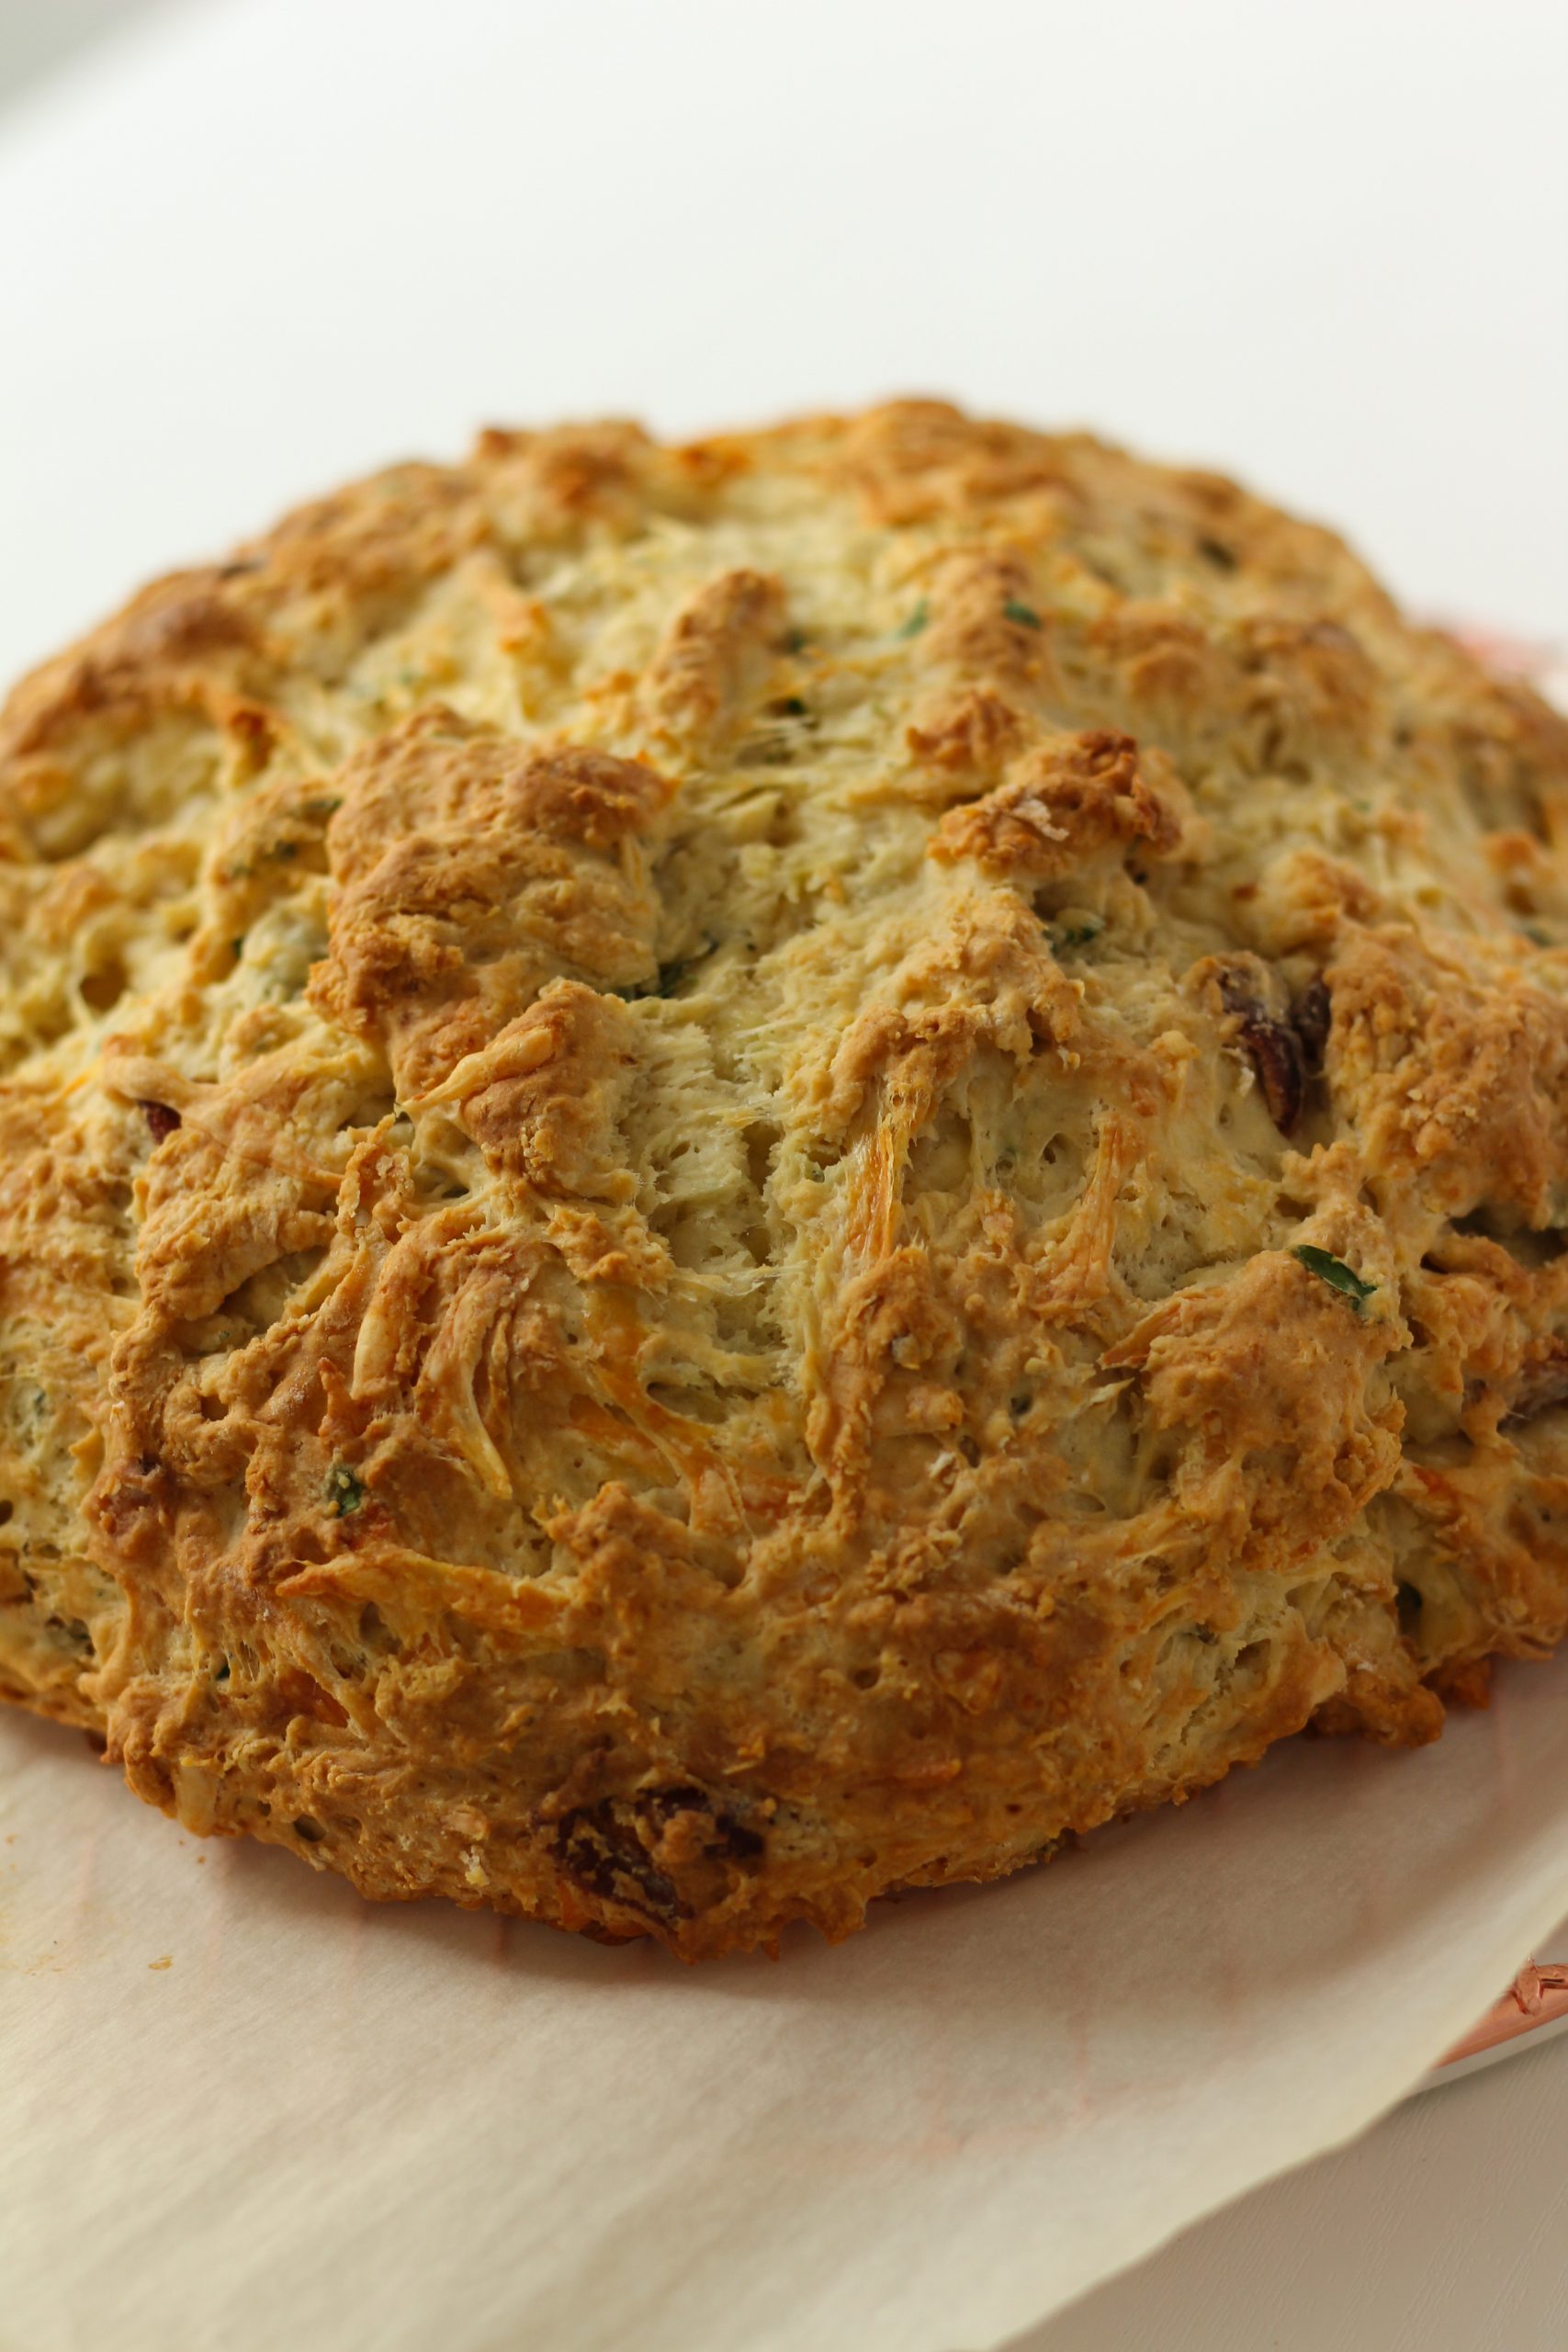
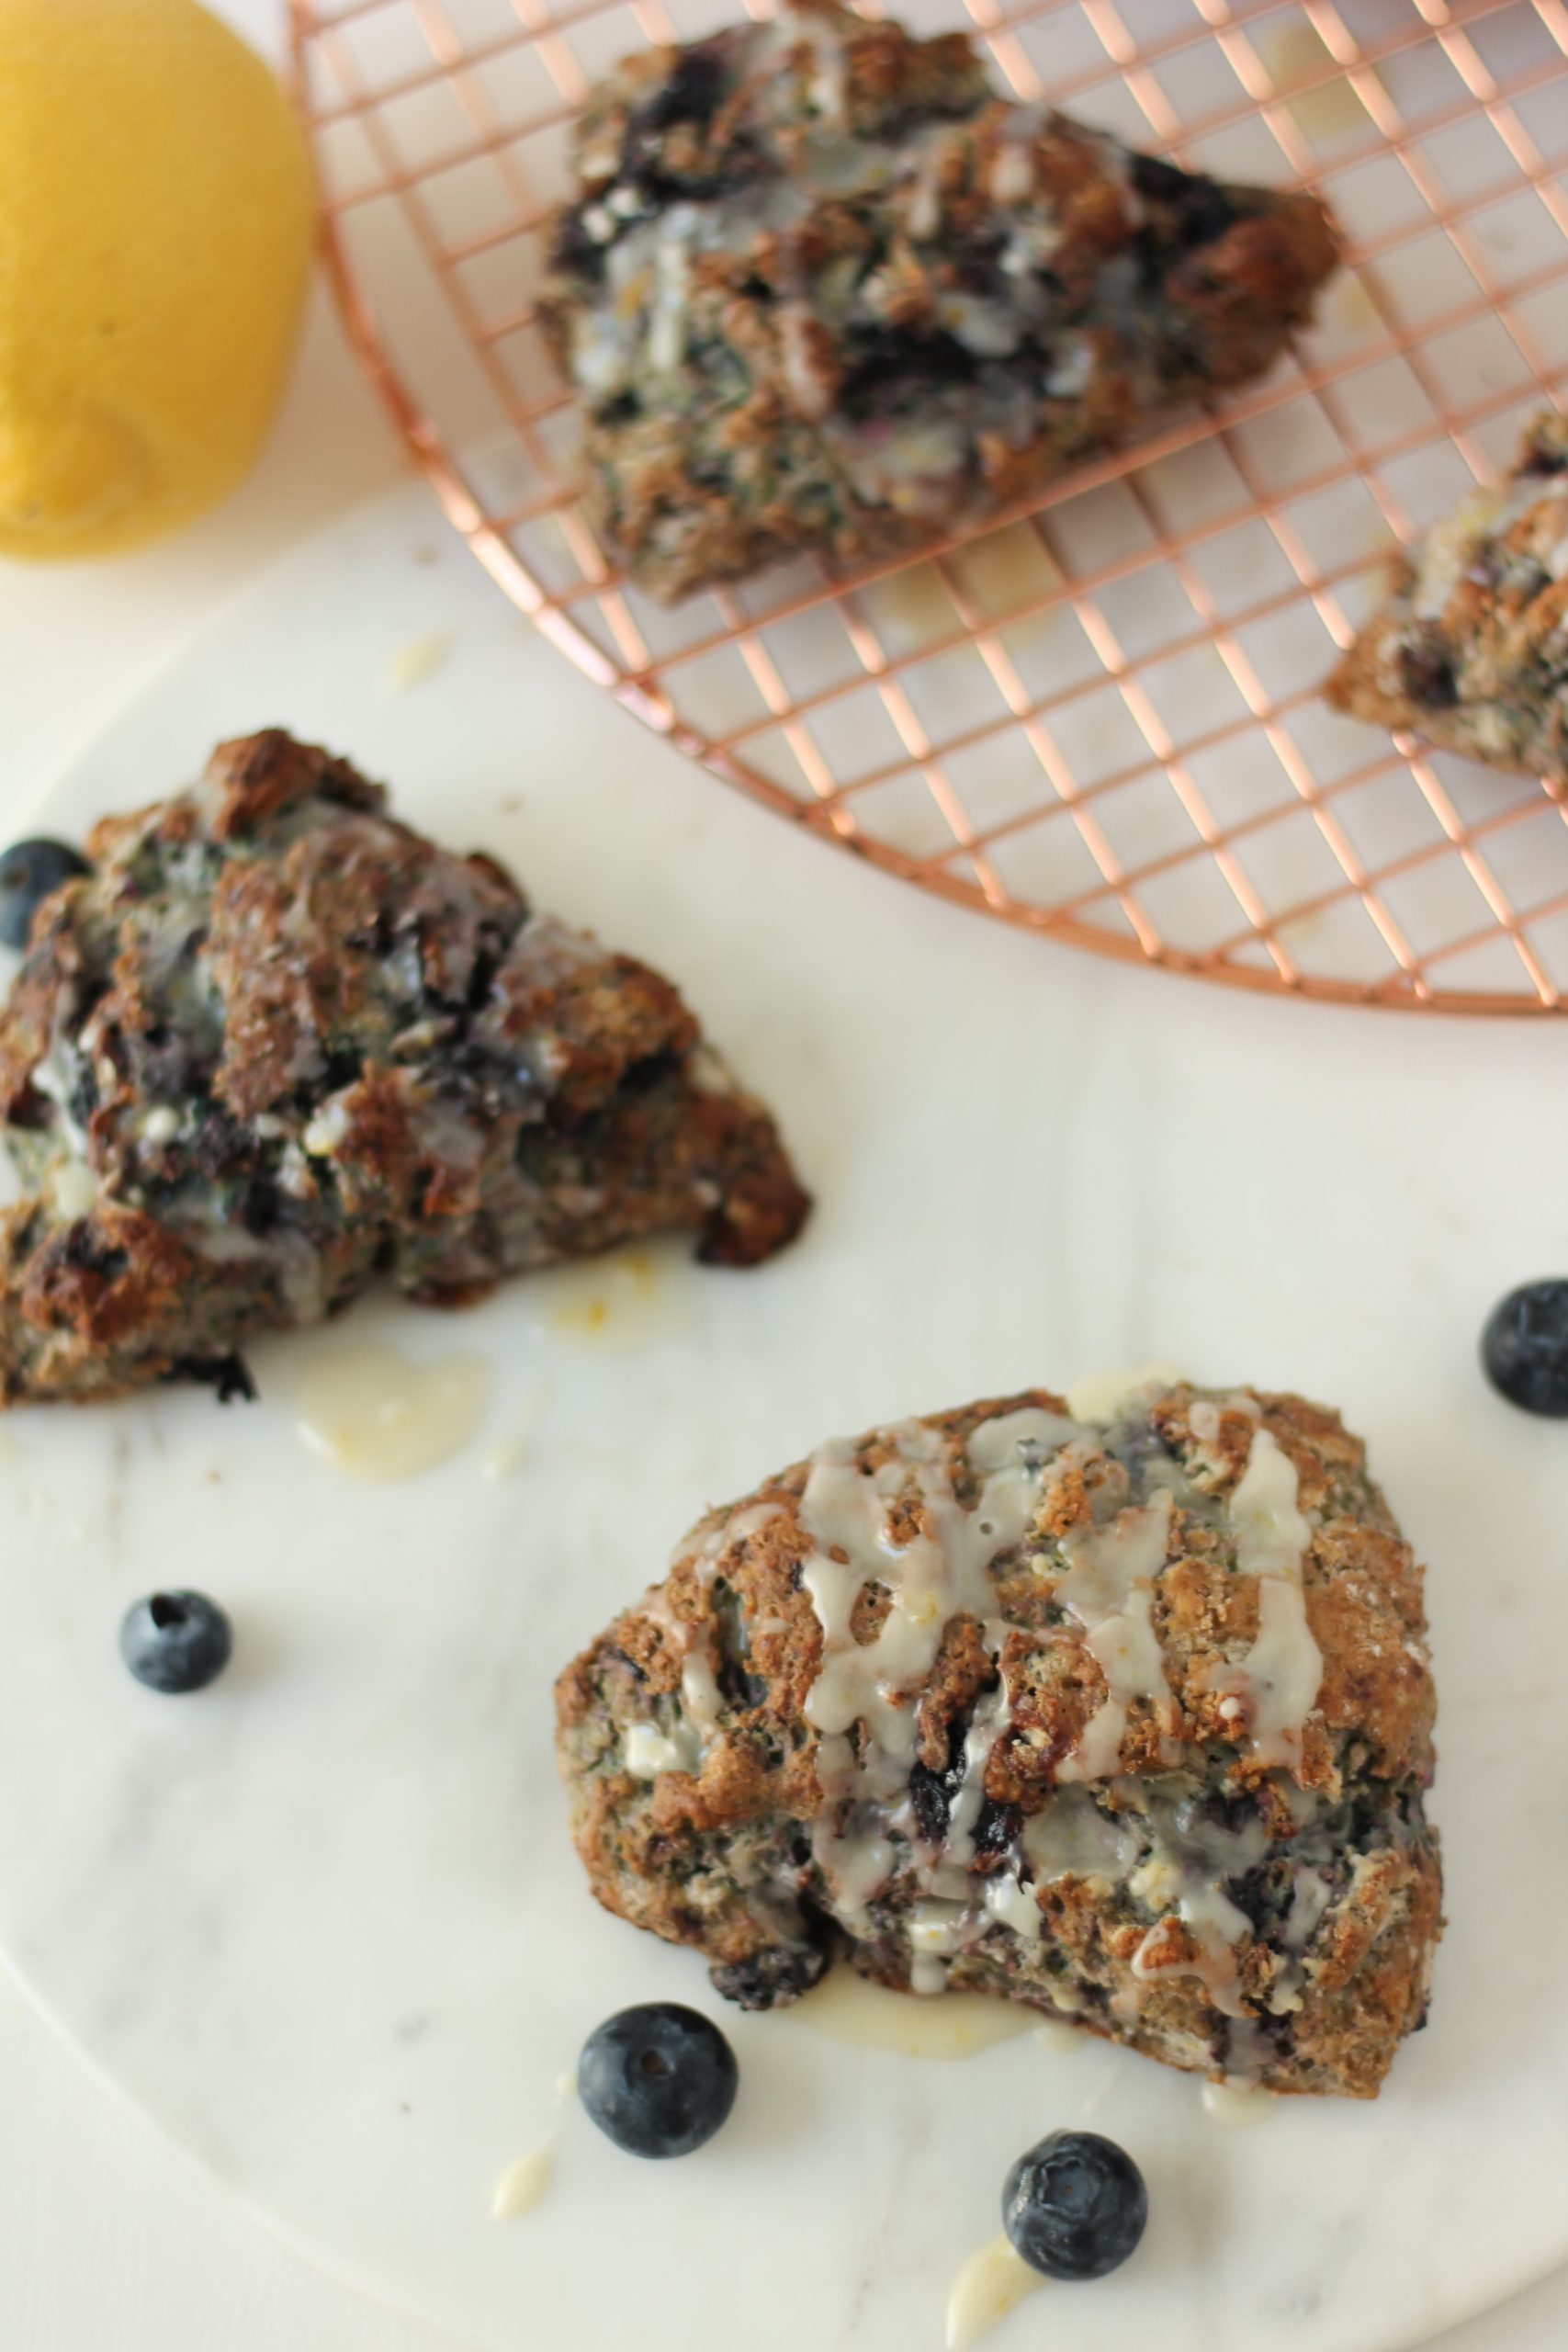
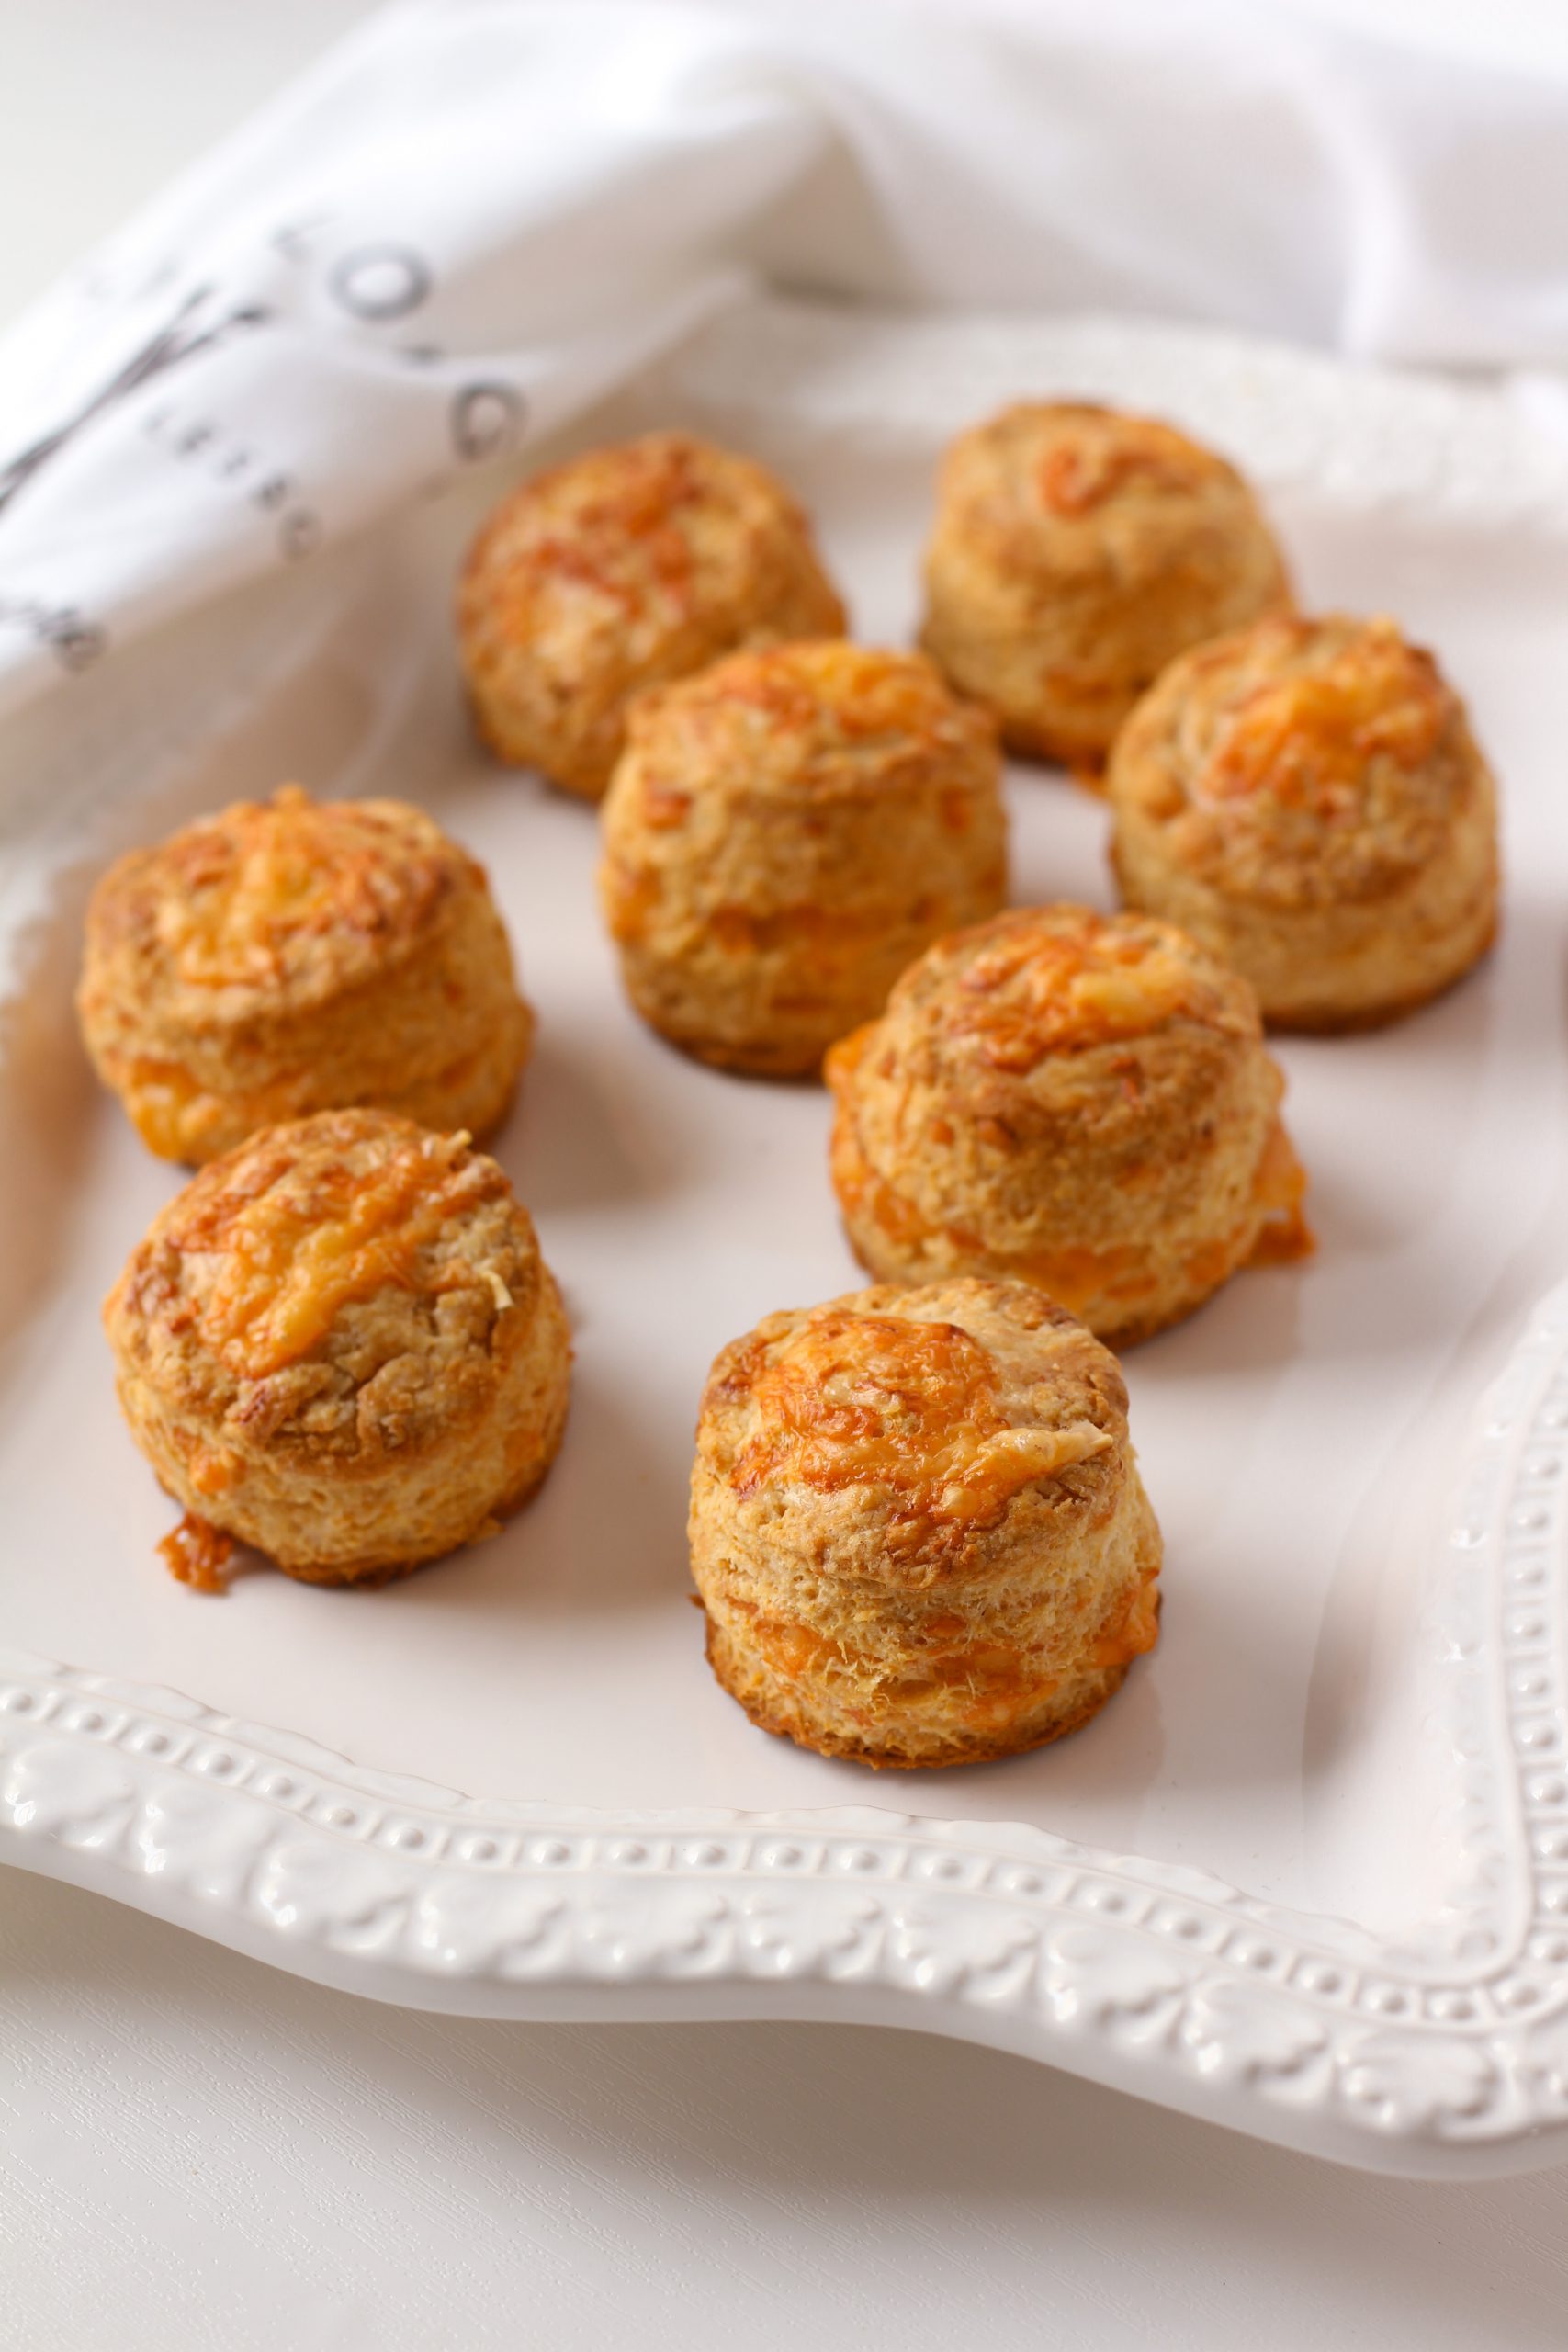
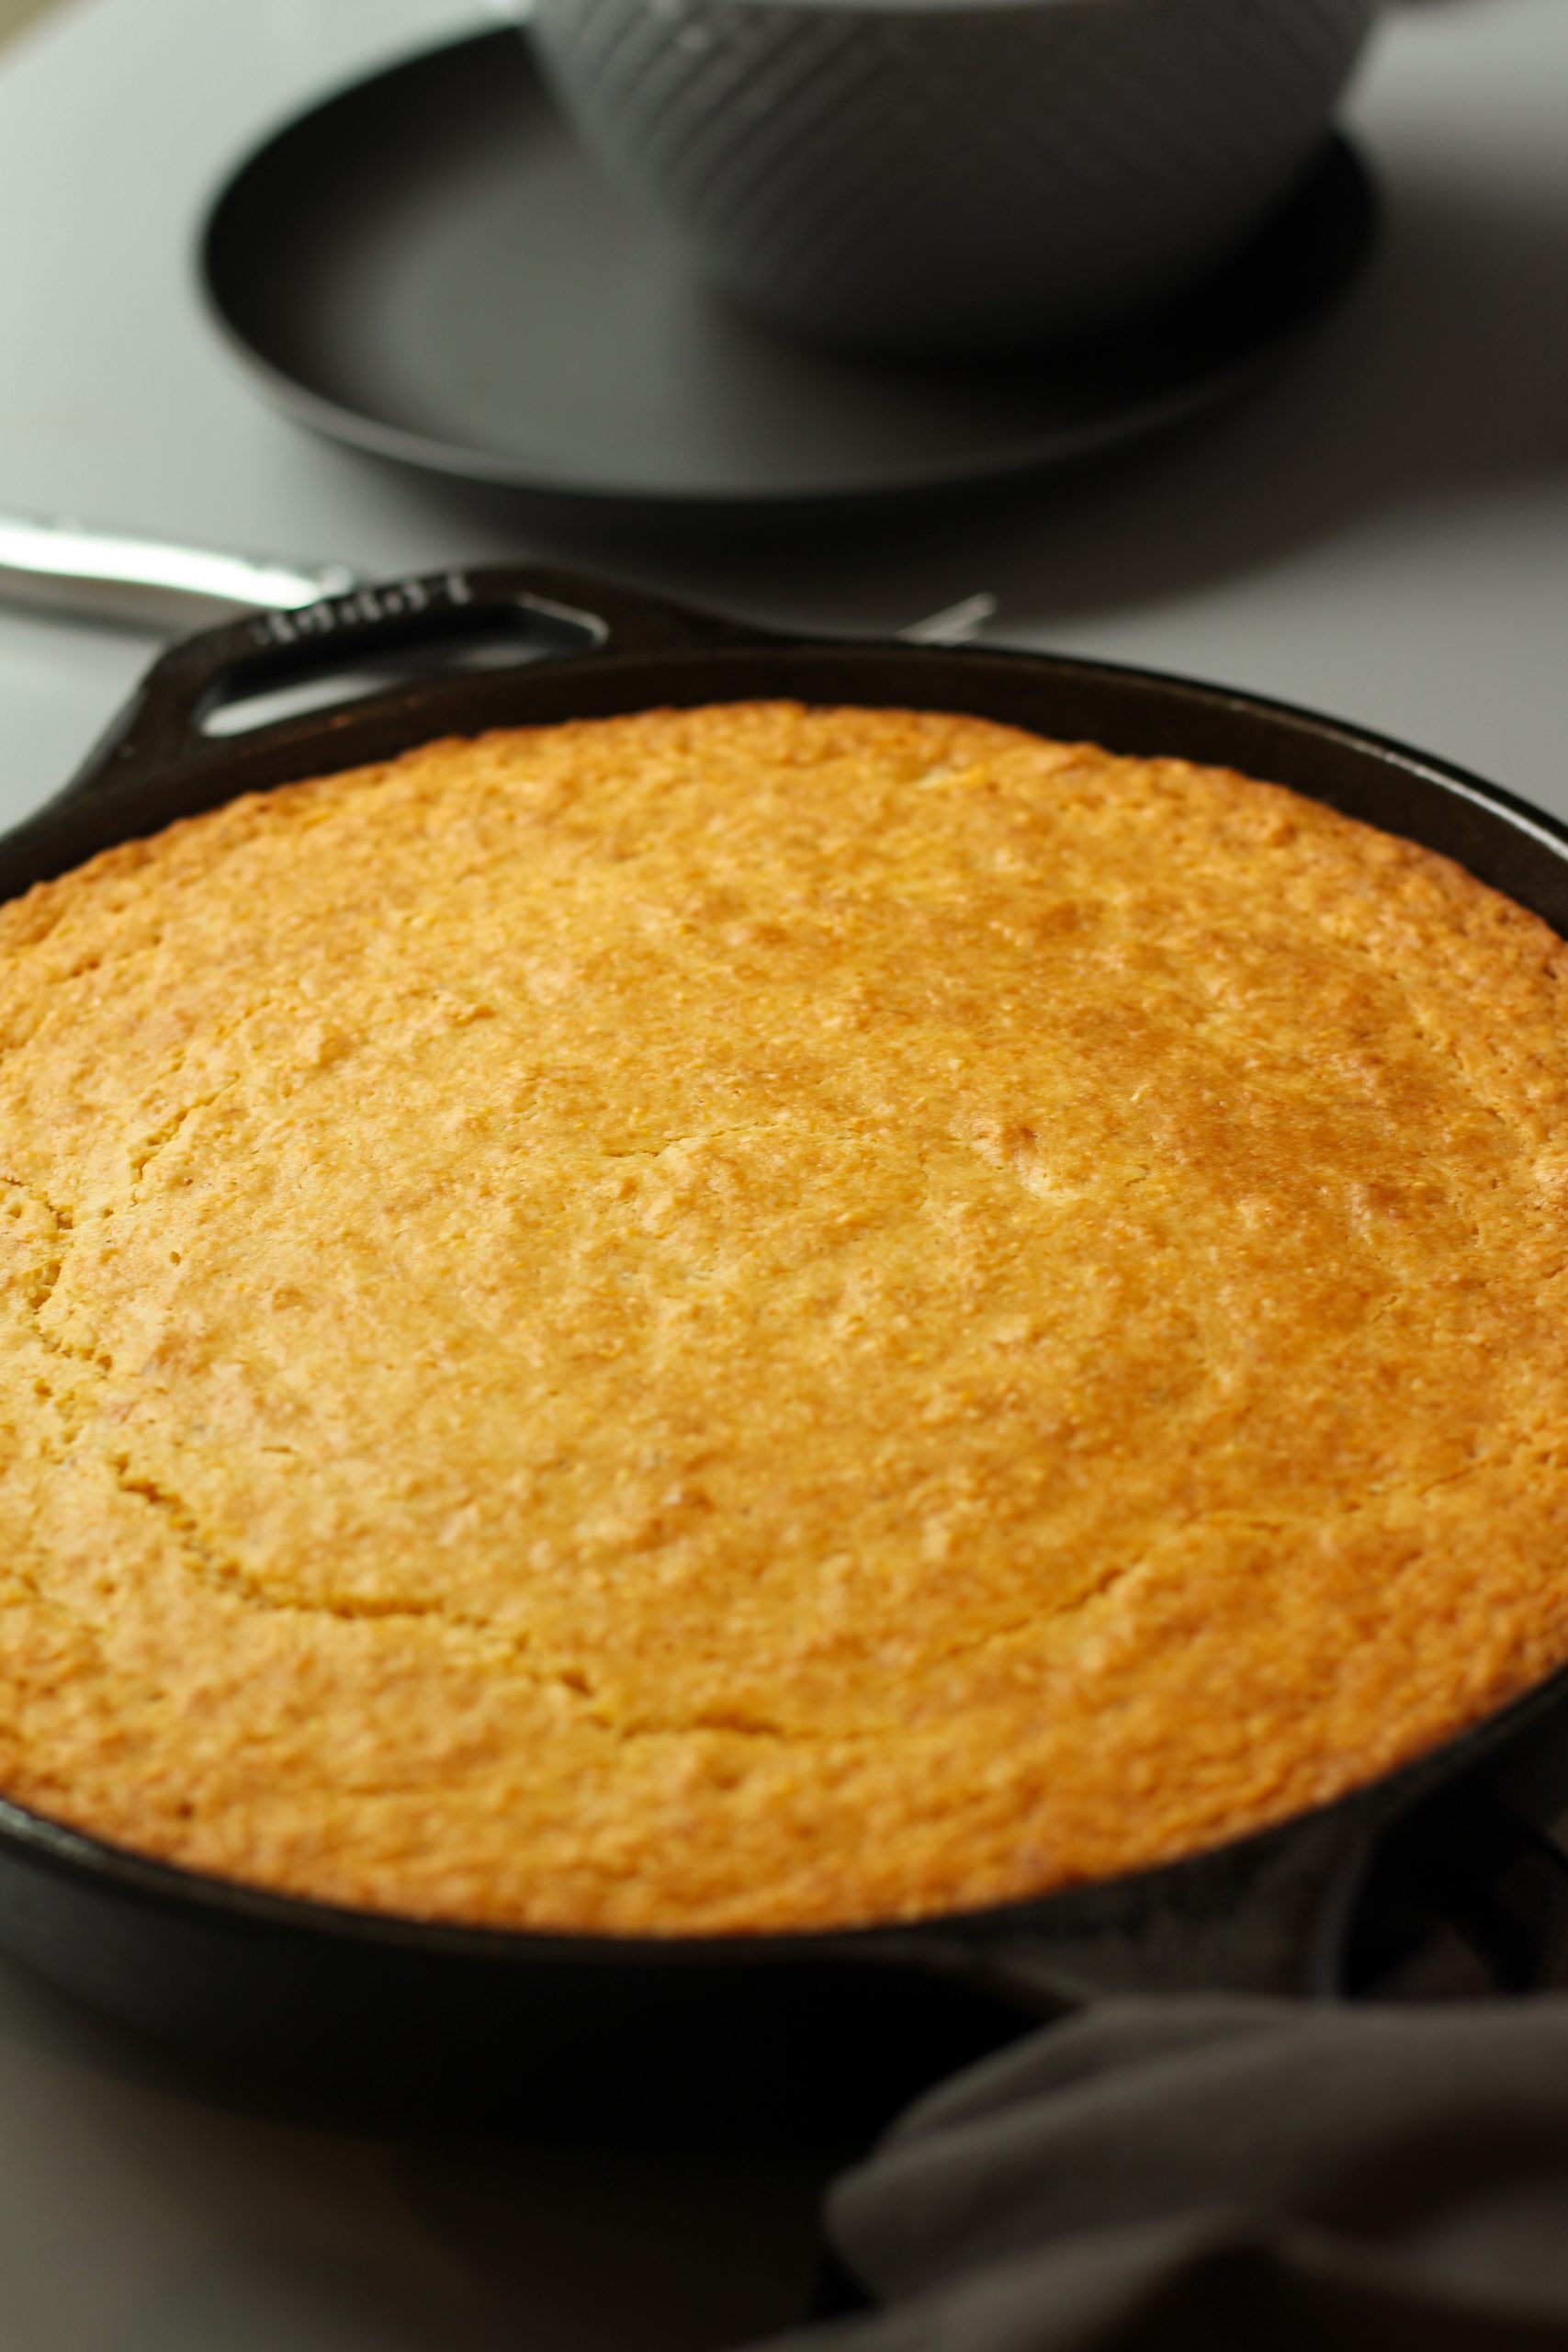
Baked till golden brown and a skewer inside the loaf comes out clean. Before enjoying this delicious bread let it cool on a cooling rack.

Bacon and Cheese Soda Bread

Savory soda bread. The combination of fresh herbs, parsley and rosemary, with the bacon and cheese makes it a perfect side dish.
Prep Time20 minutes
Course: Breakfast
Cuisine: Bread
Keyword: baconsodabread, easybread, nokneadbread, sodabread

Ingredients

  • 3 Cups Unbleached Flour
  • 1 Cup Pastry Flour
  • 1 1/2 Teaspoons Baking Soda
  • 1 1/2 Teaspoons Cream Tartar
  • 1 1/2 Teaspoons Salt
  • 1/4 Cup Fresh herbs; Parsley, Rosemary Chopped fine. I used one stem of rosemary and the rest parsley.
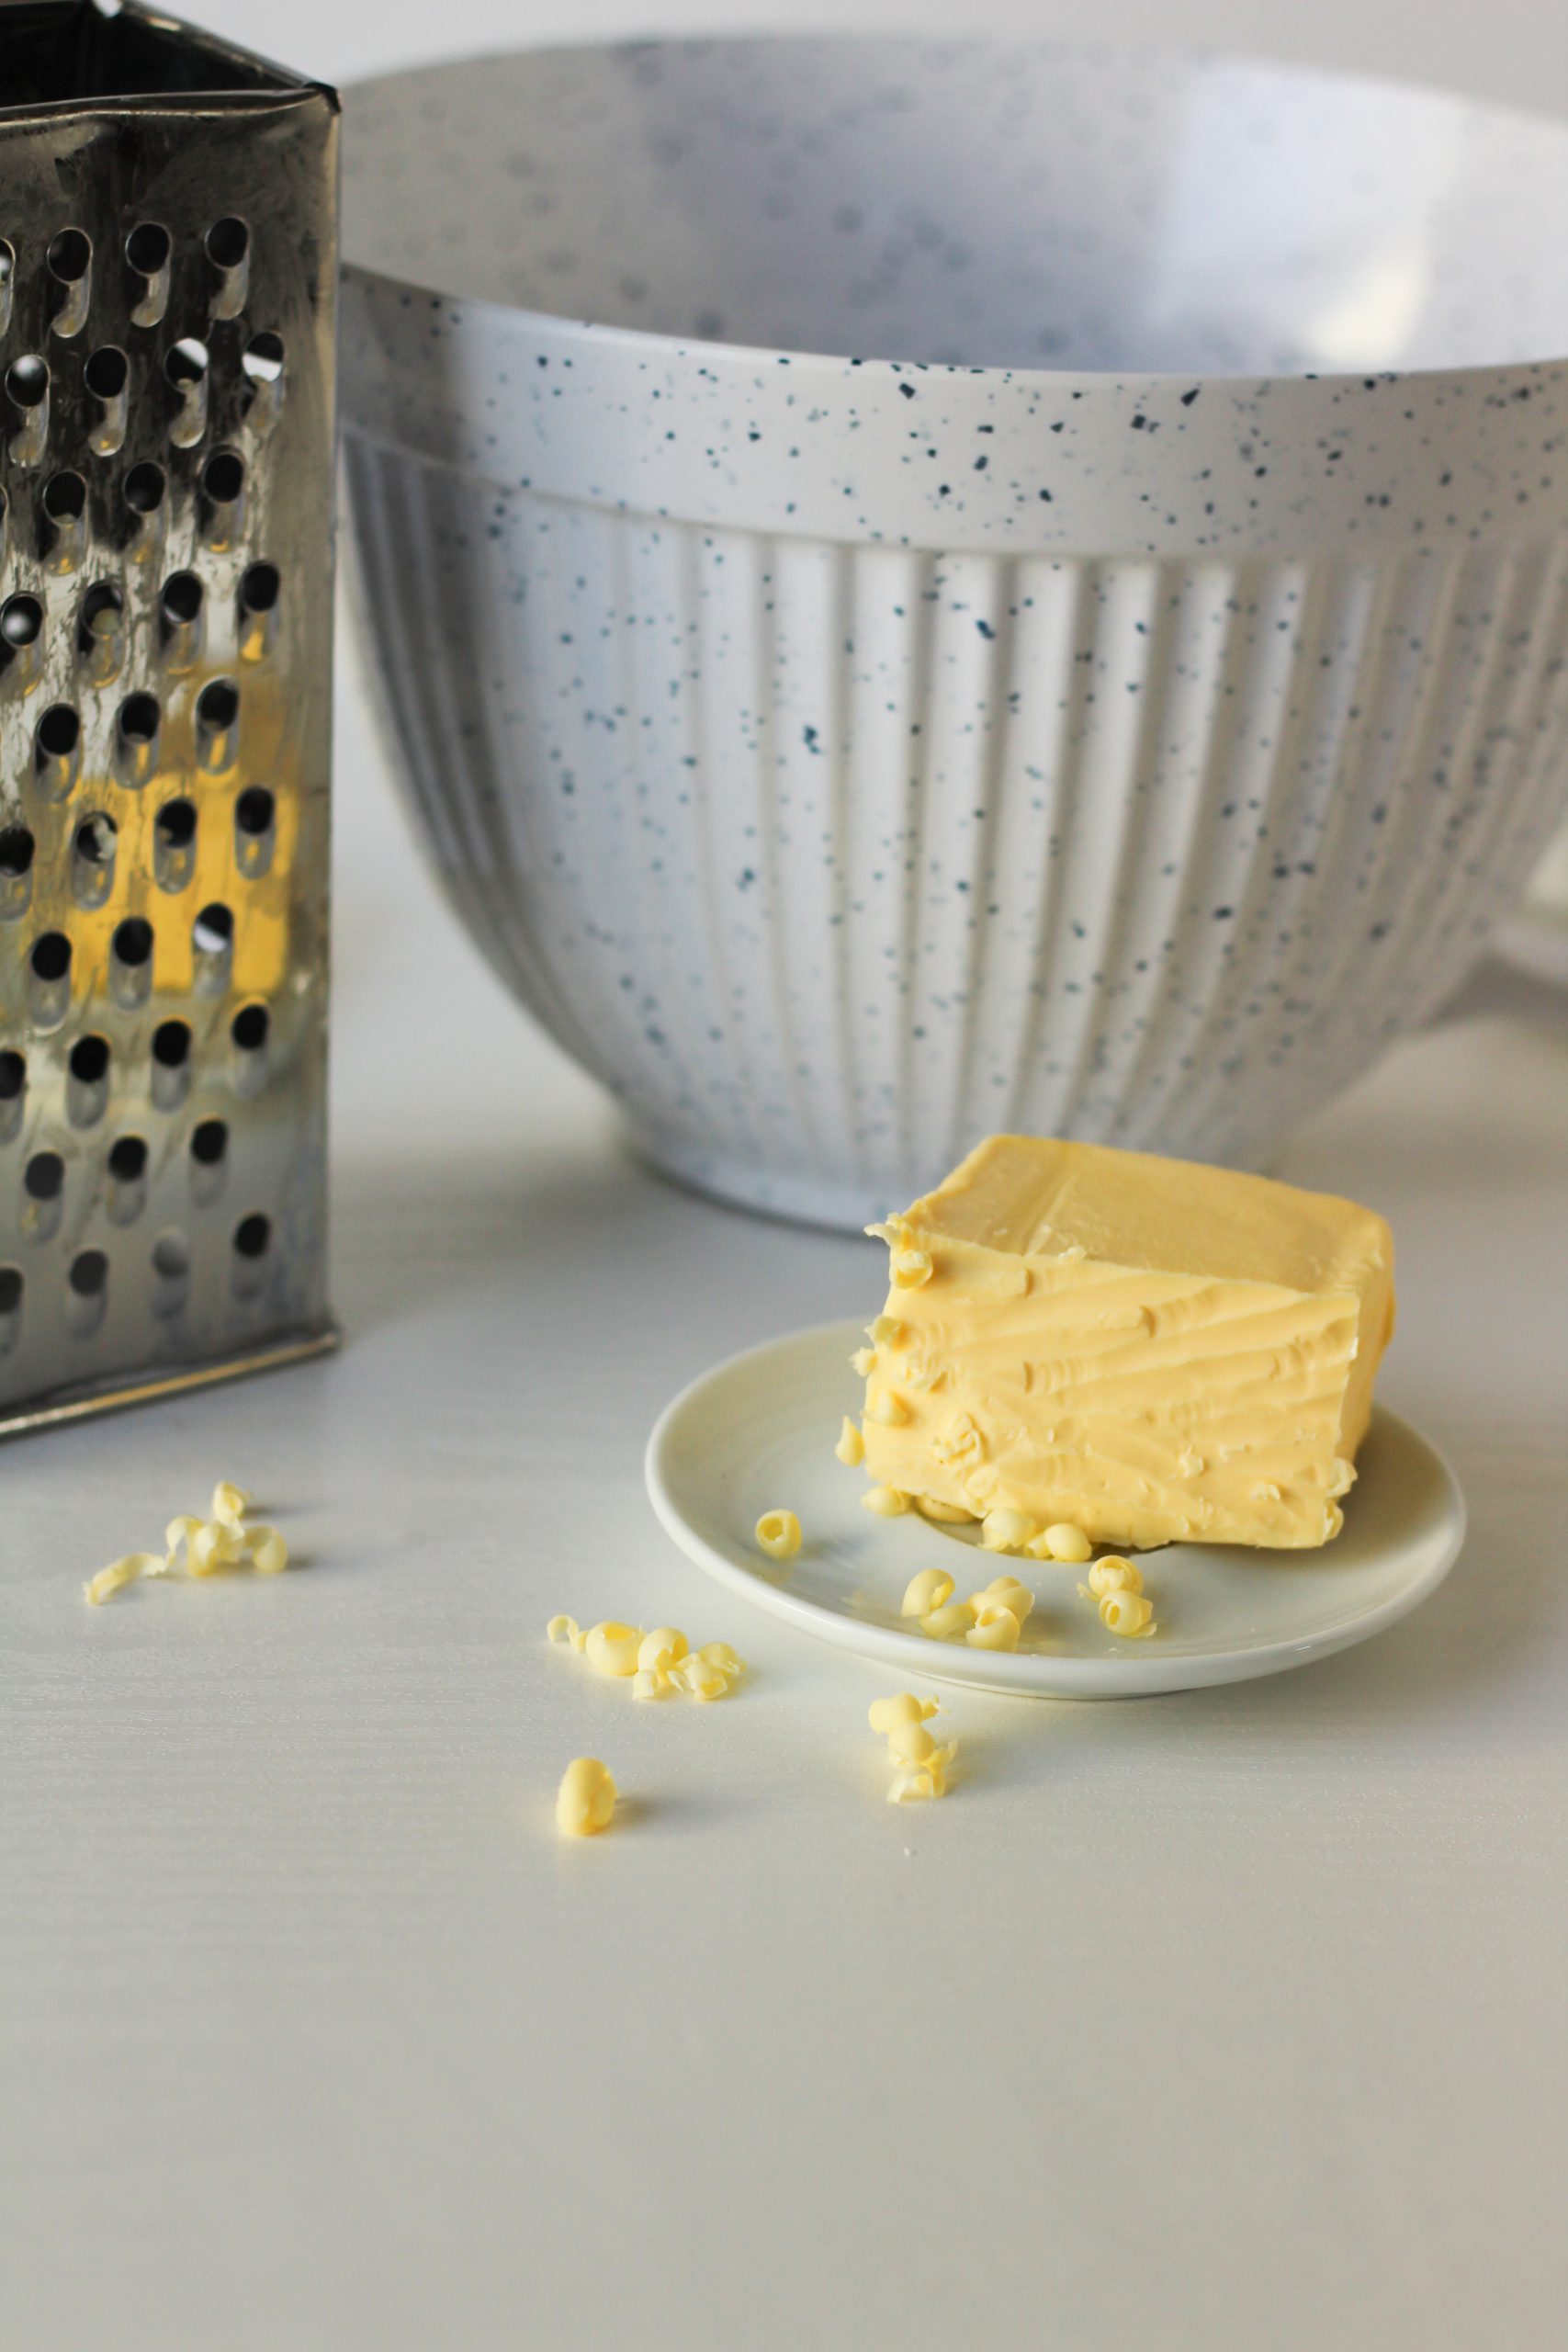
  • 4 Oz Cheese shredded
  • 4 Strips Bacon baked to a crisp
  • 2 Tablespoons Unsalted Butter melted and cooled
  • 3/4 Cup Buttermilk 3/4 cup – 1 cup *
  • 2 Tablespoons Honey
  • 1 Egg room temperature

Instructions

  • Cook your bacon to a crisp and let it drain on a paper towel. Wash your herbs and chop. Set them aside.
  • Preheat the oven to 375 Farhenheit.
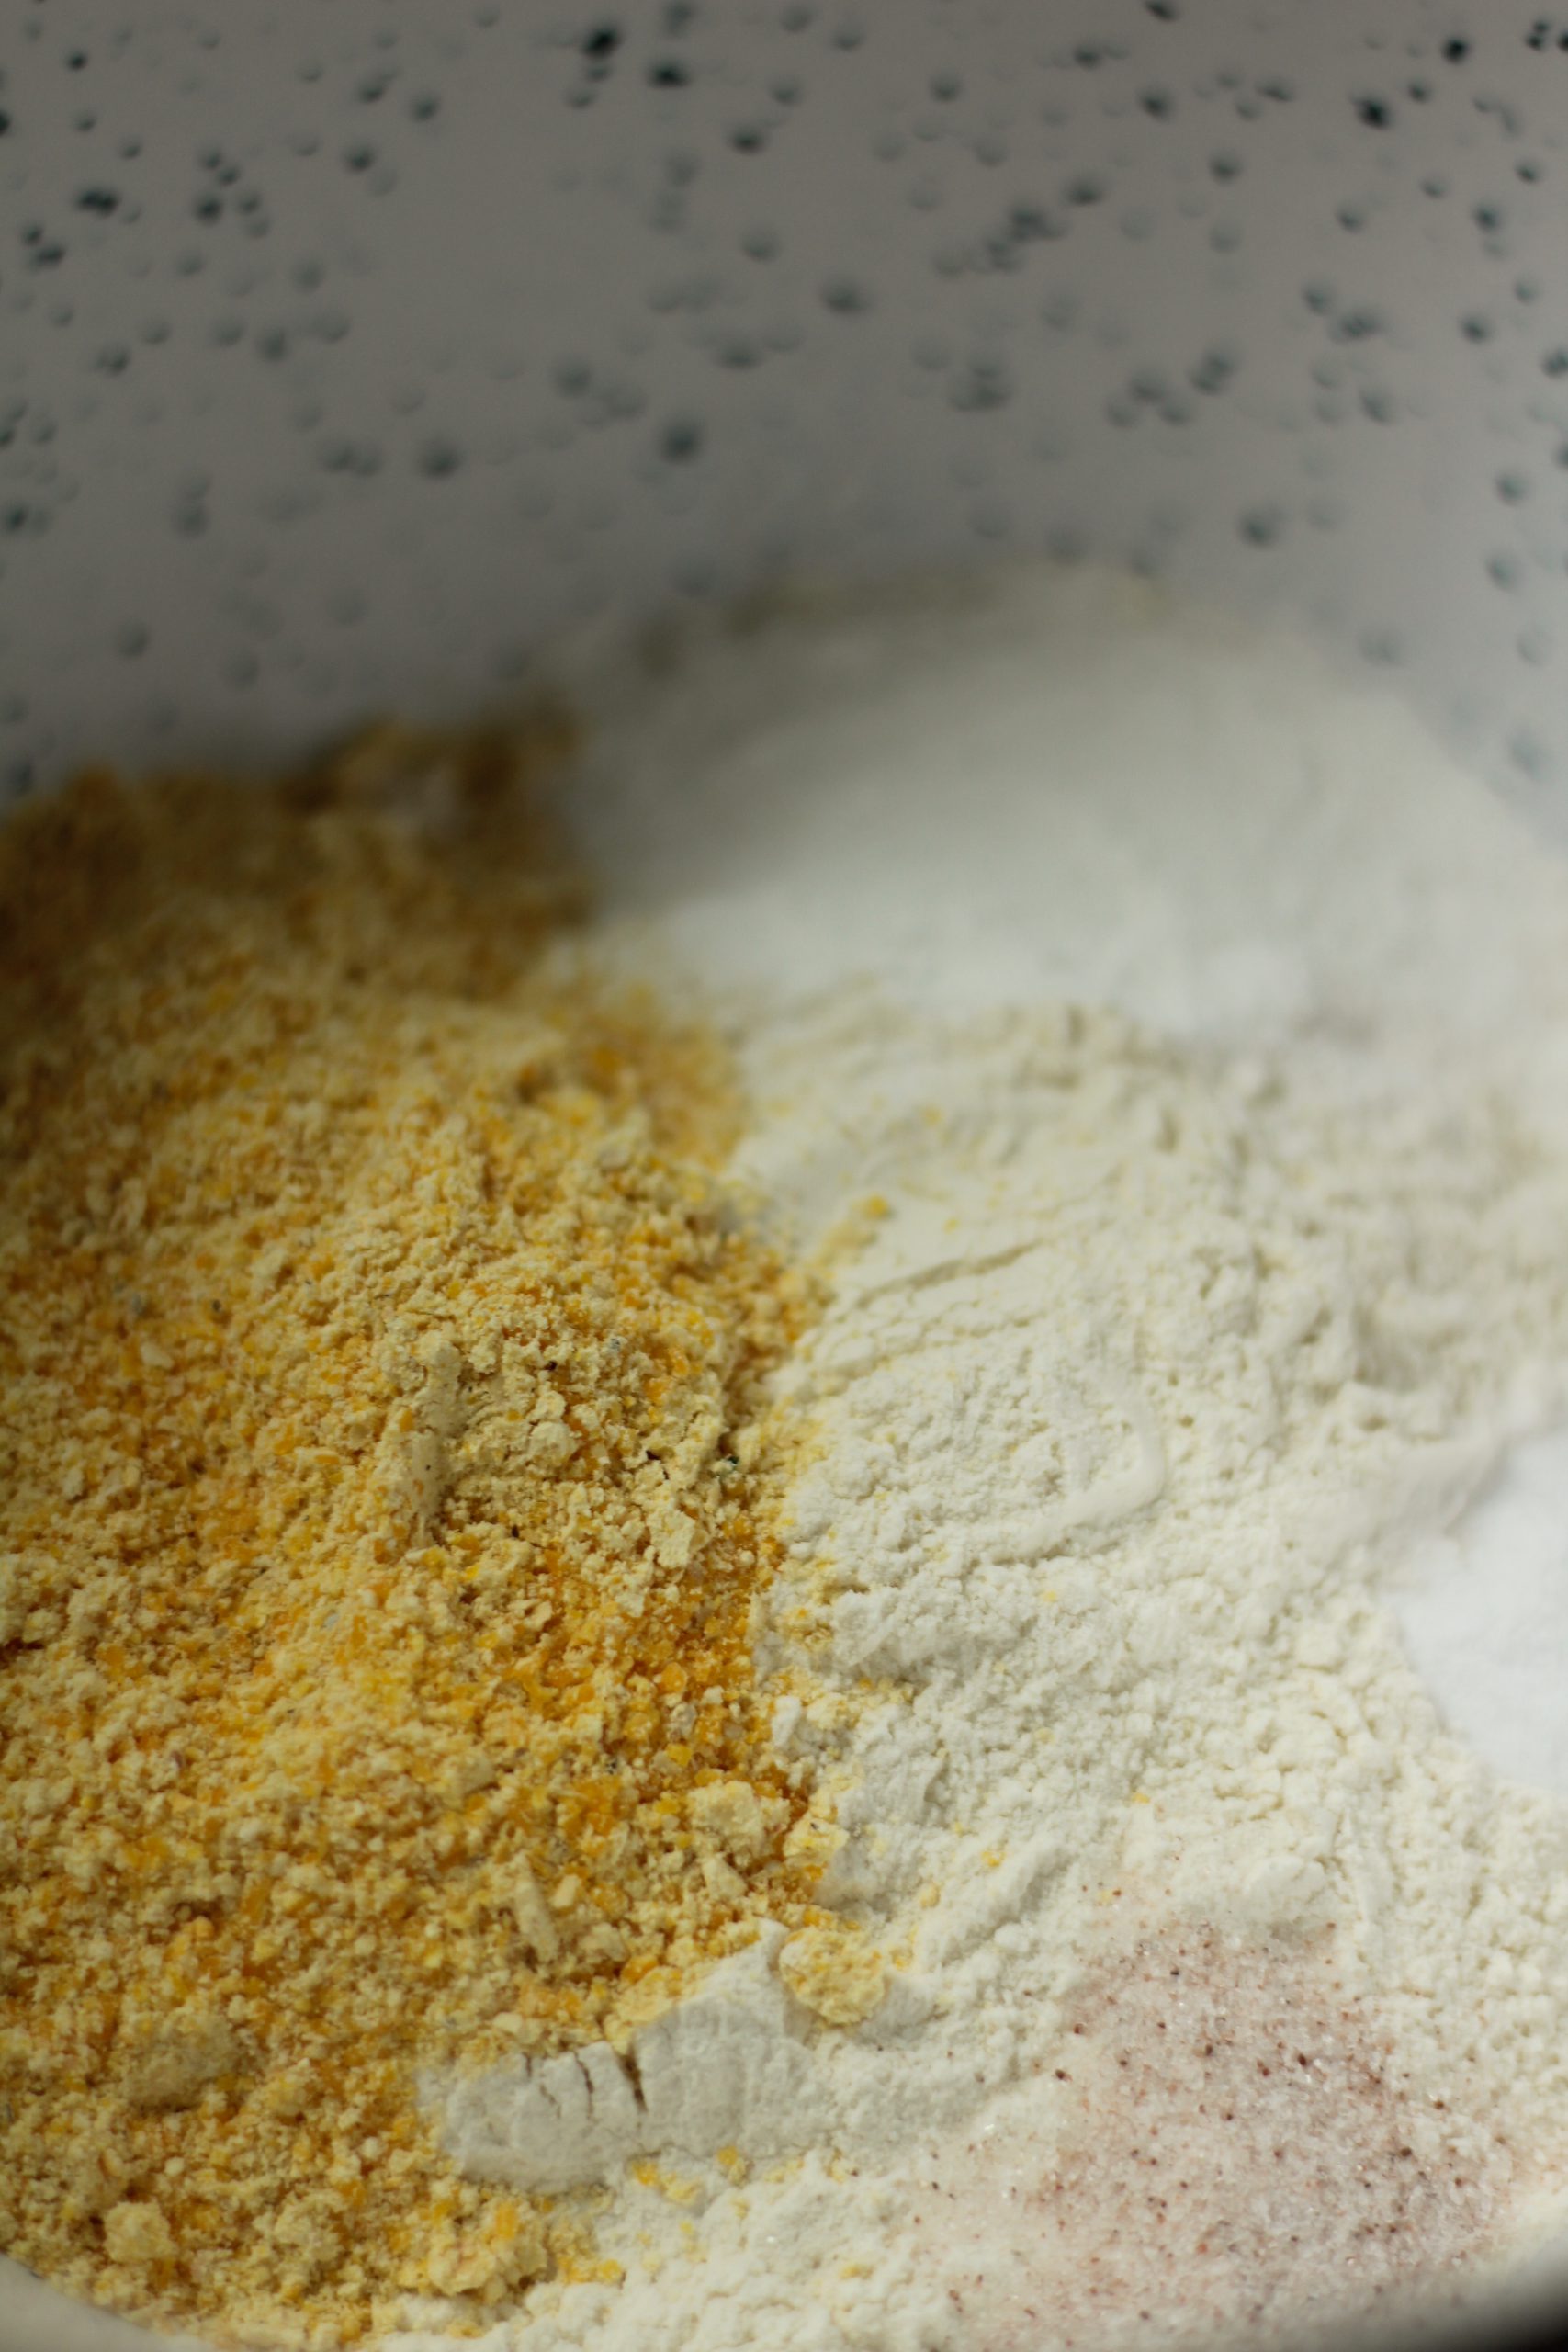
  • Combine in a bowl: flour, pastry flour, baking soda, cream tartar and salt.
  • Add the chopped herbs, bacon and the grated cheese to the flour mixture and combine well.
  • In another bowl combine the buttermilk with the egg, butter and honey.
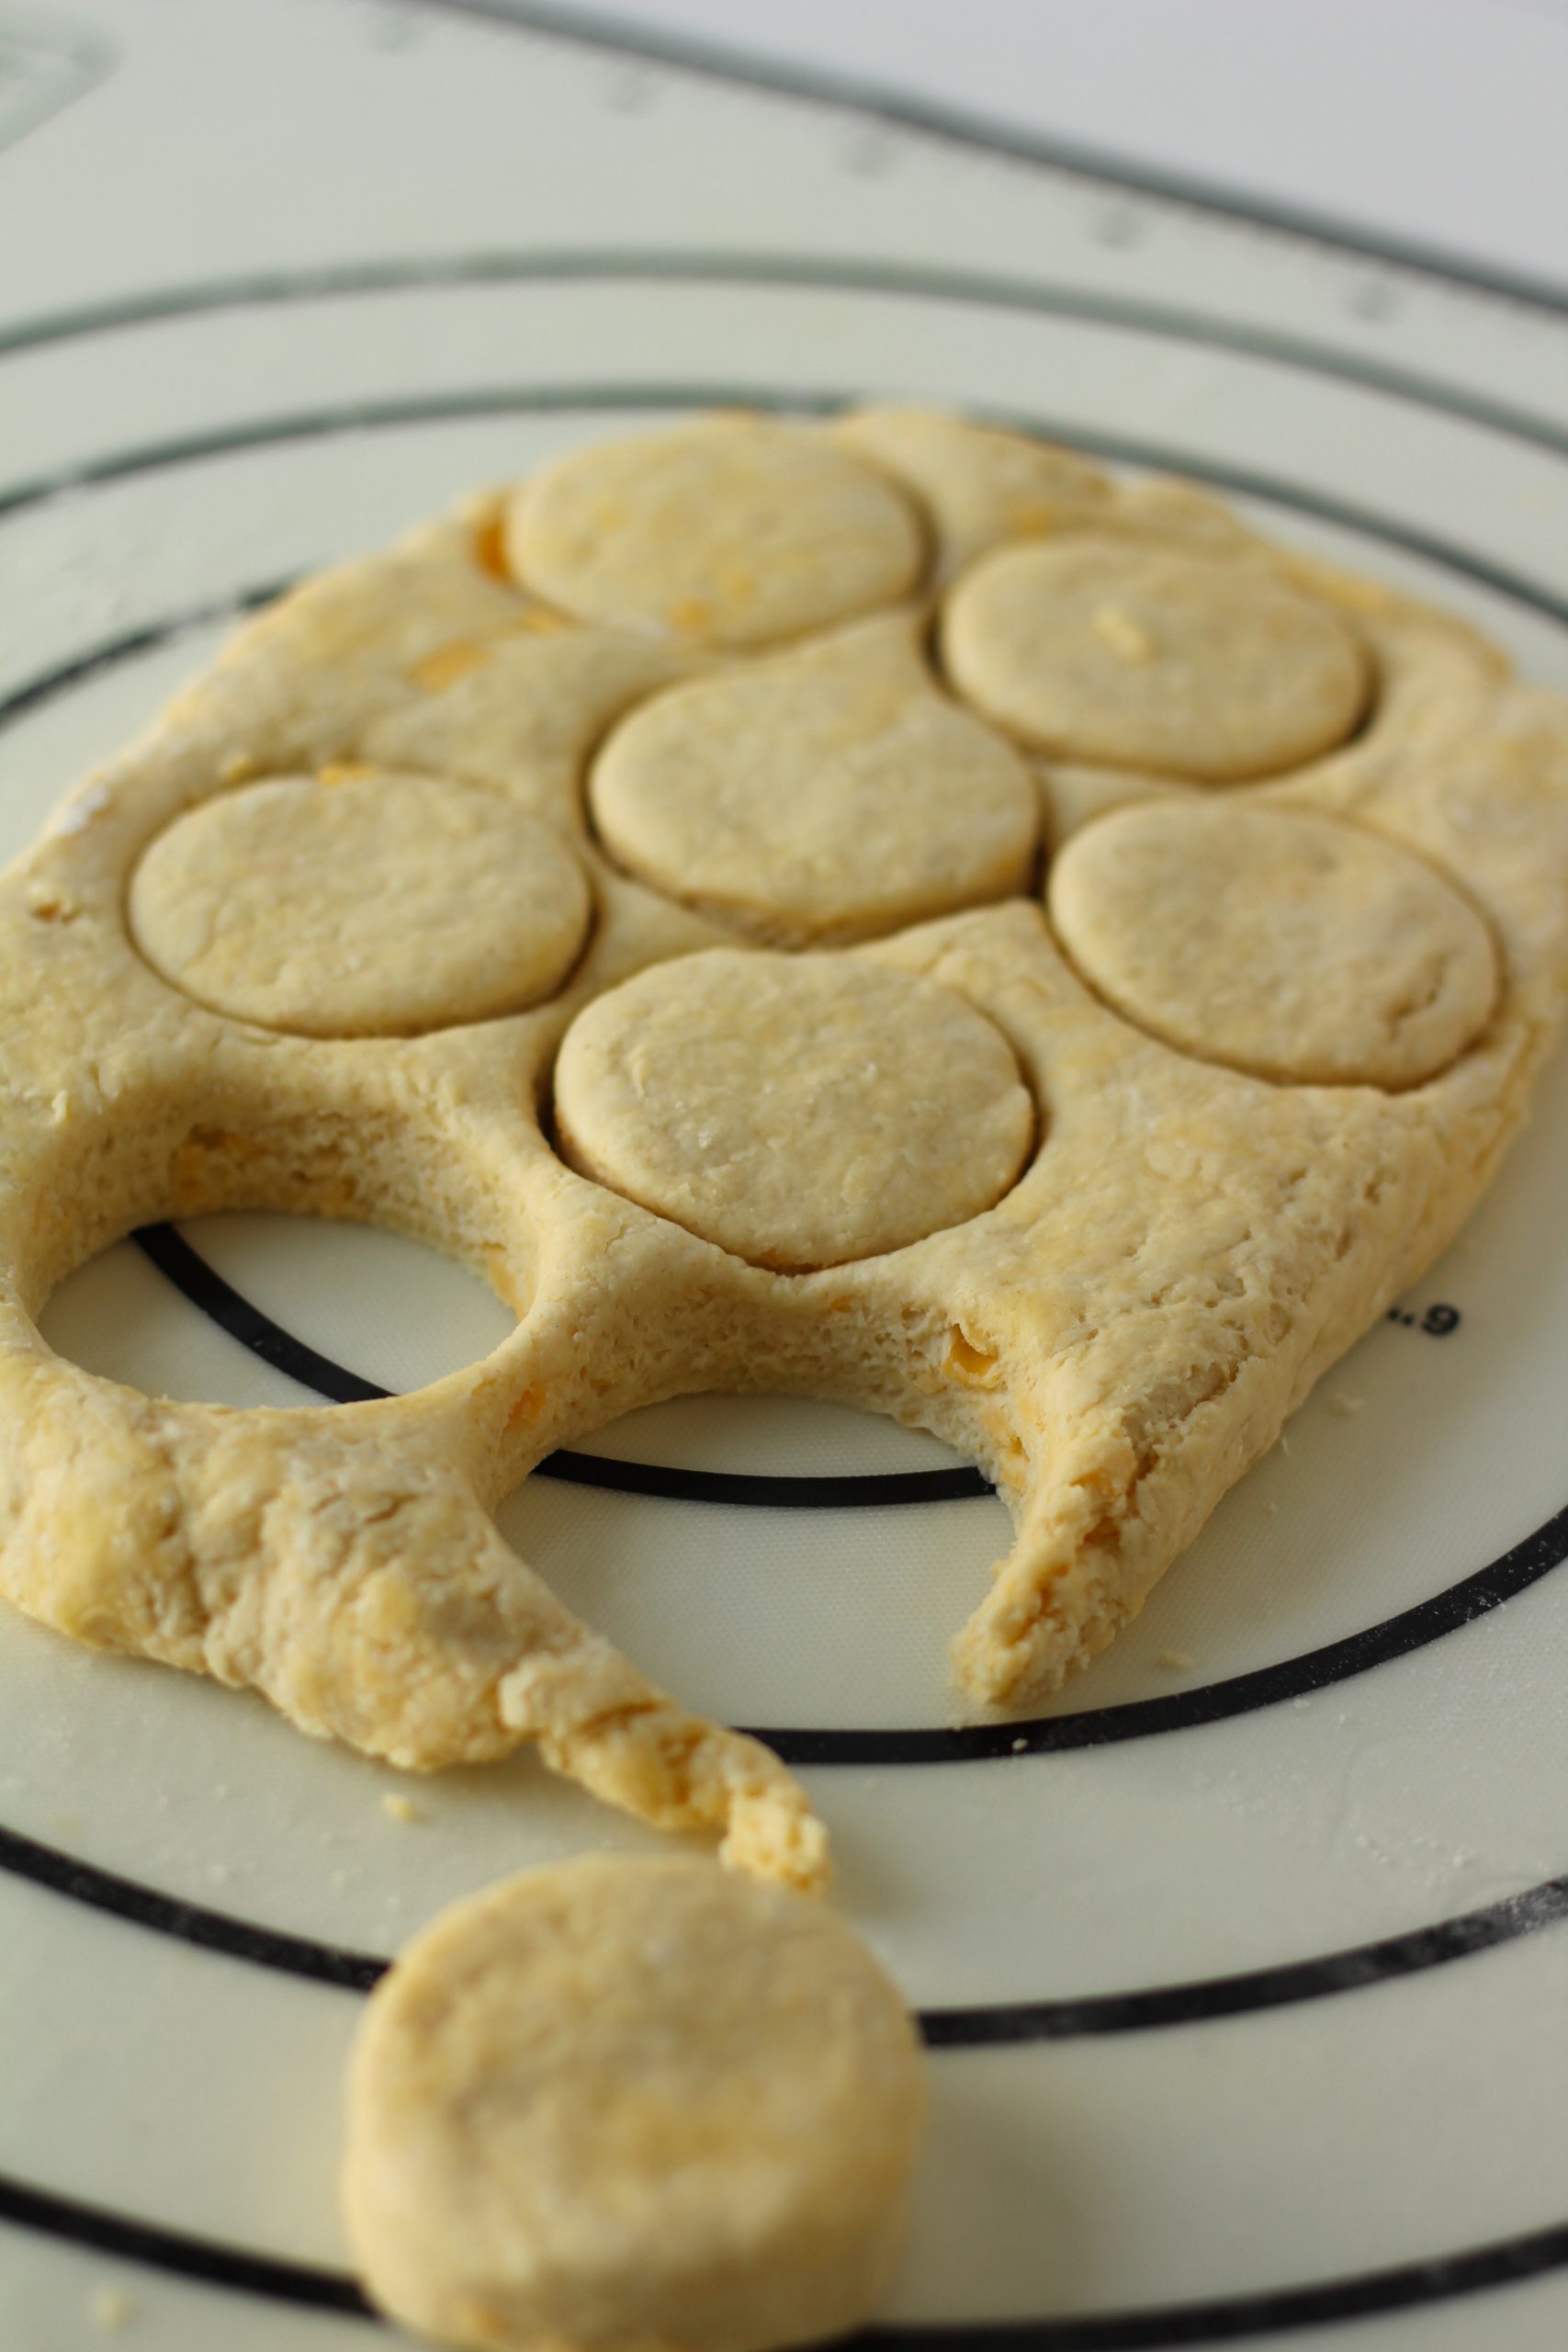
  • Slowly add the liquid to the flour and fold it in. Be careful not to overmix or knead the dough or the bread will turn out dense.* When it is just combined place it on a baking sheet with parchement paper and form a circle of around 6 inches in diameter and about 2 inches thick. Score your dough with a sharp knife by cutting a cross shape in the top of the loaf.
  • Bake the loaf in the preheated oven until it is golden brown and sounds hollow when you softly knock on the bottom of the loaf. If prefered you can also check by inserting a skewer inside the loaf and see if it comes out clean! This takes around 40-45 minutes.
  • Let it cool on a cooling rack

Notes

* If the dough feels dry after adding the liquid add more buttermilk until comes together nicely and doesn’t feel dry.

Read more:

Older posts »

Banana bread

This banana bread is the best, and it makes 2 loafs what is a big plus in a house of 5. It is super moist and has so much flavor. Adding in hemp and flax seeds at the end gives it some extra nutrition for growing kids.

Ingredients 

Ingredients

  • Avocado oil: In my bakings I prefer to use avocado oil because of its taste and high smoking point (470-500 Fahrenheit). It’s rich in oleic acid. Dependent on where you live it might not be so easy to find avocado oil, you could substitute it with olive oil.
  • Coconut sugar: Is a natural plant based sweetener. I prefer using natural sugar instead of refined sugar in my bakings. But you can if prefer substitute with cane sugar. The darker color of the banana bread is from the coconut sugar.
  • Eggs: Make sure your eggs are at room temperature. I always take them out of the fridge the night before baking and let them get to room temperature overnight.
  • Milk: I use whole milk but if you prefer to make a dairy free banana bread you can use almond milk. I’ve used almond milk in the past and the end result is still perfect.
  • Bananas: Use overripe bananas, the riper the sweeter the bread will turn out. Make sure you really smash the bananas fine before adding. This pretends lumps in your loafs. 
  • Pastry flour: With all my bakes of loafs, cake etc I prefer using pastry flour but if you don’t have it you can use all purpose flour too. Have made this recipe with both.
  • Baking soda: Used to give the loaf a nice fluffy texture.
  • Baking powder: Increase the volume and lightens the texture of the banana bread.
  • Salt: Prefer using Redmond fine salt.
  • Cinnamon: This gives the the loaf a warm spicy flavor.
  • Vanilla extract: Extra flavor to the loaf.
  • Chocolate chips: Prefer to use semi sweet chocolate chips or chunks in the bread and a couple of them on top for decoration.
  • Hemp seed: Is rich in healthy fats, including omega-3 and omega-6 acids. 
  • Flax seeds: Improve digestive health or relieve constipation. 

Overripe bananas

Preparation:

Coconut sugar and avocado oil

Make sure you have your mixing bowl ready and another bowl where you can combine the dry ingredients first and also to use to mash your bananas in.

Oil and eggs

In your mixing bowl you measure first in the coconut sugar then you add your oil. Mix to combine. Then add one egg at the time in while your blender is on low. 

Flour mixture

Mix all your dry ingredients in the second bowl. Then ad it to the oil and egg mixture in 3 steps whil your mixer is on low. When just combined turn your blender off and start puréing your bananas with the vanilla and the milk. Really make sure you don’t have any big lumps of banana in it. Because you will have those lumps in your finished loafs. Add this into your blender bowl and mix until just combined. Be careful not to overmix it. 

Banana smash

Banana puree with milk and vanilla

Measuring spoons.

banana bread mixture

Last gently stir in your hemp seeds, flax seed and chocolate chips. Don’t overmix it.

Added hemp flax seed and chocolate chips

Pour your mixture into prepared loaf pans.

Banana bread mixture in prepared loaf pans

Bake them in a preheated oven of 350 Farhenheit until golden brown and a toothpick comes out clean. Around 50-60 minutes depending on your oven.

Baked bananabread

Let the banana bread cool slightly in the loaf pans on a cooling rack, around 10 minutes before you take your loafs out and let them cool completely. If you can wait that long…

Cooled banana bread

This is one of my kids favorite, one loaf is always gone the same day. 

Another recipe of a loaf is pound cake you can find here


Banana bread

Prep Time20 minutes
Author: Ester van Boesschoten

Ingredients

  • 3/4 Cup Avocado oil
  • 3/4 Cup Coconut sugar
  • 2 Eggs
  • 2 Cups Pastry flour Or unbleached flour
  • 1 Teaspoon Baking soda
  • 1 1/2 Teaspoon Baking powder
  • 1/2 Teaspoon Salt
  • 2 Teaspoon Cinnamon
  • 2 Teaspoon Vanilla extract
  • 3 Bananas ripe
  • 2 Tablespoon Milk Regular or almond
  • 1 Cup Semi sweet chocolate chips
  • 1/4 Cup Hemp seed optional
  • 1/4 Cup Flax seed Optional

Instructions

  • Preheat the oven at 350 Farhenheit.
  • In a bowl of your kitchen aid blender combine the avocado oil en coconut sugar. When it is mixed add one egg at the time into to oil mixture until well combined.
  • In a separate bowl mix your dry ingredients; flour, baking soda, baking powder, salt and cinnamon.
  • Add your flour mixture in 3 steps to the oil mixture while the blender mixes on low. Mix until it is just combined.
  • Use your empty flour bowl to mash up your ripe bananas really fine. Add the vanilla and milk and stir.
  • Gently mix in the banana mixture into your flour/oil mixture until it is just combined. Be careful not to overmix it.
  • Remove the bowl from the blender and gentle stir in the chocolate chips, hemp seeds and flax seeds.
  • Pour the mixture in 2 greased baking pans equally.
  • Bake in preheated oven until it is golden brown and a toothpick comes out clean. This is around 50-60 minutes depending on your oven.
Older posts »


I discovered the joy of cinnamon rolls in America. This breakfast dish soon became one of my favorites. Originally, I bought the cinnamon rolls that come in cans that allow you to simply pop them out and into your oven. Those have always been an easy favorite in our house but, I knew I had to figure out how to make these myself.

My recipe has been a work in progress over many bakes. I started experimenting with recipes and adding different ingredients each time. This latest version of the recipe is my favorite so far!

This version was created during the season of beautiful citrus. So why not play with one of the citrus flavors? The blood orange gives the frosting a nice pink color.

The addition of the blood orange zest in the flour, and the juice in the frosting, gives it that extra fresh flavor. I add the zest into the flour so that it doesn’t stick together and it spreads out evenly in the roll.

This will be in our weekend breakfast rotation for sure!  Adding the citrus was just what the recipe needed. I hope you will enjoy them as much as we did.


Blood Orange Cinnamon Rolls

Prep Time30 minutes
Cook Time15 minutes
Course: Breakfast
Cuisine: Bread
Keyword: bloodorangecinnamonrolls, cinnamonrolls
Servings: 16
Author: Ester van Boesschoten

Ingredients

Rolls

  • 1 3/4 Cups lukewarm water (85 Fahrenheit)
  • 1/4 Cup maple syrup (if prefered can use cane sugar)
  • 1 Tablespoon active dry yeast
  • 1 egg room temperature and lightly whisked
  • 1/4 Cup coconut oil melted
  • 1 1/2 Teaspoon vanilla extract
  • 4-5 Cups unbleached all purpose flour *
  • 1 blood orange zested

Filling

  • 5 Tablespoons unsalted butter
  • 1/2 Cup brown sugar
  • 1 Tablespoon cinnamon

Frosting

  • 4 Tablespoons unsalted butter
  • 2 Oz cream cheese
  • 1/2 Teaspoon vanilla extract
  • 1/4 Teaspoon almond extract
  • 2 Cup powdered sugar
  • 2-3 Tablespoon blood orange juice

Instructions

Rolls

  • Combine the lukewarm water, maple syrup and yeast in a small bowl. Stir and let it rest for 10 minutes.
  • Add in the whisked egg, coconut oil and the salt.
  • Sift the flour and stir in the blood orange zest until combined. I suggest you start with 4 cups of flour and add as needed.
  • Add the flour mixture to the wet ingredients one cup at the time. You have added enough flour when the dough doesn’t stick to the side of the mixing bowl and is tacky, but does not stick to your fingers. Be careful not to add too much flour, or the dough will be to dry.*
  • When you have the right consistency with the dough, knead for 5 minutes in a stand mixer. Alternatively, you can knead it by hand if you prefer.
  • Cover the dough, set it in a draft free spot, and let it rise for 20-30 minutes or until it is doubled in size.

Filling

  • After the first rise, roll out your dough into a rectangle around 19” by 10”.
  • Softy spread the butter out on the rectangle. Then sprinkle on the cinnamon and brown sugar. You may want to mix cinnamon and sugar up first in a bowl before sprinkling onto the dough.
  • Starting at the long side, tightly roll up the dough into a firm log. Roll the log seam side down. Using dental floss or thread to cut out 16 even-sized rolls.
  • Place the rolls on a greased baking dish or on a baking tray lined with parchment paper. Cover and let them rise a second time, for 30 minutes, or until they are doubled in size.

Baking

  • Preheat the oven 375 Farhenheit.
  • Bake the cinnamon rolls for 15-16 minutes or until they are golden brown.

Blood Orange Frosting

  • Combine all the frosting ingredients in a mixing bowl and carefully mix them together to form a light and fluffy frosting. The more blood orange juice you add the thinner the frosting will be.
  • When the cinnamon buns are still warm, gently put on the frosting. The amount of frosting depends on your taste preference. Enjoy!

Notes

* The amount of flour depends on where you live and type of flour used. On days it is super humid I tend to need more flour. Other days, it is freezing and dry and I need less flour. So be very careful, and add one cup of flour at a time. As you approach the right consistency add only 1/4th cup at a time.
Older posts »

 Blueberry lemon scones

At my local coffee shop they have these delicious blueberry lemon scones. What I love about them is that they are blue on the inside. However, I often wish that blueberry taste was more powerful. I had to try and make my own version of them to kick that flavor up a notch!

These scones are light and have a cake-like texture. The blueberry compote I added made a beautiful blue dough that keeps its color even after it is baked. 

Ingredients for blueberry lemon scones

The base recipe for the blueberry lemon scones is similar to my other scone recipe you can find here. The added egg makes the scone have a nice cake-like texture and reduces the dryness. The combination of milk and heavy whipping cream makes it rich and creamy. Pastry flour is my preferred flour to use for any pastry I make. It is milled to a finer texture than all purpose flour, and is made with a soft wheat for a lower protein content, which helps baked goods produce very tender results.

Ingredients for blueberry compote

The compote is easy to make. Combine the blueberries, cane sugar, salt and water in a small saucepan. Over medium heat, slowly warm it until the blueberries burst open and the spoon or spatula you use leaves clear streaks on the bottom of your pan. When you can see the bottom of the pan you have the right thickness, and it is ready to be used in your scone mixture. Let it cool down while you prepare the rest of your dough.

Blueberries salt sugar and water in small saucepan


Compote done, clear streak on the bottom of the pan


Pastry flour must be sifted before use. The flour is so fine that it can clump together very easily. While large clumps can be broken up with a spatula, small clumps are more easily missed and can show up as lumps of uncooked flour in your finished product if you are not careful. After sifting your flour, add the other dry ingredients, salt and baking powder. The lemon zest is also added at this point so it doesn’t stick together.

Cut in butter into flour mixture

After the dry mixture is combined, grate your frozen, unsalted butter onto the flour mixture and cut it in with a pastry cutter. Grating the frozen butter is an easy process which prevents the butter from warming up too much since it can be done quickly.

Flour mixture with grated frozen butter

Combine all liquid ingredients, whole milk, heavy whipping cream, maple syrup and one egg. The cooled blueberry compote is adding after all the liquid ingredients are combined. The compote can be mixed in well with either a spatula or your hands. Work quickly so you don’t warm up the butter.

Combined blueberry scone dough

Remove the dough from your bowl onto a floured countertop. I love to use my silicone pastry mat for this because it is easy to use and clean. Gently form an 8 inch circle with your hands. Pat gently and don’t press too hard on your dough.

Cirkel or blueberry scone dough

After you form a circle, cut it into 8 equal triangles. The dough may be sticky, but adding a little flour to your knife will help to prevent it sticking.

Cutting of the blueberry scone dough

Put your scones on a baking tray with parchment paper. Bake them until golden brown in a preheated oven.

Blueberry scones on baking tray ready to bake

After the scones are done baking, let them cool completely on a cooling rack. While they are cooling prepare your lemon icing. Combine the lemon zest, lemon juice and the powdered sugar. The consistency of your icing depends on how much lemon juice you add. For a thinner drizzle simply add more juice. 

Preparing of the lemon icing

When the scone are completely cooled, drizzle on your icing. If you do this when they are still a little warm the icing will soak into the scones. 

Blueberry scones with icing


Blueberry Lemon Scone

These blueberry lemon scones are light and have a cake-like texture. The blueberry compote I added made a beautiful blue dough that keeps its color even after it is baked.  The added lemon zest in the dough gives it a freshness to it. The lemon drizzle on top is the right combination of sweet and fresh that really completes the scones.
Prep Time45 minutes
Cook Time15 minutes
Course: Breakfast
Cuisine: scones
Keyword: blueberry lemon scone, blueberry scone, scones
Author: Ester van Boesschoten

Ingredients

Blueberry compote

  • 1 Cup Blueberries fresh or frozen
  • 1/8 Cup Granulated sugar
  • 1/8 Cup Water
  • Pinch Kosher salt

Scone

  • 2 Cups Pastry flour or all purpose
  • 1 Tablespoon Baking powder
  • 1/2 Teaspoon Salt
  • 4 Tablespoons Unsalted butter frozen
  • 1 Tablespoon Maple syrup
  • 1 Egg
  • 1/2 Cup Heavy whipping cream
  • 1/2 Cup Whole milk
  • 1 Teaspoon Pure vanilla extract
  • Lemon zest of 1 lemon

Lemon drizzle

  • 1/3 Cup Powdered sugar
  • 1 Tablespoon Lemon juice
  • Zest Of one lemon

Instructions

Blueberry Compote

  • Combine the blueberries, sugar, water and salt in a small saucepan. Warm over medium heat untill the blueberries burst and a spoon or spatula makes a clear path on the bottom to the pan. This should take 10-15 minutes.
  • Take it off the heat and let it cool for 10 minutes.

Scone

  • Position your oven rack in the middle and preheat the oven to 425 Farhenheit *.
  • Sift your flour and combine it with salt, baking powder and lemon zest.
  • In a separate bowl combine the heavy cream, milk, maple syrup, vanilla extract and the whisked egg. Stir to combine. When your blueberry compote is cooled enough, add it to this mixture.
  • Grate the frozen butter over your flour mixture . Cut in the butter with a pastry knife.
  • Gently stir the liquid into the flour mixture until it is just combined. Be careful not to overmix it.
  • If preferred you can add some (up to a half a cup) extra whole blueberries gently at this point.
  • Transfer the dough to a floured counter top. Gently form the dough into a circle approximately 7” round and 1-1 1/2” thick. Cut out 8 triangles.
  • Place your triangles onto a baking sheet line with parchment paper.
  • Bake them in the preheated oven until they are golden brown. This takes around 12-15 minutes.*
  • When done let them cool on a cooling rack.

Drizzle

  • Combine lemon juice, zest and powdered sugar until smooth consistency. If you prefer a thin glaze slowly add more lemon juice.
  • Drizzle over your cooled scones and enjoy!

Notes

*Every oven is different, so time and temperature may be different for your oven. Keep a close eye on your scones in the end of the baking time.
Older posts »

A good friend of mine makes super yummy fudge every year around the holidays. I was delighted when she agreed to share her recipe with me. 

After I got the recipe, the fun of experimenting began! Butterscotch fudge tends to need less sweetened condensed milk than traditional chocolate fudges. With experimentation I found that half a can was just enough to yield the right consistency. I added in a drizzle of melted milk chocolate chips for a nice pattern on top.

This is a super easy and delicious recipe.  I hope you will enjoy it too. A special thanks to my dear friend for sharing it with me.


Butterscotch Fudge

Prep Time15 minutes
Course: Dessert
Cuisine: candy
Keyword: fudge
Author: Ester van Boesschoten

Ingredients

  • 11 Oz butterscotch chocolate chips (1 bag)
  • 4 Tablespoon unsalted butter
  • 7 Oz sweetened condensed milk (half a can)

Semi sweet chocolate drizzle

  • 1/4-1/3 Cup semi sweet milk chocolate chips
  • 1/2 Teaspoon ghee or unsalted butter

Instructions

  • Melt together the butterscotch chips, sweetened condensed milk and butter on medium low heat. Keep stirring so it doesn't burn.
  • Pour in a prepared 8 x 8” pan with parchment paper.
  • Optional drizzle: melt a handful of semi sweetened milk chocolate chips with half a teaspoon of ghee and drizzled it over the top of the fudge. With a toothpick draw up and down lines through the drizzle to make a nice pattern on the fudge. This gives the fudge an extra element to it.
  • Put in fridge overnight for at least 24 hours.
  • Take it out of the pan and cut them in squares or other preferred shapes. Store them in the fridge in an airtight container.
Older posts »

Every Christmas I like to bake cookies for Santa. Instead of the classic Christmas cookies decorated with icing, I decided to get a little creative this year.

With a basic cookie recipe you can do anything you want! I chose to add some chocolate on top and a homemade caramel to create a soft and delicious center. These cookies are so versatile that you could use jam in the center or skip the filling and just put chocolate on top.

Using a very fine sugar helps it to combine well with the butter, and the cream cheese gives it a nice smooth flavor. I promise you these will be a guaranteed hit, so get creative and enjoy them!

Chocolate drizzle.

Homemade caramel.


Butter cookies

Buttery cookies with chocolate drizzle and caramel filling
Prep Time1 hour
Cook Time10 minutes
Course: Dessert
Cuisine: cookies
Keyword: buttercookies, caramelcookies, cookies
Author: Ester van Boesschoten

Ingredients

Cookies

  • 1 1/4 Cup unbleached all purpose four
  • 6 Tablespoon fine sugar *
  • 1/8 Teaspoon salt
  • 1 Teaspoon vanilla extract
  • 1 Tablesppon cream cheese room temperature
  • 8 Tablespoon unsalted butter softened but still cool, cut in 8 pieces

chocolate drizzle

  • 2 Oz semi sweet chocolate chips
  • 1 Teaspoon ghee or butter

caramel filling; homemade or storebought.

    Instructions

    Cookies

    • In an electric mixer bowl combine the flour, sugar and salt on low speed until combined.
    • With the mixer on low, add one piece of butter at a time until combined. Add in vanilla and cream cheese. Mix on low until the dough begins to form large clumps.
    • Knead the dough by hand in the bowl for 3 minutes.
    • Turn the dough out onto the countertop and divide into 2 disks and wrap it with cling wrap. Let it rest in the fridge for at least 30 minutes.
    • Remove from fridge and cling wrap. Roll the dough out in between 2 pieces of parchment paper until it is around 1/8-1/4 inch thick.
    • Let it rest in the fridge for another 10 minutes.
    • After it has chilled, cut out your cookie shapes. For half of the cookies cut out a small hole in the center with a cookie cutter. Put them on baking sheet at least 1 1/2 inch apart. Put them back in the fridge for 10 minutes to rest.
    • Preheat the oven to 375 Fahrenheit and adjust your rack to the top position.
    • Bake the cookies for 10 minutes, rotating the tray halfway until they are golden brown.
    • Cool the cookies on a cooling rack.

    Chocolate Drizzle

    • In a bowl au bain-marie (double boiler) melt the butter and chocolate.
    • Drizzle the chocolate over the cookies using a spoon.

    Cookie Assembly

    • Add approximately one teaspoon of caramel to the bottom part of the cookies (without hole). Gently place the top part (with hole) on top of the caramel. Place cookies on a tray and put in the fridge to firm.

    Notes

    *if you don’t have really fine sugar you can put cane sugar in a foodprocessor to create fine sugar
    *inspired by: America’s test kitchen
    Older posts »

    French toast

    This delicious and decadent Challah french toast is perfect for any Sunday morning. Flavored with vanilla, cinnamon and just a hint of nutmeg. It is easy to make and soon will be a favorite in your house!

    Challah bread cut into1’ slices

    Challah bread:

    Challah is a braided loaf of bread. The simple dough is made with eggs, water, flour, yeast and salt. I used a store bought challah bread in this recipe but you definitely can bake your own. If you can’t get challah bread where you live, you can always use another soft white bread instead. You could even use my whole wheat bread recipe on my blog too.

    Preparation:

    When you have all your ingredients set out for your challah french toast, preheat the oven to 250 Fahrenheit. This will allow you to keep the prepared toast hot while you finish cooking the rest of it on the stove. 

    The large eggs in the bowl

    In a big bowl combine the eggs, milk, heavy cream, maple syrup, vanilla, cinnamon, salt and a dash of nutmeg. Whisk it all together in a bowl large enough to prevent spilling. 

    Egg, milk, heavy whipped cream and spices

    The addition of nutmeg is just a dash, no need to use measurement spoons. Sprinkle it in to your taste but I just use one tiny dash. Just enough to taste it, but not overwhelming or overpowering. The cinnamon and vanilla needs to be the star in this dish. 

    Whisking all the ingredients really well before coating the bread

    Mixed egg mixture for the french toast

     Baking the challah french toast:

    Heat up your pan over a medium heat on the stove. I used a cast iron pan, which is one of my favorite pans in my kitchen. Once your pan is hot, melt a little butter in the pan. While the butter is melting coat the sliced bread in the egg mixture. Be careful not to let it soak up all the egg mixture or you will get soggy challah french toast. My pan was big enough for 2 slices at a time, so I coated 2 slices of 1’ challah bread and placed them in the warm pan. Cook them on medium heat for 2-3 minutes per side. Once done I placed them in an oven safe dish in the preheated oven. Continue this process until you have finished the rest of the challah loaf. If needed add more butter into your pan between slices.

    Coating of the challah bread in the egg mixture

    Baking the coated challah bread in cast iron skillet pan

    Serving:

    Serve your challah bread with some fresh fruit. I had some delicious raspberries in the fridge, but you can use any fruit you prefer. Sift some powdered sugar over the top of the Challah french toast and add some whipped cream or maple syrup and enjoy!

    Challah french tast with powdered sugar whipped cream and fruit


    Challah French Toast

    Prep Time10 minutes
    Course: Breakfast
    Cuisine: challah french toast
    Keyword: Challah french toast
    Author: Ester van Boesschoten

    Ingredients

    • 6 Large eggs
    • 1/2 Cup Whole milk
    • 1/2 Cup Heavy whipping cream
    • 2 Tablespoon Maple syrup
    • 1 Teaspoon Vanilla extract
    • 1/2 Teaspoon Cinnamon
    • 1/4 Teaspoon Salt
    • Dash Nutmug
    • 1 Loaf Challah bread Cut in 1’’ slices
    • 2-3 Tablespoon Unsalted butter

    To serve:

    • Powdered sugar
    • Mable syrup
    • Powdered sugar
    • Fresh fruit raspberries, strawberries, blueberries etc.

    Instructions

    • Preheat your oven to 250 degrees Fahrenheit.
    • In a large bowl whisk together the eggs, milk, heavy whipping cream, maple syrup, vanilla extract, cinnamon, salt and a little dash of nutmeg.
    • Slice the Challah bread into 1" slices.
    • Add the butter to a heated pan.
    • Coat 2 slices of bread in the egg mixture. Don’t let the bread soak up all the egg mixture or it will be too soggy when cooked. Let the outside coat with the egg mixture before putting in the pan. Repeat using two slices at a time.
    • Cook the slices of bread on medium heat for 2-3 minutes per side. Once done place them in an oven proof dish in the oven to keep them warm.
    • Add some additional butter into the pan if needed and repeat the soaking and baking with the rest of the bread.
    • Serve the Challah french toast with powdered sugar, fresh fruit, whipped cream and some maple syrup.
    Older posts »


    When the weather turns cold our family loves to eat a variety of soups and stew. I always like to make something to go along with these meals to soak up the delicious goodness at the bottom of the bowl. These  cheesy buttermilk biscuits are the best side dish to any winter meal.

    I used aged gouda cheese in them but, you can choose any cheese you prefer. Cheddar would work just as nicely.

    The combination of all purpose flour and pastry flour ensures that the biscuits don’t turn out too dry. This combination should make them nice and fluffy.


    Cheesy Buttermilk Biscuits

    Prep Time1 hour
    Cook Time20 minutes
    Course: Side Dish
    Cuisine: Bread
    Keyword: biscuits, buttermilk cheese biscuits, buttermilkbiscuits

    Ingredients

    • 1 Cup unbleached all-purpose flour
    • 1 Cup pastry flour
    • 2 Tsp baking powder
    • 1/2 Tsp baking soda
    • 1/2 Tsp salt
    • 8 Tablespoons unsalted butter frozen and grated
    • 3/4 Cup buttermilk
    • 1 Tablespoon raw honey
    • 1/2 Cup aged cheese I used Beemster gouda 12 year aged cheese.

    Instructions

    • Freeze your butter.
    • Combine unbleached all purpose flour, pastry flour, baking powder, baking soda and salt. Mix till combined.
    • Combine the buttermilk with the honey in a separate bowl.
    • Grate the frozen butter into the flour mixture and cut it in with a pastry cutter. Alternatively you can use two knives to cut it in. Work quickly so the butter stays cold.
    • Add the buttermilk mixture into the flour/butter mixture. Combine with spatula or fork. Be careful not to overmix it.
    • Preheat the oven to 400 Fahrenheit
    • Transfer the dough to a lightly floured countertop. Roll it out into a rectangle. Sprinkle half of the cheese onto the dough then fold it into thirds. Repeat this one more time with the rest of the cheese. Make sure you have some cheese left to put on the biscuits before you bake them.
    • Roll out your dough into 1/2 inch thickness and cut out the biscuits. I did circles but you can simply cut squares so you don’t have to roll out the leftover scraps into a rectangle again. The left-over scraps will not bake as nice as your first batch. It won’t get the same height and will have less layers.
    • Place your biscuits on a baking tray lined with parchment paper. Brush them with a little buttermilk and top with the left-over cheese.
    • Bake them in the preheated oven for 15-20 minutes, or until they are nice and golden brown. Once they are done, let them cool on a cooling rack.

    Notes

    Inspired by: America’s test kitchen
    Older posts »


    When we were living in California we did a lot of camping trips. Most were during the winter season for more moderate temperatures. Beach based campgrounds have always been a favorite go-to for our family. California beaches are the best during the winter season because it is cool in the morning and warms up in the afternoon. 


    For those trips I always prepared our meals in advance and packed them to bring along. This cornbread is everyone’s favorite. It’s very easy to warm up and can be frozen until you are ready to eat. Chili with cornbread is one meal my kids all love. Mainly for the cornbread! There are many ways to prepare a cornbread. Some recipes use sugar, while others use honey. Instead, I love to use maple syrup! It just adds that subtle sweet note to the cornbread while not being overly sweet.


    We’re now living in Pennsylvania, and finally having snowy winters again. This cornbread has turned into a side dish that comes to our table with many winter dinners. I hope you love it as much as our family does!


    Baked my cornbread in a cast iron pan. Easy and looks nice, but any baking dish can do.

    Cornbread

    Prep Time15 minutes
    Cook Time30 minutes
    Course: Side Dish
    Cuisine: Bread
    Keyword: cornbread
    Author: Ester van Boesschoten

    Ingredients

    • 1 1/2 Cup Unbleached all purpose flour
    • 1/2 Cup Corn flour
    • 1 Tablespoon Baking powder
    • 1/2 Teaspoon Salt
    • 1/2 Cup Heavy cream
    • 1/4 Cup Whole milk
    • 1/3 Cup Maple syrup
    • 2 Eggs
    • 1/3 Cup Avocado oil
    • 4 Tablespoon Unsalted butter melted

    Instructions

    • Preheat the oven to 350 Fahrenheit. Grease a 9” baking dish or cast-iron skillet with avocado oil.
    • Combine flour, corn flour, baking powder and salt in a large mixing bowl.
    • Combine heavy cream, milk, maple syrup, eggs, avocado oil and melted butter in a second bowl. Mix until it is well combined.
    • Add the wet mixture to the dry and mix it gently with a spatula. Be careful not to over mix.
    • Pour it in your prepared baking dish and bake for 30 minutes, or until a toothpick comes out clean and dry. If you are using a cast iron skillet, the skillet will stay warm and continue to cook once out of the oven.
    Older posts »

    Creamy broccoli soup
    This easy broccoli soup is one of my family’s favorite! Super easy and quick to make. The combination of broccoli with the potatoes makes it extra creamy and delicious. Sautéed shallot gives it an extra flavor.

    Ingredients for broccoli soup

    In my kitchen I use a lot of sambal oelek

    Sambal oelek, heavy whipped cream, lemon

    Essentially Sambal Oelek is an Indonesian raw ground chili paste that isn’t very spicy. The spice levels are comparable to Sriracha but have far less lemon, making it less sour. The ingredients include chili peppers, vinegar and salt which add a little extra kick to your dish. I have been able to find it in most supermarkets. If you can’t find it, don’t worry, because this dish will still be delicious without it.

    Adding lemon juice to this meal makes a difference because it adds a high back-note. The acid activates your taste buds the same way salt does. For this reason I always add a little to my soup towards the end of cooking. The addition of heavy whipping cream gives the soup its extra creamy texture. Once the cream and lemon are added to the soup, and it is fully incorporated, then you can taste if the soup needs more spices to suit your personal preference.

    Chopped shallots

    Chopped potatoes

    Sautéed shallot, garlic, broccoli, potatoes with herbs

    I added turmeric for its heath benefits because it is an anti-inflammatory antioxidant. If you choose to add this in you can combine it with the salt and fresh black pepper. 

    Adding the sambal oelek to the soup and sauté 30 seconds

    I like to add the Sambal Oelek just before adding the broth. Saute it for 30 seconds or until it is lightly fragrant. Next you add the broth and bring it to a boil. I am using chicken bone broth. If you prefer it to be a vegetarian dish you can substitute vegetable broth. If you don’t have bone broth, regular chicken broth will work.

    Soup ready to blend

    Blending soup

    I like to use a hand blender to blend my soups. It’s easy and quick without any extra mess or large blenders to wash. Our family likes the soup super smooth but you can blend less if you prefer some texture. After you have blended your soup, add the lemon juice and heavy whipping cream. Give it a good stir and taste. If you prefer more of the lemon juice or heavy whipping cream add it now. You can also add the heavy whipping cream just before serving as a decoration on top. Taste to see if the soup needs more salt/pepper. When you’re happy with it, ladle into bowls and enjoy!

    Creamy broccoli soup overhead shot

    I served it with my overnight sourdough bread

    Creamy Broccoli Soup

    Easy broccoli soup with potatoes, heavy cream and shallot for an extra flavor boost.
    Prep Time10 minutes
    Cook Time25 minutes
    Course: Soup
    Cuisine: soup
    Keyword: broccoli soup, creamy broccoli soup
    Author: Ester van Boesschoten

    Ingredients

    • 1 Tablespoon Unsalted butter substitute oil if you prefer
    • 1 Shallot chopped
    • 2 Cloves Garlic minced
    • 12 Oz Broccoli (340 gram)
    • 2-3 Gold potatoes peeled and cubbed
    • 1 Teaspoon Salt
    • 1/4 Teaspoon Turmeric
    • 1/4 Teaspoon Black pepper freshly ground
    • 1/2 Teaspoon Sambal oelek
    • 32 Oz Chicken bone broth (945 ml) can use vegetable stock if preferred
    • 1 Tablespoon Lemon juice More or less to taste
    • 1-2 Tablespoon Heavy whipping cream More or less to taste

    Instructions

    • Melt the butter in a pan. Sauté shallot until it is soft and light brown on medium low with a pinch of salt. Watch closely to avoid burning (4 -5 minutes).
    • Add the minced garlic and sauté for 30 seconds.
    • Add the chopped broccoli, potatoes, salt, pepper, turmeric. Stir and cook until the broccoli turns a bright green color. Then add sambal oelek and stir for 30 seconds.
    • Slowly add in the broth and bring it to a boil. Once it is boiling, turn down the heat to low and let it simmer until the broccoli and potatoes are tender and soft. This takes around 15-20 minutes.
    • Blend the soup to preferred consistency. Add lemon juice and heavy whipping cream to taste. Stir until combined. Taste and add additional spices if needed. Enjoy!
    Older posts »